Mahogany Kitchen Stool Project
Well, here we go. I have been working on the design and preparation of this project for 3 years. The final prototype was just completed.

This is my second prototype. The first one was a quick (that is a relative term) mock up to see if I had the size correct. I built this out of scrap 2×4s and screws. Pieces were only roughly shaped. After building this, we determined that it was about a half inch too tall.

The second prototype was built as a prelude to actual construction. Each stool has 42 mortise and tenon joints. Several of them are angled and others are on curved parts. By making a full prototype, I have a scale pattern to verify the layout of each piece before I cut into my lumber.

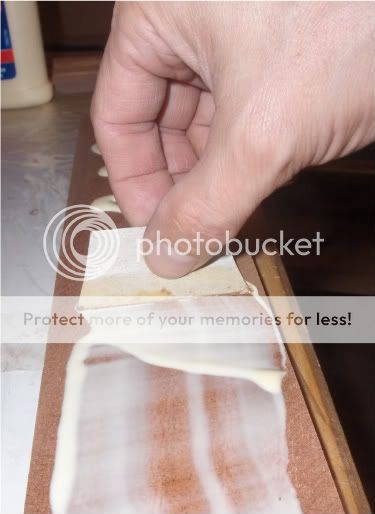
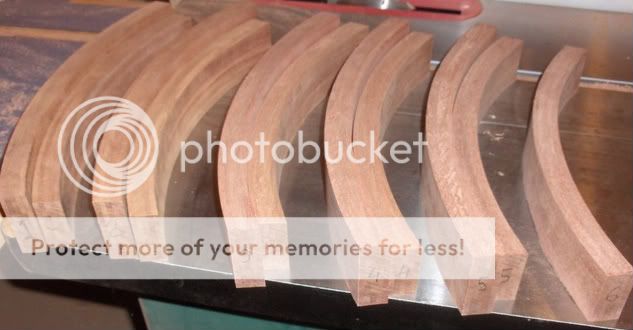
Also, I get a chance to make mistakes and learn. I ended up missing on three or four dimensions and had to patch parts up. I have chosen to form the curved parts by laminating thin strips. The two curved boards on the back formed very well, but the 5 slats did have some spring back. I'll need to adjust the form or move to thinner strips. Stay tuned on that one.
Finally, I get one last chance to check my design choices. In this case, my wife and I felt that the slats on the back were spaced a little too far apart. It ended up crowding the gap to the legs. I changed the design and moved the slats a little closer together.
I'll outline how I intend to proceed with this blog. I'll post updates on the construction as I go. Woodworking is a spare time activity for me. Weeks may go by with only a little activity. I'll post a few "flashback" entries where I will cover my design process.
I'll also keep a log of construction hours. This will not include design or prototyping time.
Cutting rough stock : 2 hrs
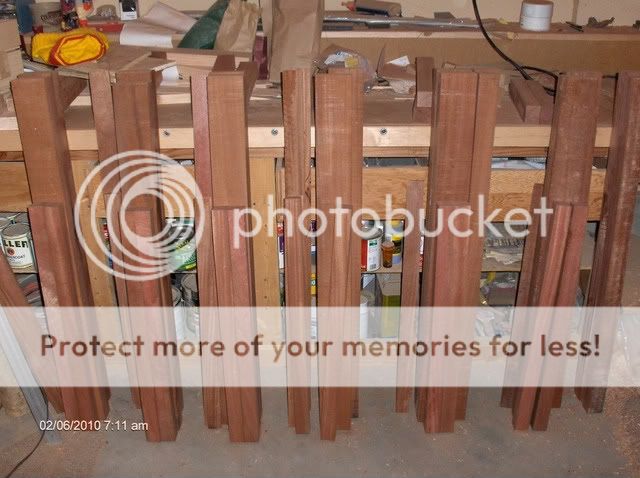
Cutting legs to width and thickness: 4 hrs 20 min
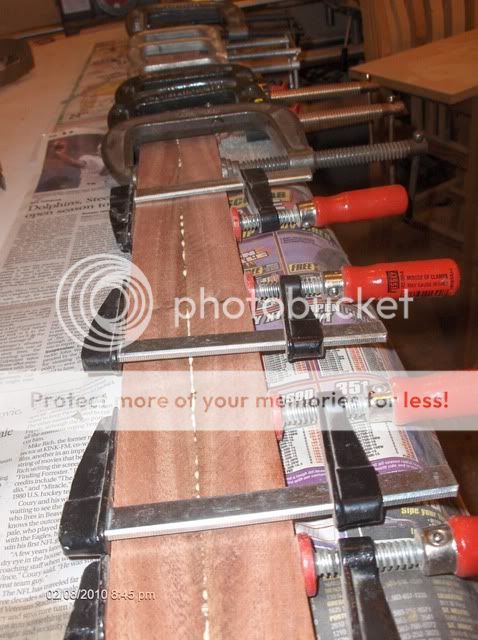
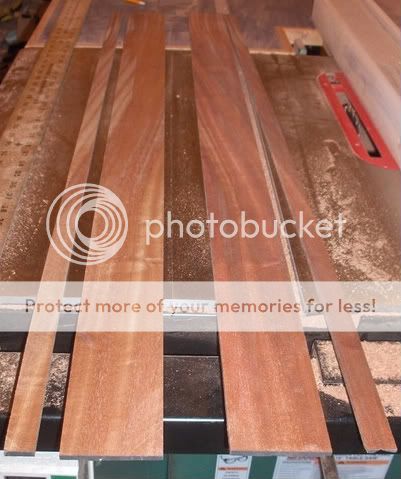
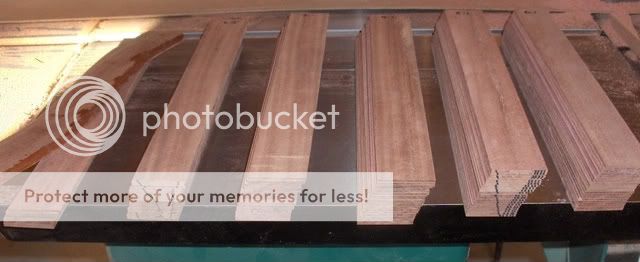
Cutting thin stock for seat back laminations: 3 hrs
Total so far: 9 hrs 20 min
Well, here we go. I have been working on the design and preparation of this project for 3 years. The final prototype was just completed.
This is my second prototype. The first one was a quick (that is a relative term) mock up to see if I had the size correct. I built this out of scrap 2×4s and screws. Pieces were only roughly shaped. After building this, we determined that it was about a half inch too tall.
The second prototype was built as a prelude to actual construction. Each stool has 42 mortise and tenon joints. Several of them are angled and others are on curved parts. By making a full prototype, I have a scale pattern to verify the layout of each piece before I cut into my lumber.
Also, I get a chance to make mistakes and learn. I ended up missing on three or four dimensions and had to patch parts up. I have chosen to form the curved parts by laminating thin strips. The two curved boards on the back formed very well, but the 5 slats did have some spring back. I'll need to adjust the form or move to thinner strips. Stay tuned on that one.
Finally, I get one last chance to check my design choices. In this case, my wife and I felt that the slats on the back were spaced a little too far apart. It ended up crowding the gap to the legs. I changed the design and moved the slats a little closer together.
I'll outline how I intend to proceed with this blog. I'll post updates on the construction as I go. Woodworking is a spare time activity for me. Weeks may go by with only a little activity. I'll post a few "flashback" entries where I will cover my design process.
I'll also keep a log of construction hours. This will not include design or prototyping time.
Cutting rough stock : 2 hrs
Cutting legs to width and thickness: 4 hrs 20 min
Cutting thin stock for seat back laminations: 3 hrs
Total so far: 9 hrs 20 min

") You can see 3 fir 2×4's on top of the stack. They ended up being the material for my prototype.
You can see 3 fir 2×4's on top of the stack. They ended up being the material for my prototype.