LumberJocks Woodworking Forum banner

Mahogany Kitchen Stool Project

116466 Views 179 Replies 41 Participants Last post by  sras
3
Mahogany Kitchen Stool Project

Well, here we go. I have been working on the design and preparation of this project for 3 years. The final prototype was just completed.


This is my second prototype. The first one was a quick (that is a relative term) mock up to see if I had the size correct. I built this out of scrap 2×4s and screws. Pieces were only roughly shaped. After building this, we determined that it was about a half inch too tall.


The second prototype was built as a prelude to actual construction. Each stool has 42 mortise and tenon joints. Several of them are angled and others are on curved parts. By making a full prototype, I have a scale pattern to verify the layout of each piece before I cut into my lumber.


Also, I get a chance to make mistakes and learn. I ended up missing on three or four dimensions and had to patch parts up. I have chosen to form the curved parts by laminating thin strips. The two curved boards on the back formed very well, but the 5 slats did have some spring back. I'll need to adjust the form or move to thinner strips. Stay tuned on that one.

Finally, I get one last chance to check my design choices. In this case, my wife and I felt that the slats on the back were spaced a little too far apart. It ended up crowding the gap to the legs. I changed the design and moved the slats a little closer together.

I'll outline how I intend to proceed with this blog. I'll post updates on the construction as I go. Woodworking is a spare time activity for me. Weeks may go by with only a little activity. I'll post a few "flashback" entries where I will cover my design process.

I'll also keep a log of construction hours. This will not include design or prototyping time.

Cutting rough stock : 2 hrs
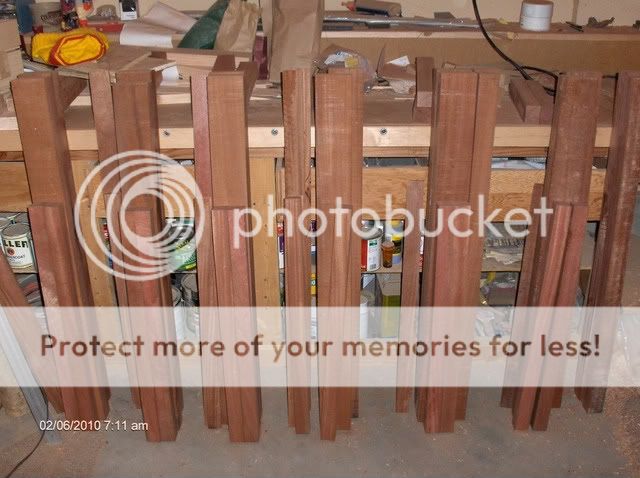
Cutting legs to width and thickness: 4 hrs 20 min
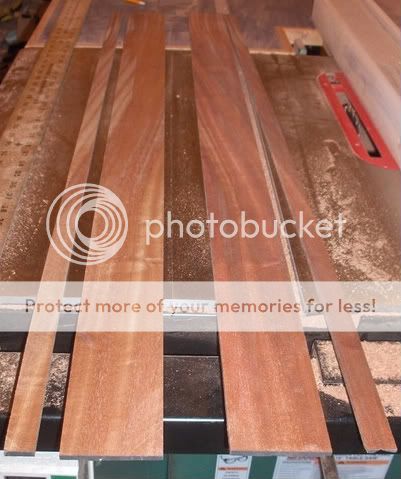
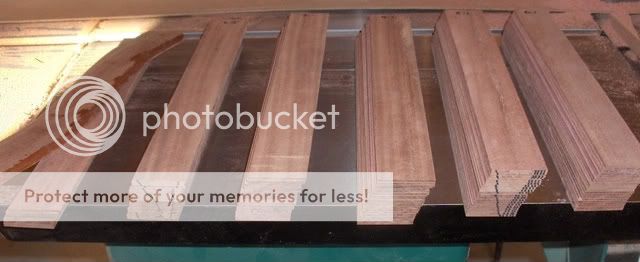
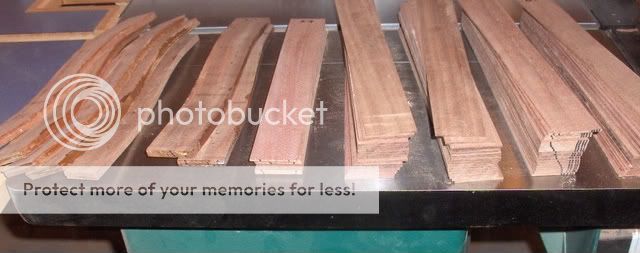
Cutting thin stock for seat back laminations: 3 hrs

Total so far: 9 hrs 20 min
See less See more
1 - 2 of 180 Posts
Mahogany Kitchen Stool Project

Well, here we go. I have been working on the design and preparation of this project for 3 years. The final prototype was just completed.


This is my second prototype. The first one was a quick (that is a relative term) mock up to see if I had the size correct. I built this out of scrap 2×4s and screws. Pieces were only roughly shaped. After building this, we determined that it was about a half inch too tall.


The second prototype was built as a prelude to actual construction. Each stool has 42 mortise and tenon joints. Several of them are angled and others are on curved parts. By making a full prototype, I have a scale pattern to verify the layout of each piece before I cut into my lumber.


Also, I get a chance to make mistakes and learn. I ended up missing on three or four dimensions and had to patch parts up. I have chosen to form the curved parts by laminating thin strips. The two curved boards on the back formed very well, but the 5 slats did have some spring back. I'll need to adjust the form or move to thinner strips. Stay tuned on that one.

Finally, I get one last chance to check my design choices. In this case, my wife and I felt that the slats on the back were spaced a little too far apart. It ended up crowding the gap to the legs. I changed the design and moved the slats a little closer together.

I'll outline how I intend to proceed with this blog. I'll post updates on the construction as I go. Woodworking is a spare time activity for me. Weeks may go by with only a little activity. I'll post a few "flashback" entries where I will cover my design process.

I'll also keep a log of construction hours. This will not include design or prototyping time.

Cutting rough stock : 2 hrs
Cutting legs to width and thickness: 4 hrs 20 min
Cutting thin stock for seat back laminations: 3 hrs

Total so far: 9 hrs 20 min
Hey Bud
Been follow your blog as best I can, never noticed how many chairs you are making?

Figured I'd start at the beginning and ask.

Hope you are enjoying your time spent on this project. Very precise work.

Regards
DAN
Laminating Seat Back and Back Rest

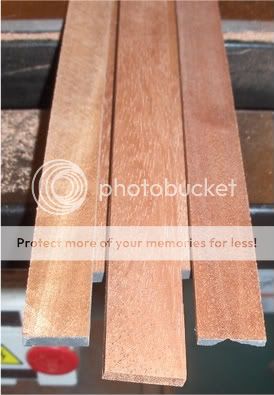
Once I have my strips sanded to thickness, I can cut them and get the five pieces I need for gluing. I have enough material for six so I'll have a strip left over. There are a couple of cases where I ended up with damage on part of a strip and that sixth piece was nice to have.

First, I sort my six long strips and find which end I want to have in the final part. I look for color, grain direction and any character that I might want to have on the outer faces. Then I mark for cutting. I use the inner form and rock it along the strips to get the length.


I then set aside one piece and cut the last two to length. Next, I spend a few minutes and sort and re-arrange the pieces. I am looking for the two nicest surfaces to be on the outside as well as have uniform color and grain direction on the top edge. This can take several tries before I find a combination I am happy with. I then mark the pieces to make sure I keep the orientation unchanged.

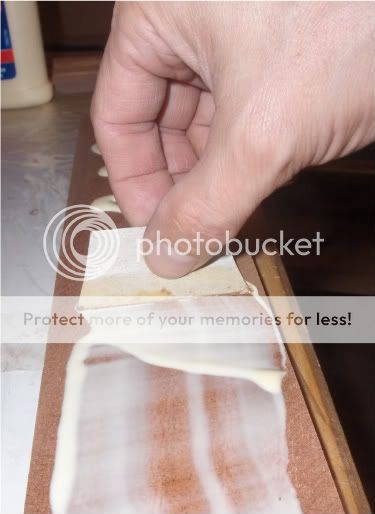
Now it is time to apply glue. I use yellow wood glue - it has a fairly slow set up time and that is a good thing for this operation. I just use a piece of cardboard to get an even coat.


I coat one face and make sure the entire surface is coated and fairly even. I can see wood grain through most of the glue. If I have too much, I transfer it to the next surface to be glued.


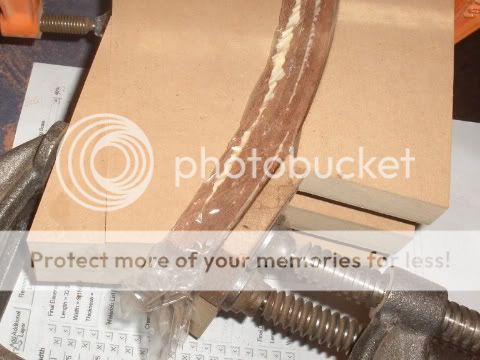
One thing that you do NOT want to do is glue your piece to the fixture. To prevent this, I use a piece of stretch wrap (from the kitchen). Then I put the stack into the fixture and start to draw it together.


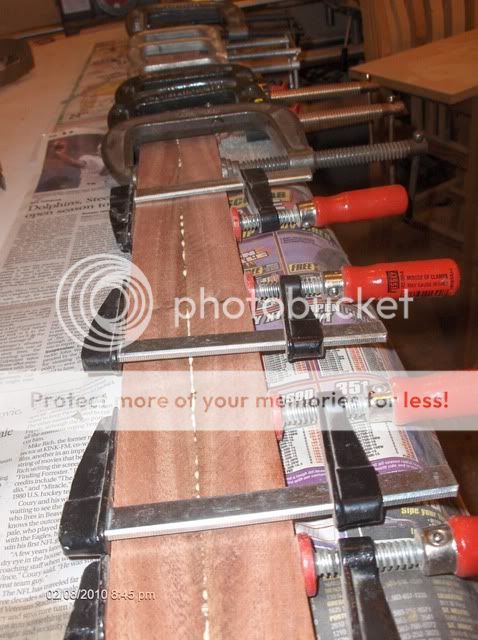
The fixture has two arcs offset by the thickness of the part. These arcs were cut carefully to ensure that I would get even pressure along the glue joints. After the first clamp is at its limit, I add two more clamps. As I draw these two in, the first clamp comes off.


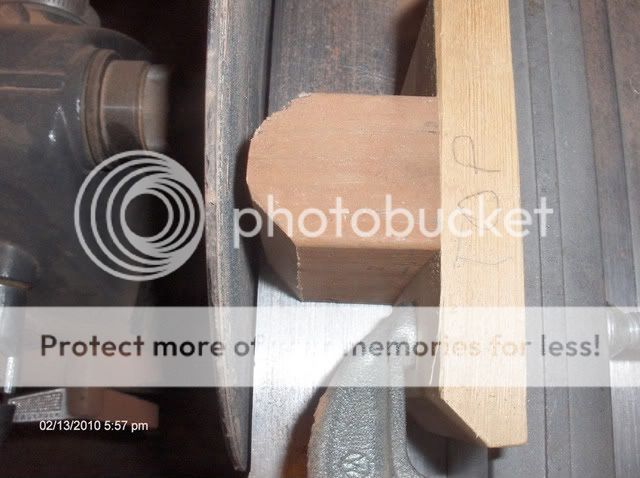
The outer form of the fixture is set up to be a jig for cutting the tenons. As a result, they are short and do not pull the ends in to the inner fixture. So I add C-clamps on each end.


After getting all 6 clamps tightened, I set the assembly aside for 24 hours. I have two fixtures - one for the curve at the back of the seat and one for the curve at the top of the back rest (you can refer back to a picture of the prototype here). The two pieces have a different radius.


I checked the spring back after when I unclamped the first part. There was about 1/16 of an inch at the center. I used 6 laminations in the prototype and there was less than half that much. I like fewer glue joints , so I will live with this much spring back.


My first glue up had a little too much glue. The squeeze out wicked onto the face of the part. I used less on the rest of the parts and never had this issue again. It only took a little sanding to remove the squeeze out.


On one piece, I had a swirl in the grain that looked cool. It was on two of my parts so by placing one on the inner face and the other on the outer, I could give the illusion that the swirl went all the way through the part. Unfortuantely, the part on the outer surface broke during clamp up. I had to unclamp, unwrap, remove the broken part, retrieve my spare 6th part, rearrange for grain and color, clean the glue off the new outer surface and reclamp. It was a bit of scramble, but it all worked out.


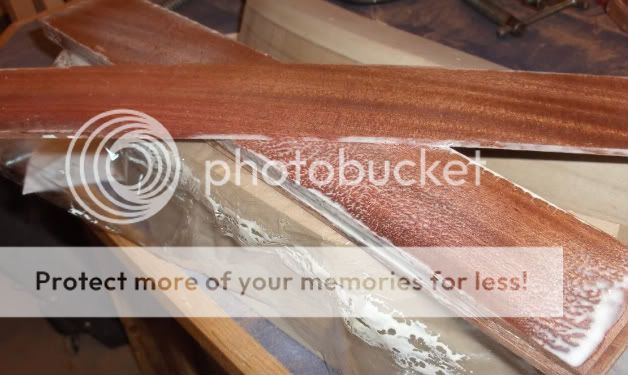
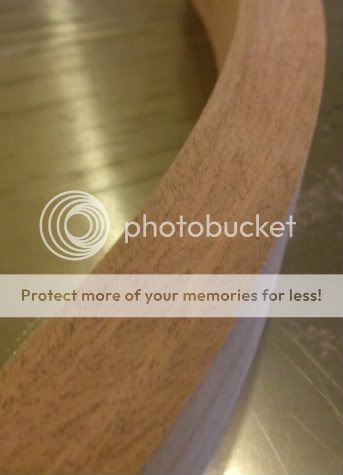
After unclamping, I trim the part to width and length. I am very pleased with how these parts are turning out. The glue lines are hard to find and the parts are very uniform.


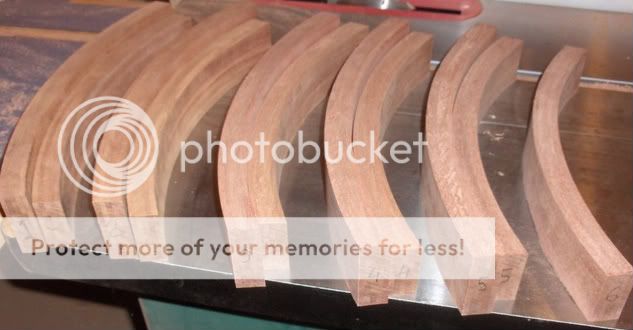
Here is a shot of eleven of the twelve parts. It has taken a while to get this far, but I am pleased with my pace.


Current time log:
Cutting rough stock: 2 hrs
Cutting legs to width and thickness: 4 hrs 20 min
Seat Back and Back Rest
> Cutting thin stock for laminations: 3 hrs 35 min
> Prepping laminations: 8 hrs 40 min
> Glue up Laminations: 3 hr 50 min
> Trim Laminated Parts: 2 hr 25 min

Total so far: 24 hrs 40 min
fun stuff … looking good
1 - 2 of 180 Posts
This is an older thread, you may not receive a response, and could be reviving an old thread. Please consider creating a new thread.
Top