My first "benchtop"
![Image]()
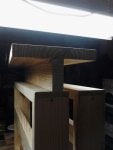
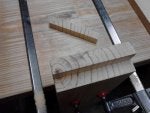
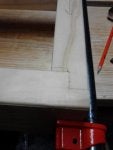
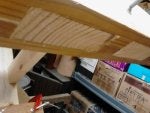
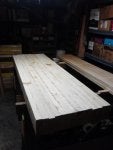
Beginning to make a Japanese style planing beam/board. 6 boards from Lowe's - 2 X 10 X 12's cut in half and staked up on my old sawhorses.
![Image]()
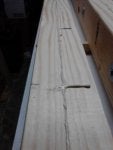
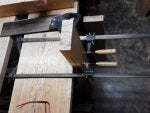
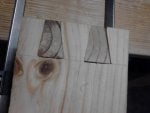
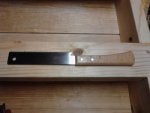
I used a 1 X 2 "select" pine as a straight edge - screwed to the 2X with drywall screws as a guide for my circular saw. Set the depth to leave a wafer thin "bridge" on the very bottom so I didn't cut into the board below. Worked very well. (Bit of a "mis-start" on the first board. I am ripping each one down the center and the cut edge will be the top side. Garage is absolutely full of boxes of my junk. I need to go through them and sort stuff out (plus find my hand plane and any other tools that may be lurking in there).
![Image]()
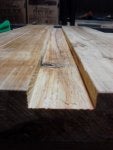
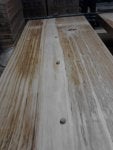
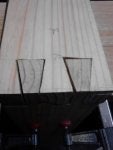
This one has a LOT of gummy sawdust. Smells good though.
![Image]()
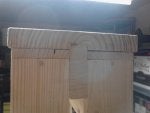
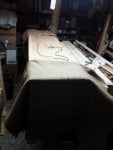
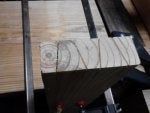
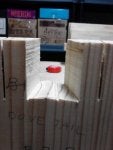
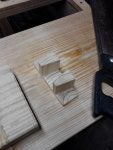
Thin wafer on the bottom of one side. I took an old chisel and sliced it off even with the cut face.
![Image]()
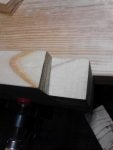
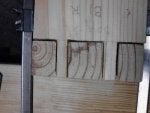
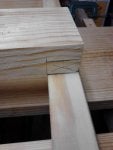
Here is the first one all split and ready to go.
![Image]()
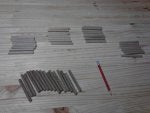
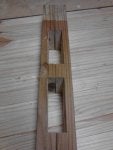
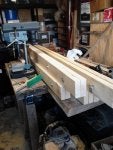
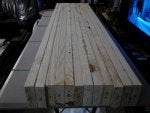
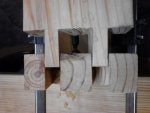
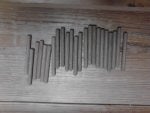
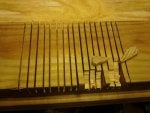
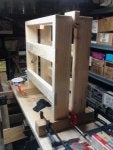
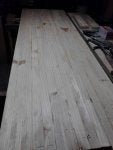
All ripped and stacked up. Fairly even and almost the same width - 4 5/8". The top ones are very heavy and knotty with a lot of sap. The slab will be 18" wide and 70 or 71 inches long after laminating. I don't have but a couple of small clamps, so I got five 3/8" all-threads X 24" and some fender washers and nuts to cinch it all down good. I am going to have to be precise in drilling my holes so the threaded rod will fit - I will drill larger holes (say 7/16" or 1/2") with a Forstner bit (I have a small drill press). I bought some Elmer's wood glue to do the lamination, but later I bought a tube of Liquid Nails heavy duty adhesive instead. I'm going to use a plastic putty knife to spread the adhesive out on each board. I also bought five 4-1/2" bolts to glue two boards at a time, then join those together later.
Beginning to make a Japanese style planing beam/board. 6 boards from Lowe's - 2 X 10 X 12's cut in half and staked up on my old sawhorses.
I used a 1 X 2 "select" pine as a straight edge - screwed to the 2X with drywall screws as a guide for my circular saw. Set the depth to leave a wafer thin "bridge" on the very bottom so I didn't cut into the board below. Worked very well. (Bit of a "mis-start" on the first board. I am ripping each one down the center and the cut edge will be the top side. Garage is absolutely full of boxes of my junk. I need to go through them and sort stuff out (plus find my hand plane and any other tools that may be lurking in there).
This one has a LOT of gummy sawdust. Smells good though.
Thin wafer on the bottom of one side. I took an old chisel and sliced it off even with the cut face.
Here is the first one all split and ready to go.
All ripped and stacked up. Fairly even and almost the same width - 4 5/8". The top ones are very heavy and knotty with a lot of sap. The slab will be 18" wide and 70 or 71 inches long after laminating. I don't have but a couple of small clamps, so I got five 3/8" all-threads X 24" and some fender washers and nuts to cinch it all down good. I am going to have to be precise in drilling my holes so the threaded rod will fit - I will drill larger holes (say 7/16" or 1/2") with a Forstner bit (I have a small drill press). I bought some Elmer's wood glue to do the lamination, but later I bought a tube of Liquid Nails heavy duty adhesive instead. I'm going to use a plastic putty knife to spread the adhesive out on each board. I also bought five 4-1/2" bolts to glue two boards at a time, then join those together later.


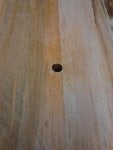
") I need to clean the black stuff off my 48" pipes.
I need to clean the black stuff off my 48" pipes.