Wagon wheels
![Image]()
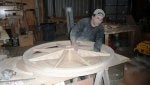
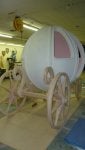
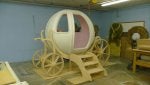
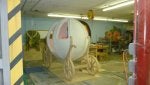
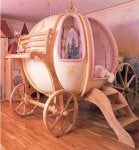
This is what the completed bed will look like.
![Image]()
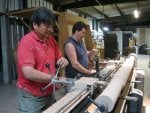
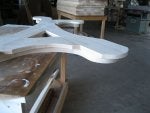
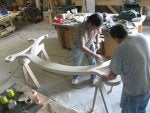
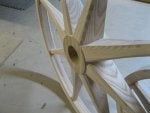
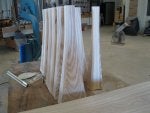
These are the spokes for the 48" back wheels.
![Image]()
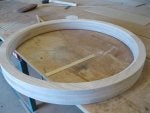
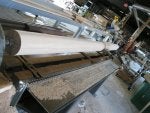
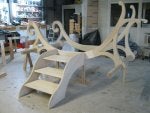
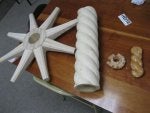
This is the rim for the front wheels.
![Image]()
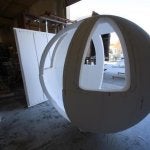
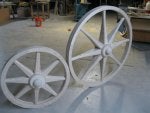
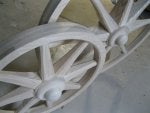
These are the front wheels.
![Image]()
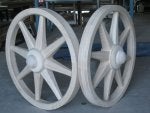
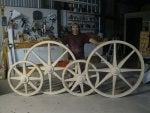
Front and back wheels.
![Image]()
![Image]()
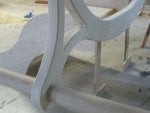
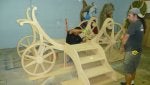
The radius at the bottom of the spokes was cut on the table saw by locking down the miter gauge and pushing the wood into the blade from the side and it was done in 4 passes. We used an 8" dado blade.
![Image]()
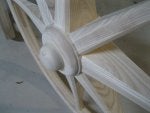
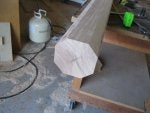
This is the back of the wheel where the axle will go into
![Image]()
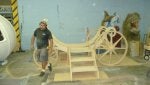
Next we will make the Chassis then I will turn the axles.
This is what the completed bed will look like.
These are the spokes for the 48" back wheels.
This is the rim for the front wheels.
These are the front wheels.
Front and back wheels.
The radius at the bottom of the spokes was cut on the table saw by locking down the miter gauge and pushing the wood into the blade from the side and it was done in 4 passes. We used an 8" dado blade.
This is the back of the wheel where the axle will go into
Next we will make the Chassis then I will turn the axles.


") )
)