Preparing the blank
Turning pens is a lot of fun, and a great way to practice lathe skills while making something beautiful. This step by step will cover the essential elements of selecting the style and material for the pen, preparing the blank, and mounting it on th lathe.
I don't turn many pens. Usually when I do, it's for a specific reason or an special someone, so I don't batch them out like a lot of guys do. Not that there is anything wrong with that, because if you're trying to generate a profit, that's the only way to go. I prefer however to spend time with one project for someone amazing and work towards making the pen emulate the individual.
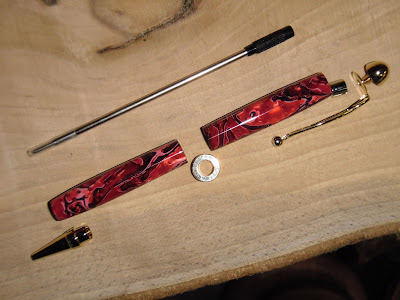
That process starts with selecting the hardware. Lee Valley has a great selection kits to choose from as do several other vendors. But since there's a Lee Valley 5 minutes from my home, that's where I get my kits. Kits should be chosen for their fit with the blank, and the individual. Most women prefer slim pens, while current style indicates men are choosing bolder, heavier cigar shaped writing instruments. Pay careful attention to the colour of the kit. Cooler titamium, nickle, and chrome finishes completement darker woods and acetates, while gold and brass bring out the warmer tones of natural materials, and can complement brighter colours in acetate. For the purpose of this blog, I will be using the LV StreamLine kit. It's a very basic and adaptable kit that, with some modification can accept pen designs from mild to wild.
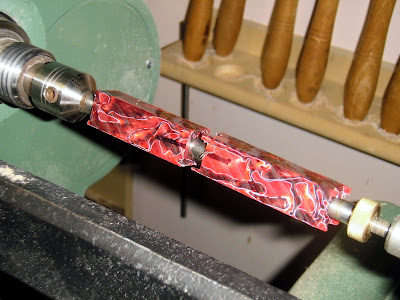
Start by selecting a material based on colour, intended use (i.e. don't choose a soft wood for an everyday use pen), and if you're making it for a special person… spend some time considering them too. Align the blank with the ferruls in your kit and mark the blank for cutting. Mark where each cut will be, and mark a line on one face, parallel to an edge. This line will be used to reorient the blank on the lathe to ensure that the grain remains matched on the finished product.
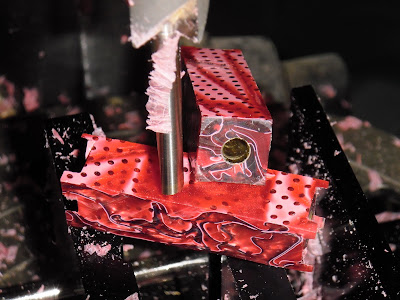
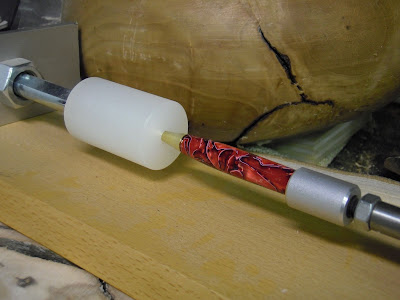
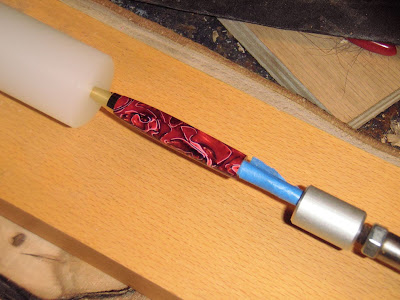
Using a jig or a pen vise, you will need to drill out the centre of the blank to accept the ferrules. For larger diameter pens you will need to be careful to stay in the exact centre to preserve as much diameter as possible. For slimmer pens, it's less critical. Usually, the apprpriate size brad point drill bit will be supplied with the kit, as an option. If you're trying a new kit, make sure you buy the right drill size at the same time. I glue the ferrules in with epoxy, but cyanoacrylate (super) glues work well too. Be sure to sand any oxidation off of the brass ferrules before gluing. This provides a clean bonding surface, and increases the surface area for the bond as well.
Be certain that the ferrules are held back from the ends of the blanks. This will give adequate material for squaring the blank to the cetreline of the ferrules in the next set, without shortening the over pen length. Usually, this is good place to stop for me. I set the blanks aside for the night to let the epoy achieve maximum strength.
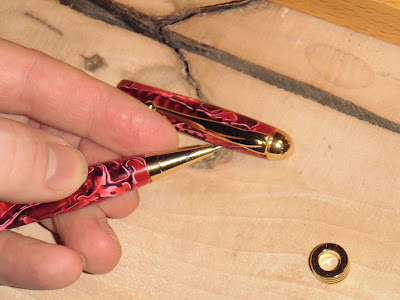
In the next entry, I'll detail the turning, sanding, and polishing steps.
Turning pens is a lot of fun, and a great way to practice lathe skills while making something beautiful. This step by step will cover the essential elements of selecting the style and material for the pen, preparing the blank, and mounting it on th lathe.
I don't turn many pens. Usually when I do, it's for a specific reason or an special someone, so I don't batch them out like a lot of guys do. Not that there is anything wrong with that, because if you're trying to generate a profit, that's the only way to go. I prefer however to spend time with one project for someone amazing and work towards making the pen emulate the individual.
That process starts with selecting the hardware. Lee Valley has a great selection kits to choose from as do several other vendors. But since there's a Lee Valley 5 minutes from my home, that's where I get my kits. Kits should be chosen for their fit with the blank, and the individual. Most women prefer slim pens, while current style indicates men are choosing bolder, heavier cigar shaped writing instruments. Pay careful attention to the colour of the kit. Cooler titamium, nickle, and chrome finishes completement darker woods and acetates, while gold and brass bring out the warmer tones of natural materials, and can complement brighter colours in acetate. For the purpose of this blog, I will be using the LV StreamLine kit. It's a very basic and adaptable kit that, with some modification can accept pen designs from mild to wild.
Start by selecting a material based on colour, intended use (i.e. don't choose a soft wood for an everyday use pen), and if you're making it for a special person… spend some time considering them too. Align the blank with the ferruls in your kit and mark the blank for cutting. Mark where each cut will be, and mark a line on one face, parallel to an edge. This line will be used to reorient the blank on the lathe to ensure that the grain remains matched on the finished product.
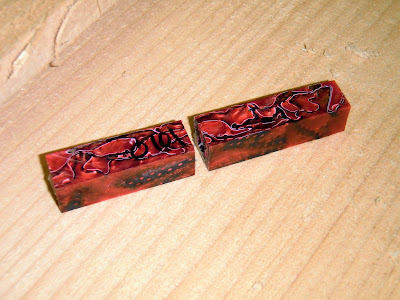 |
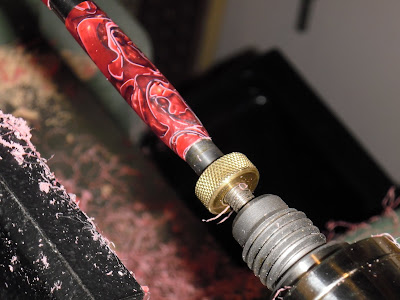
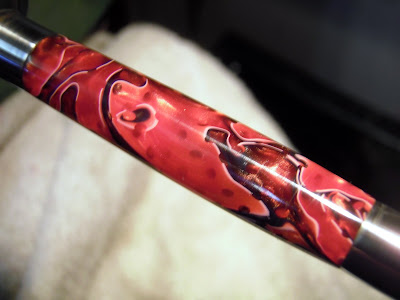
| From Red Acetate Pen |
Using a jig or a pen vise, you will need to drill out the centre of the blank to accept the ferrules. For larger diameter pens you will need to be careful to stay in the exact centre to preserve as much diameter as possible. For slimmer pens, it's less critical. Usually, the apprpriate size brad point drill bit will be supplied with the kit, as an option. If you're trying a new kit, make sure you buy the right drill size at the same time. I glue the ferrules in with epoxy, but cyanoacrylate (super) glues work well too. Be sure to sand any oxidation off of the brass ferrules before gluing. This provides a clean bonding surface, and increases the surface area for the bond as well.
 |
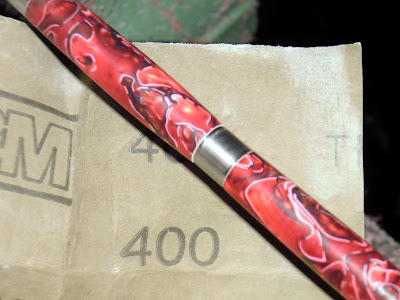
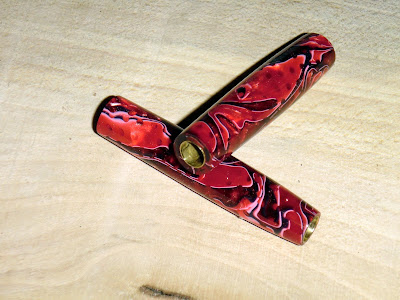
| From Red Acetate Pen |
Be certain that the ferrules are held back from the ends of the blanks. This will give adequate material for squaring the blank to the cetreline of the ferrules in the next set, without shortening the over pen length. Usually, this is good place to stop for me. I set the blanks aside for the night to let the epoy achieve maximum strength.
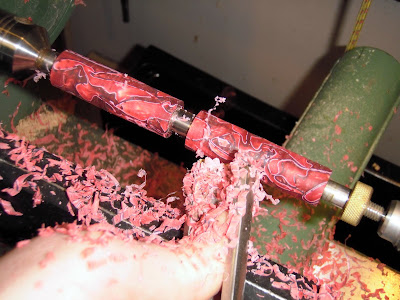
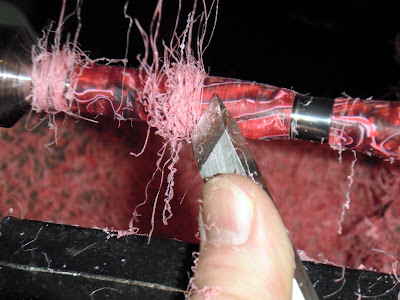
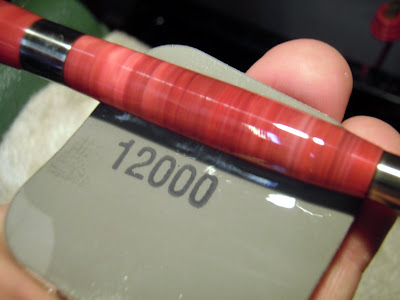
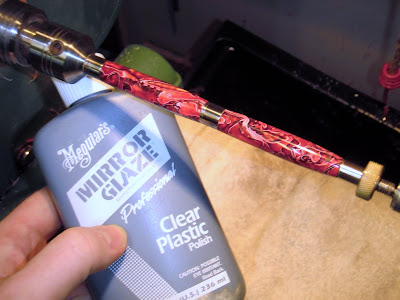
In the next entry, I'll detail the turning, sanding, and polishing steps.