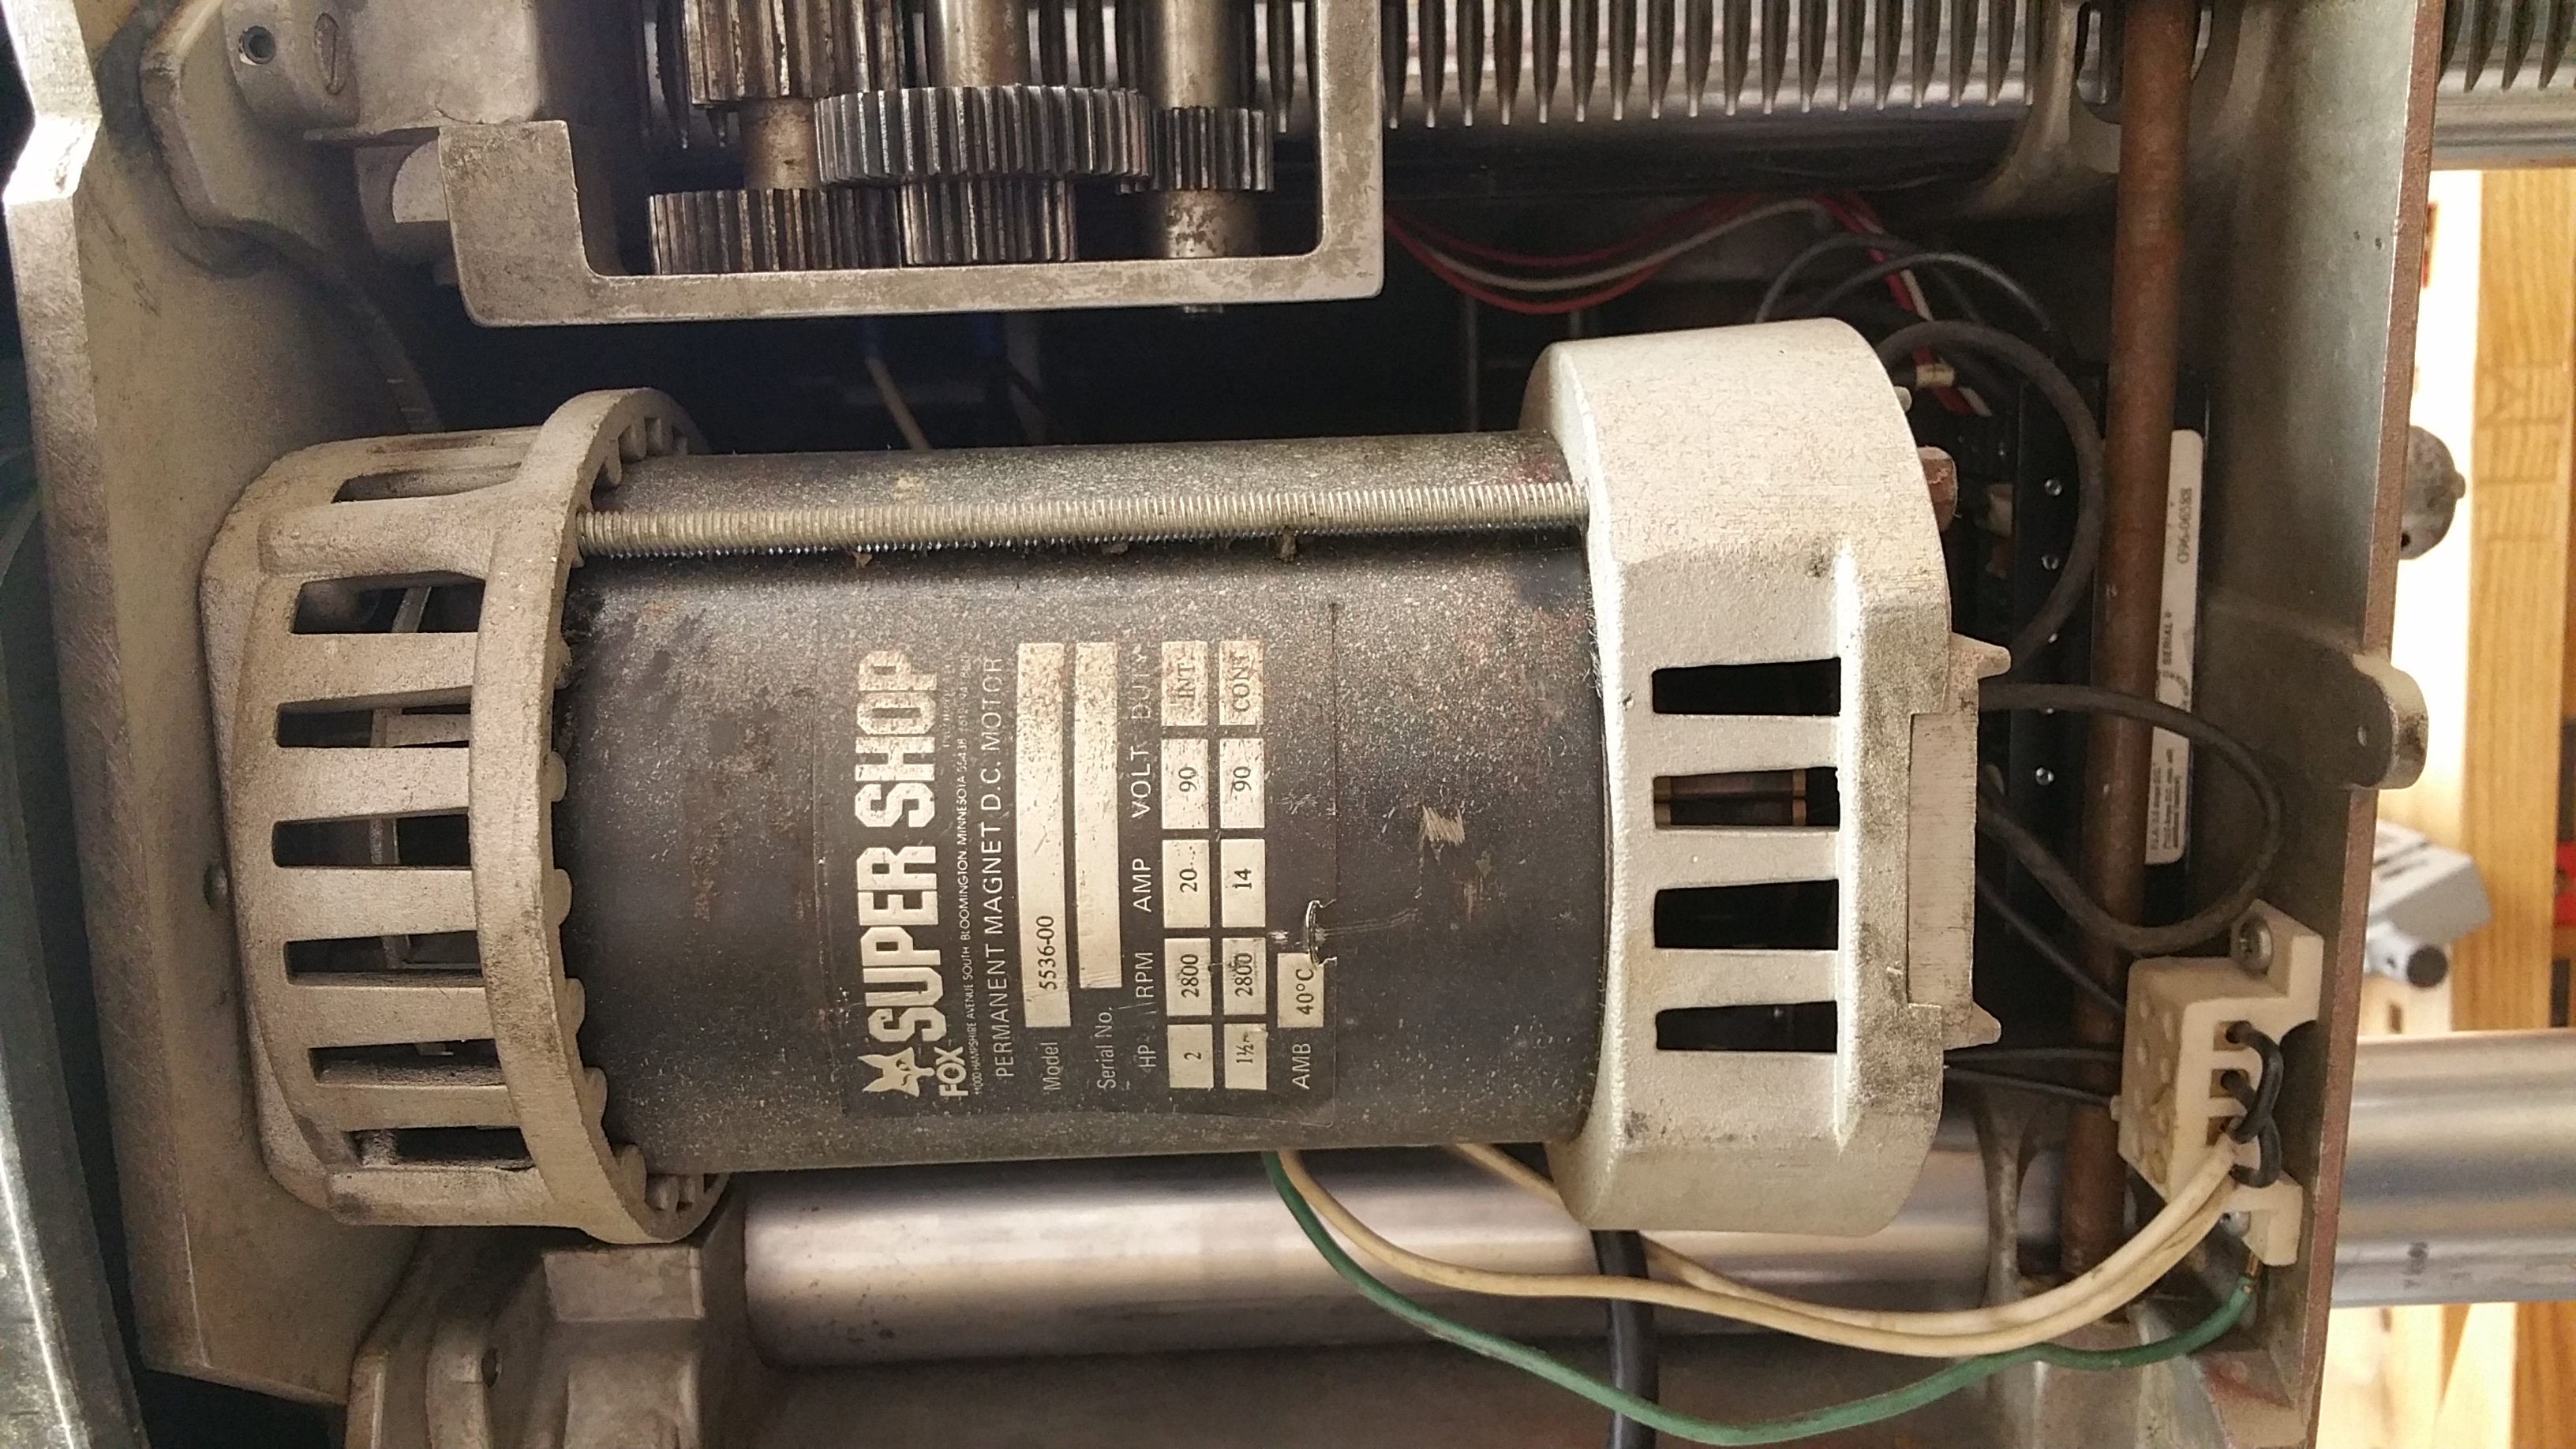
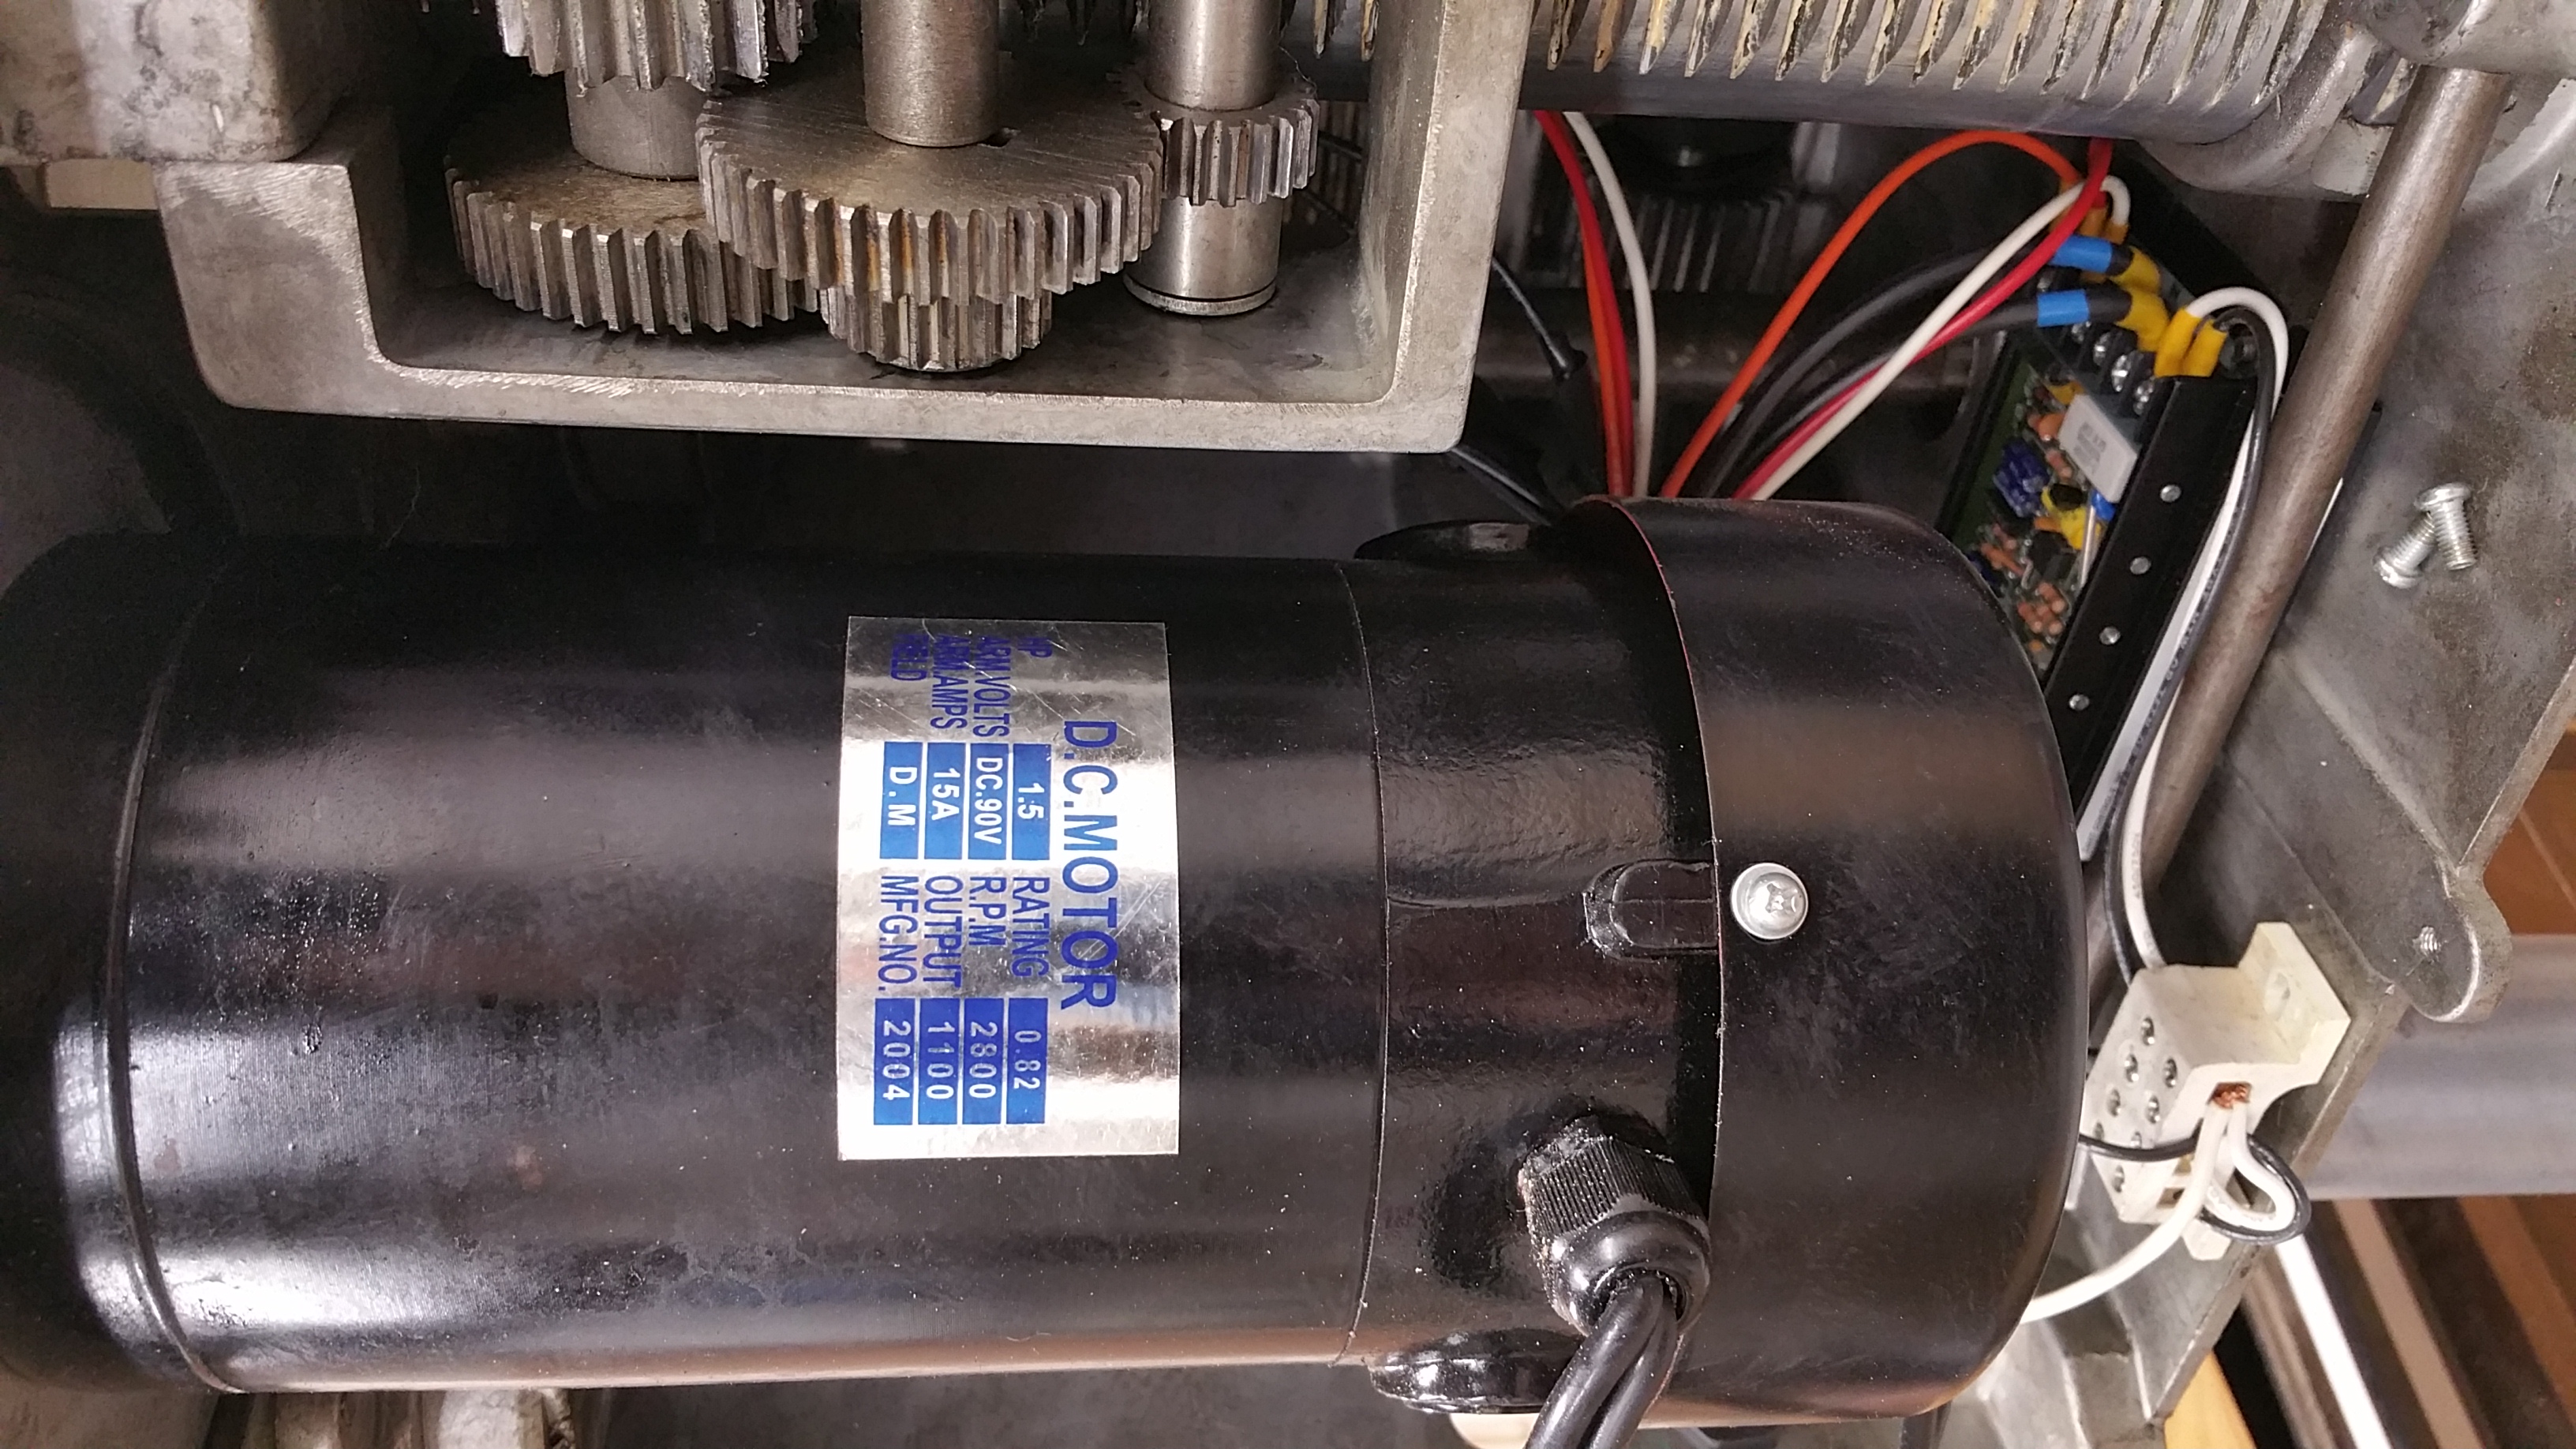
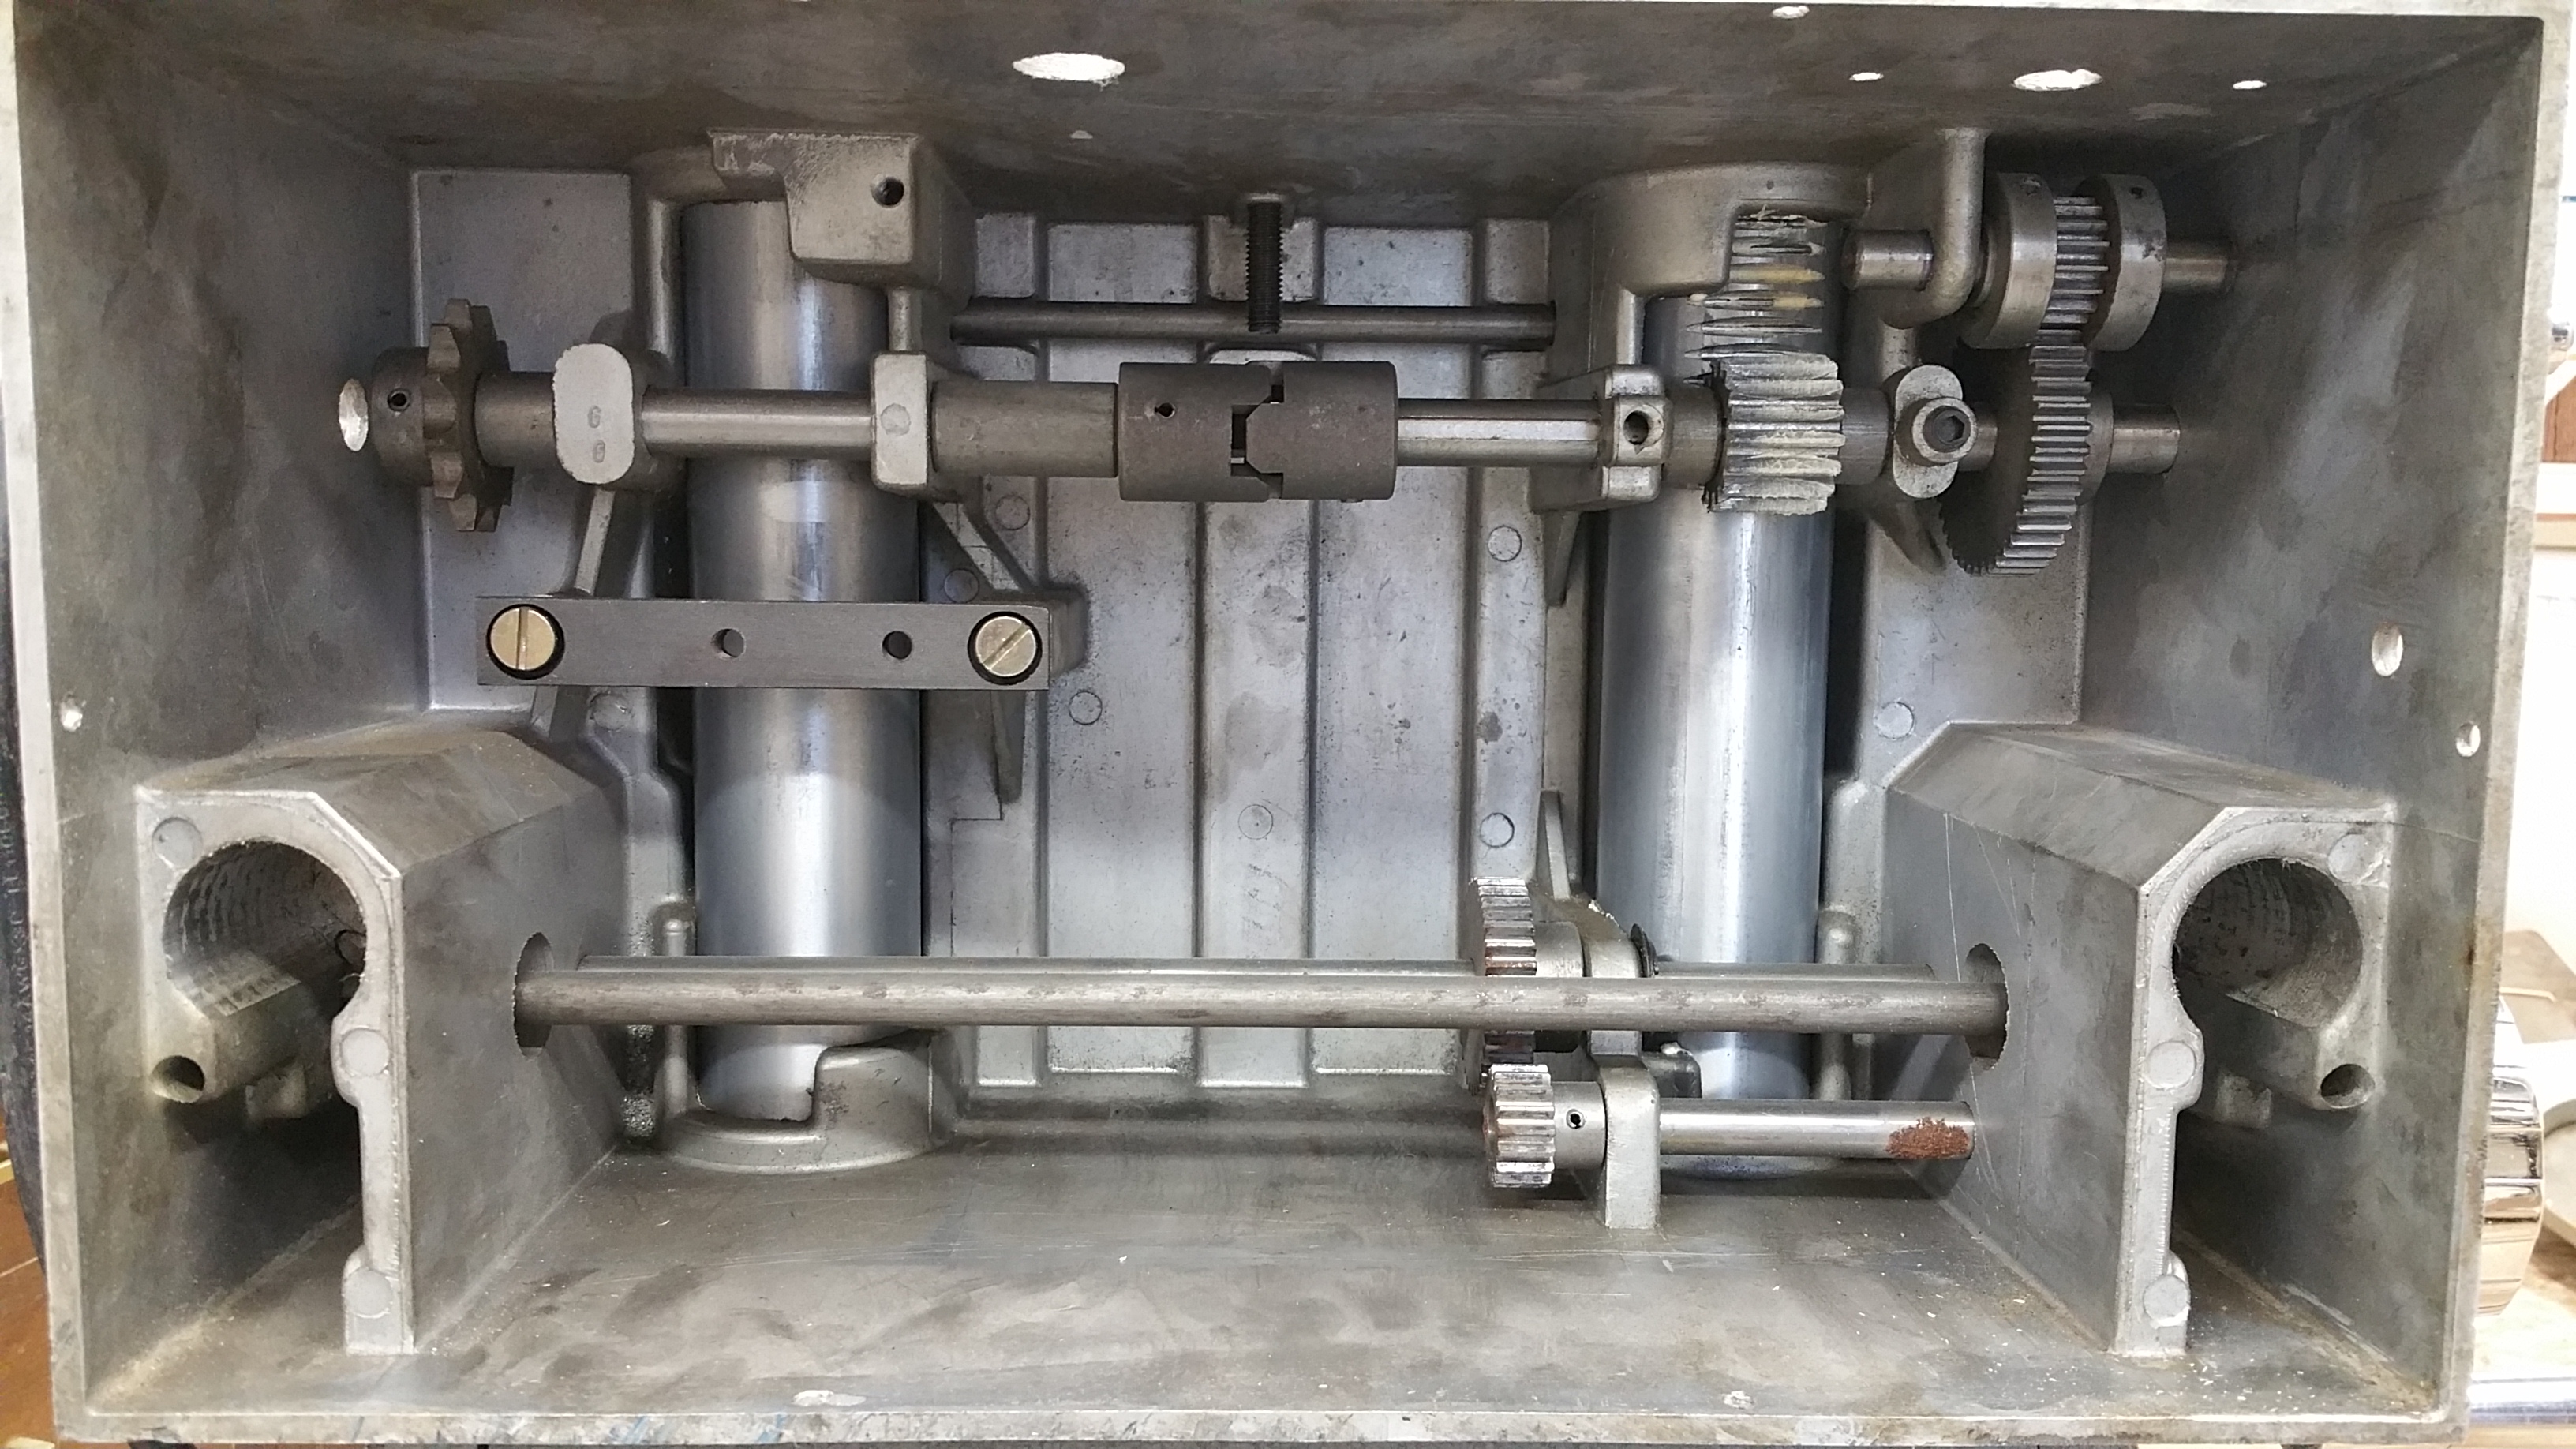
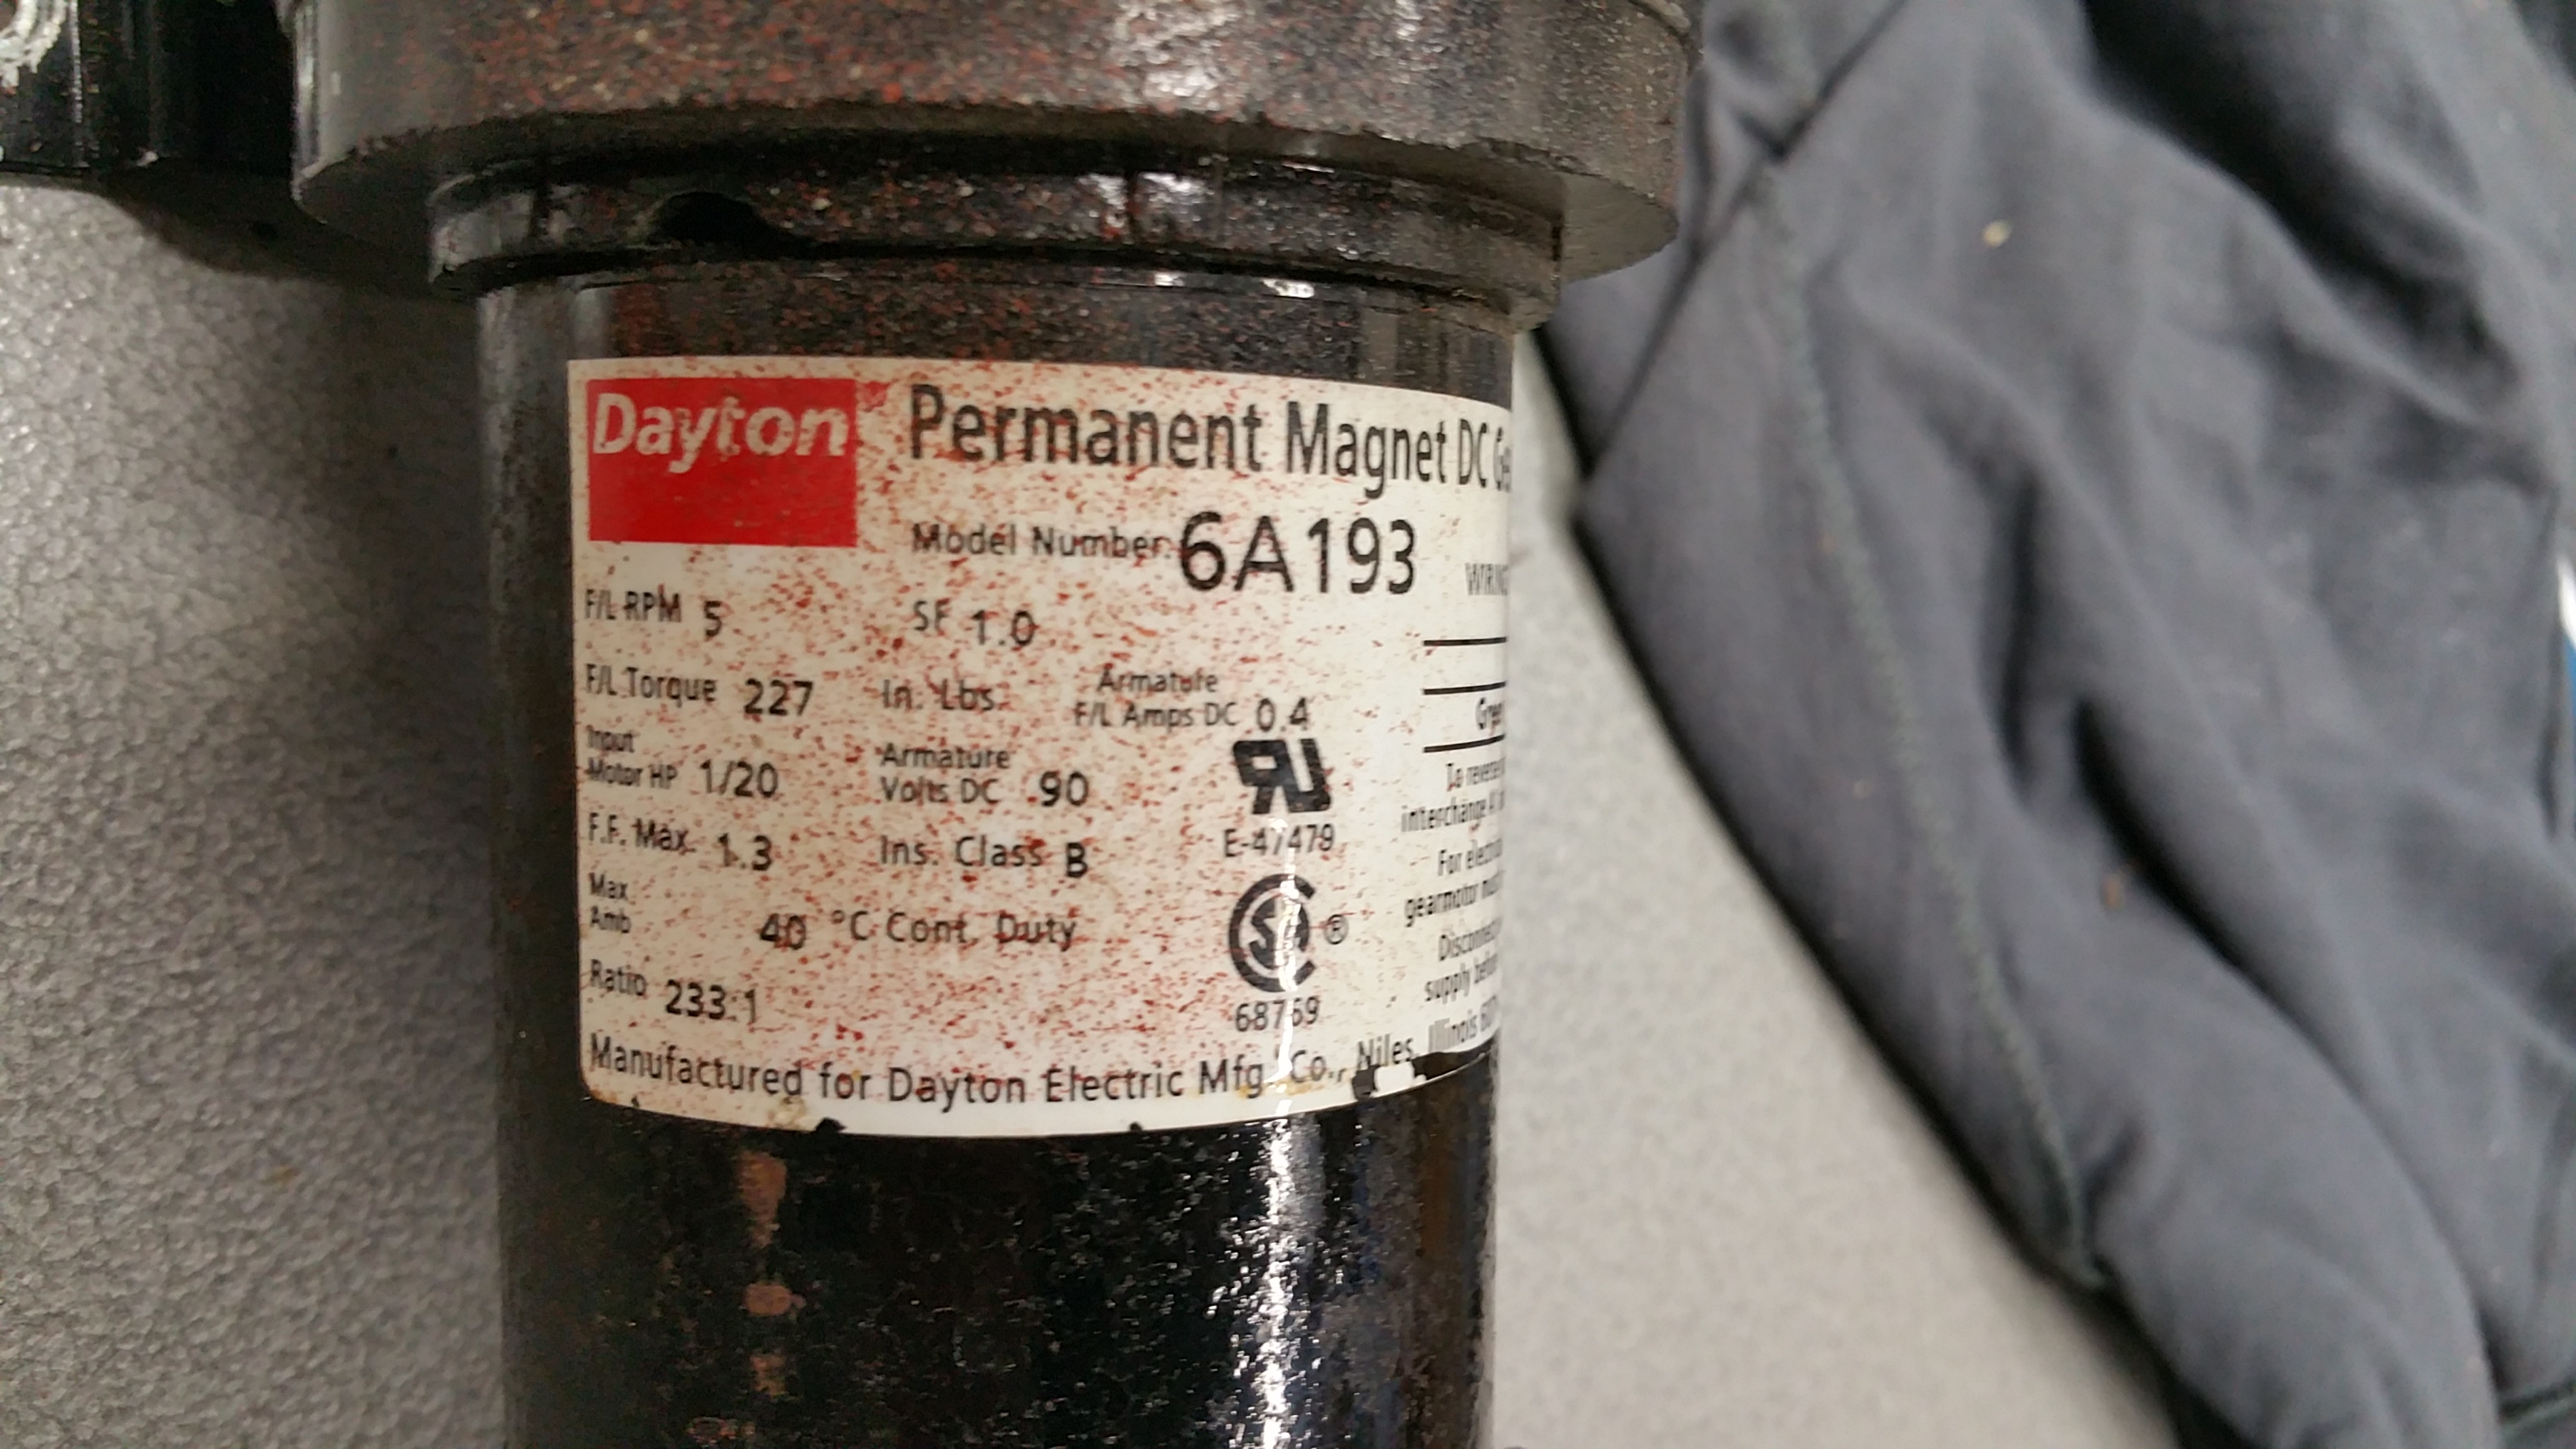
This is a group for Supershop owners to share information about their machines. I used to be a dealer for the Fox Supershop designed and built by Tony Fox operations and one has been in my shop since 1980, a year after they were introduced in 1979.
A lot of information has already been shared.
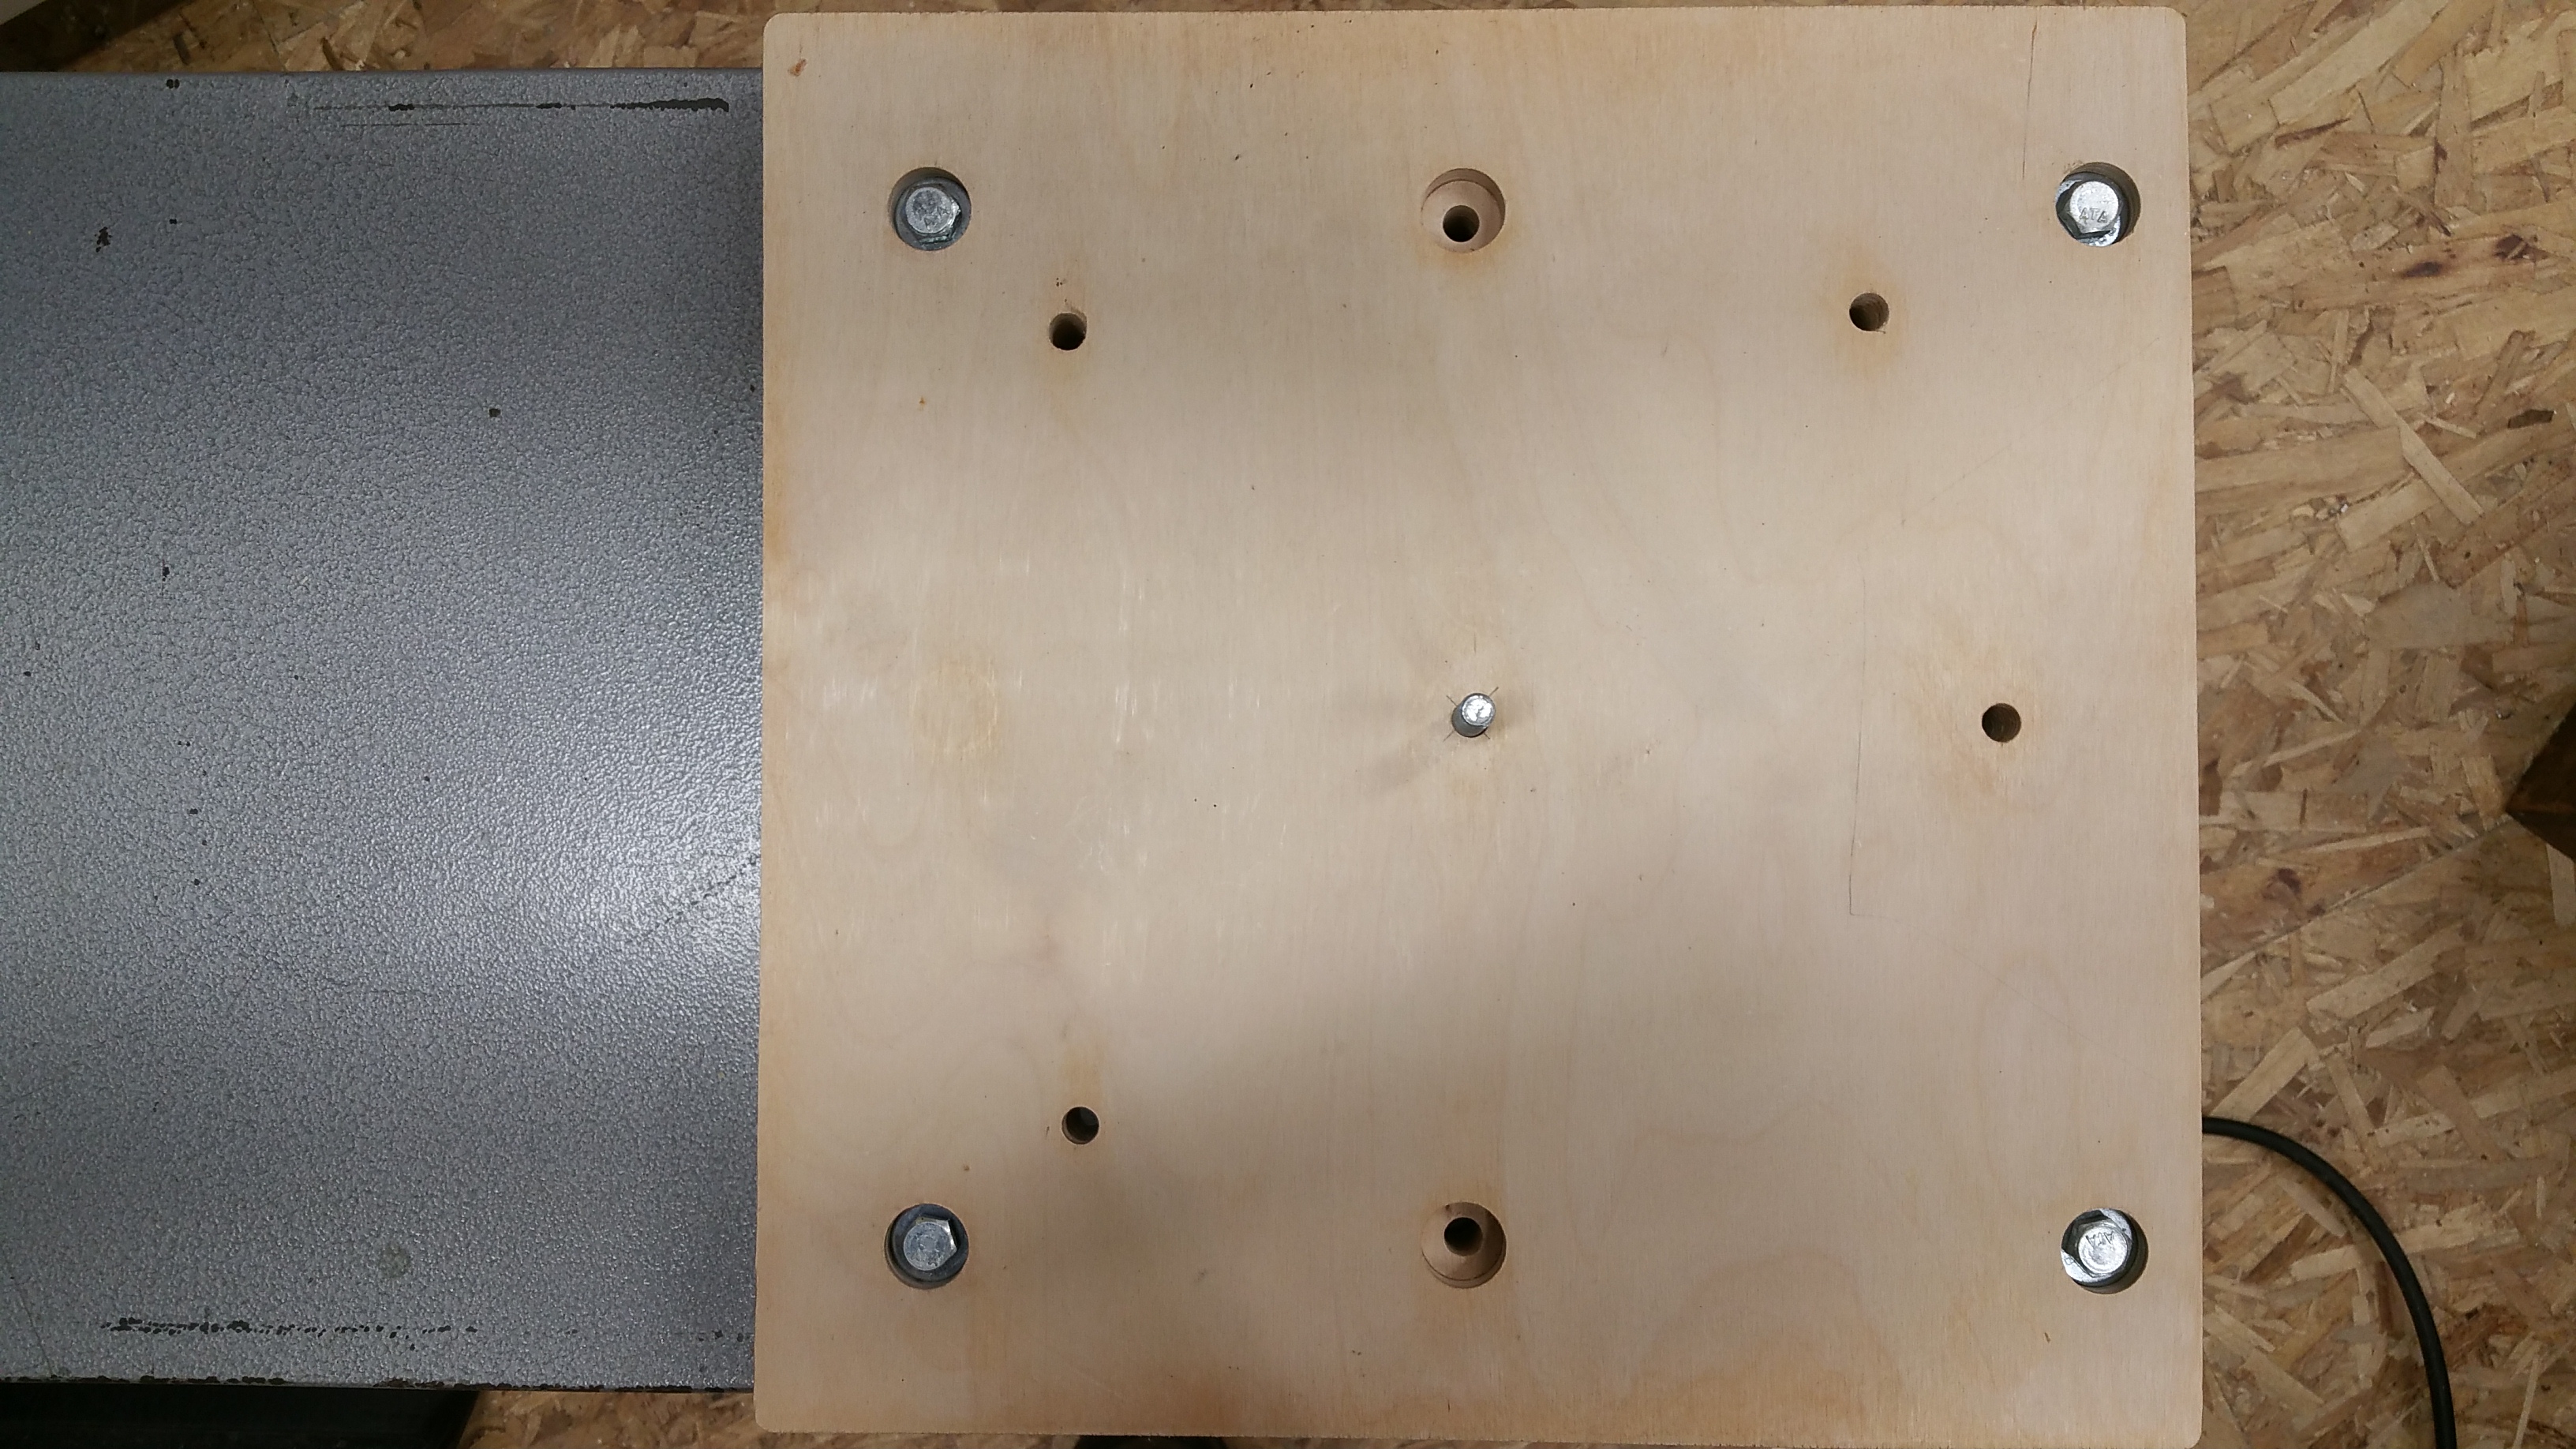
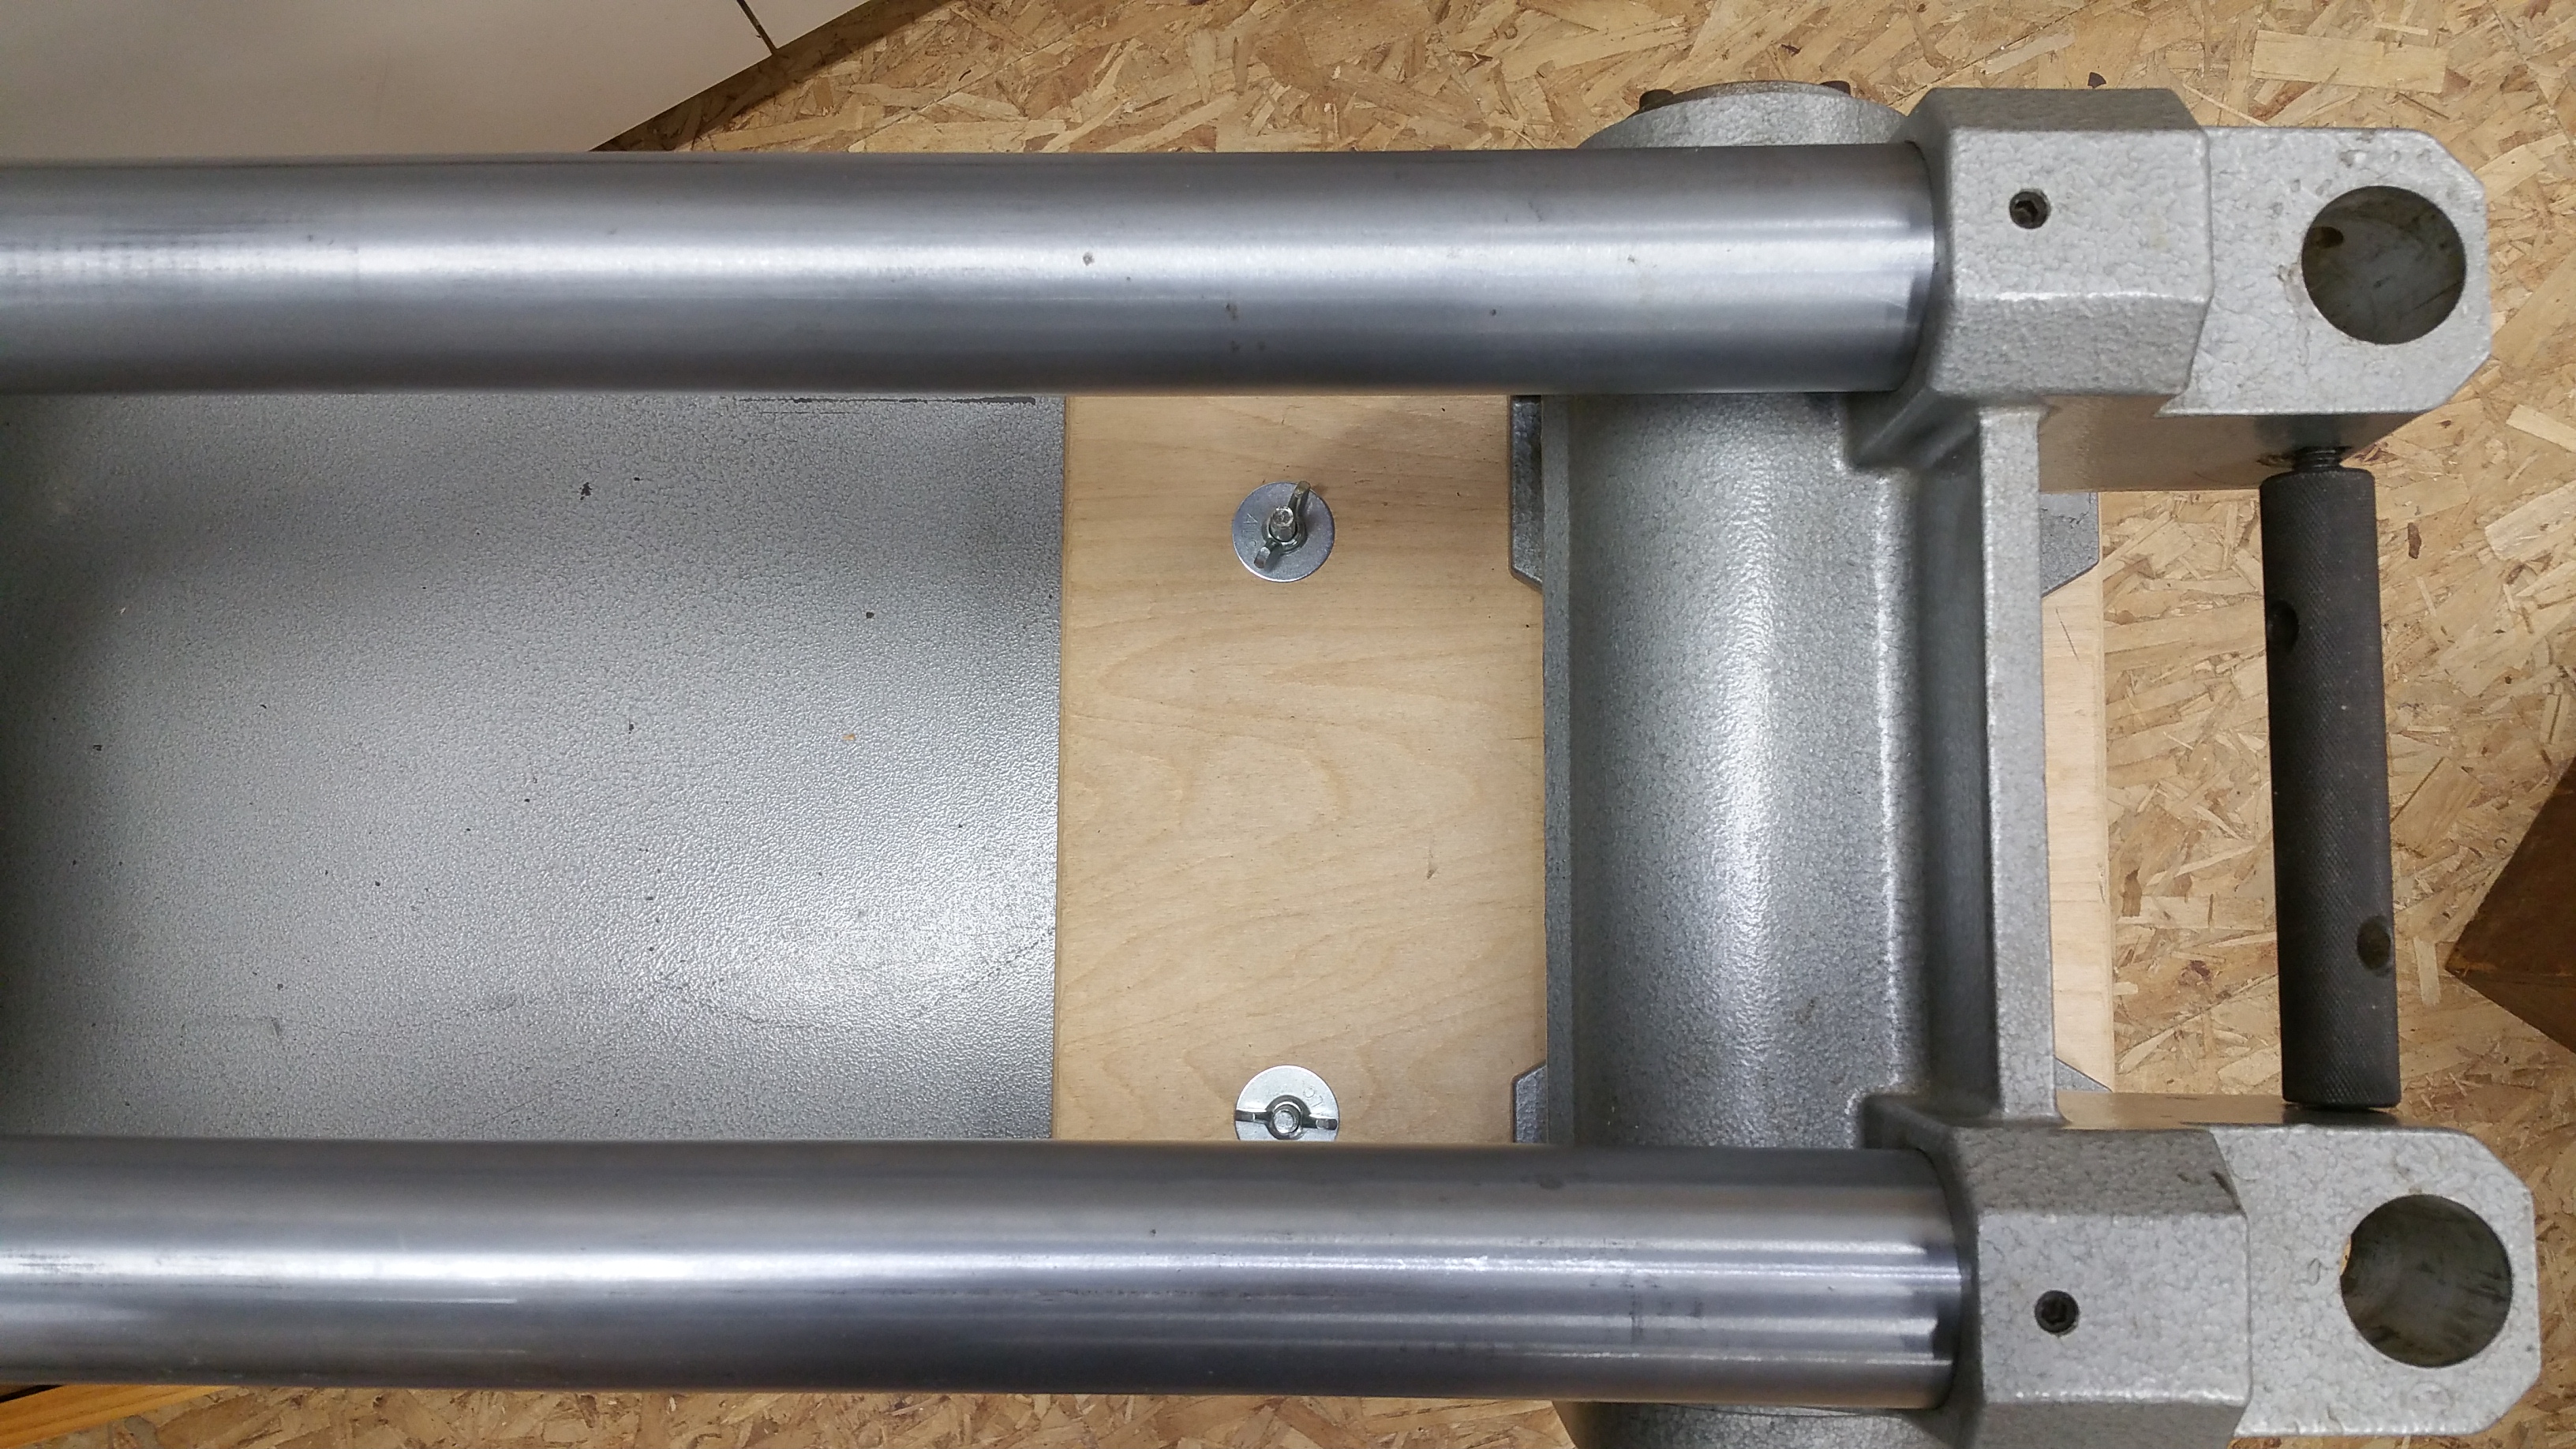
Many knock offs have been produced and most are faithful reproductions of the original, with the exception of the power lateral feed. Many parts will be interchangeable (withing machining tolerances). There are no known caches of parts any more. As of 2018 Smithy has stopped taking calls about Super Shops.
Let's share our information, experiences, setups. We can offer machines for sale or point to sites trying to sell one. If you find or have a stash of parts, please post here.
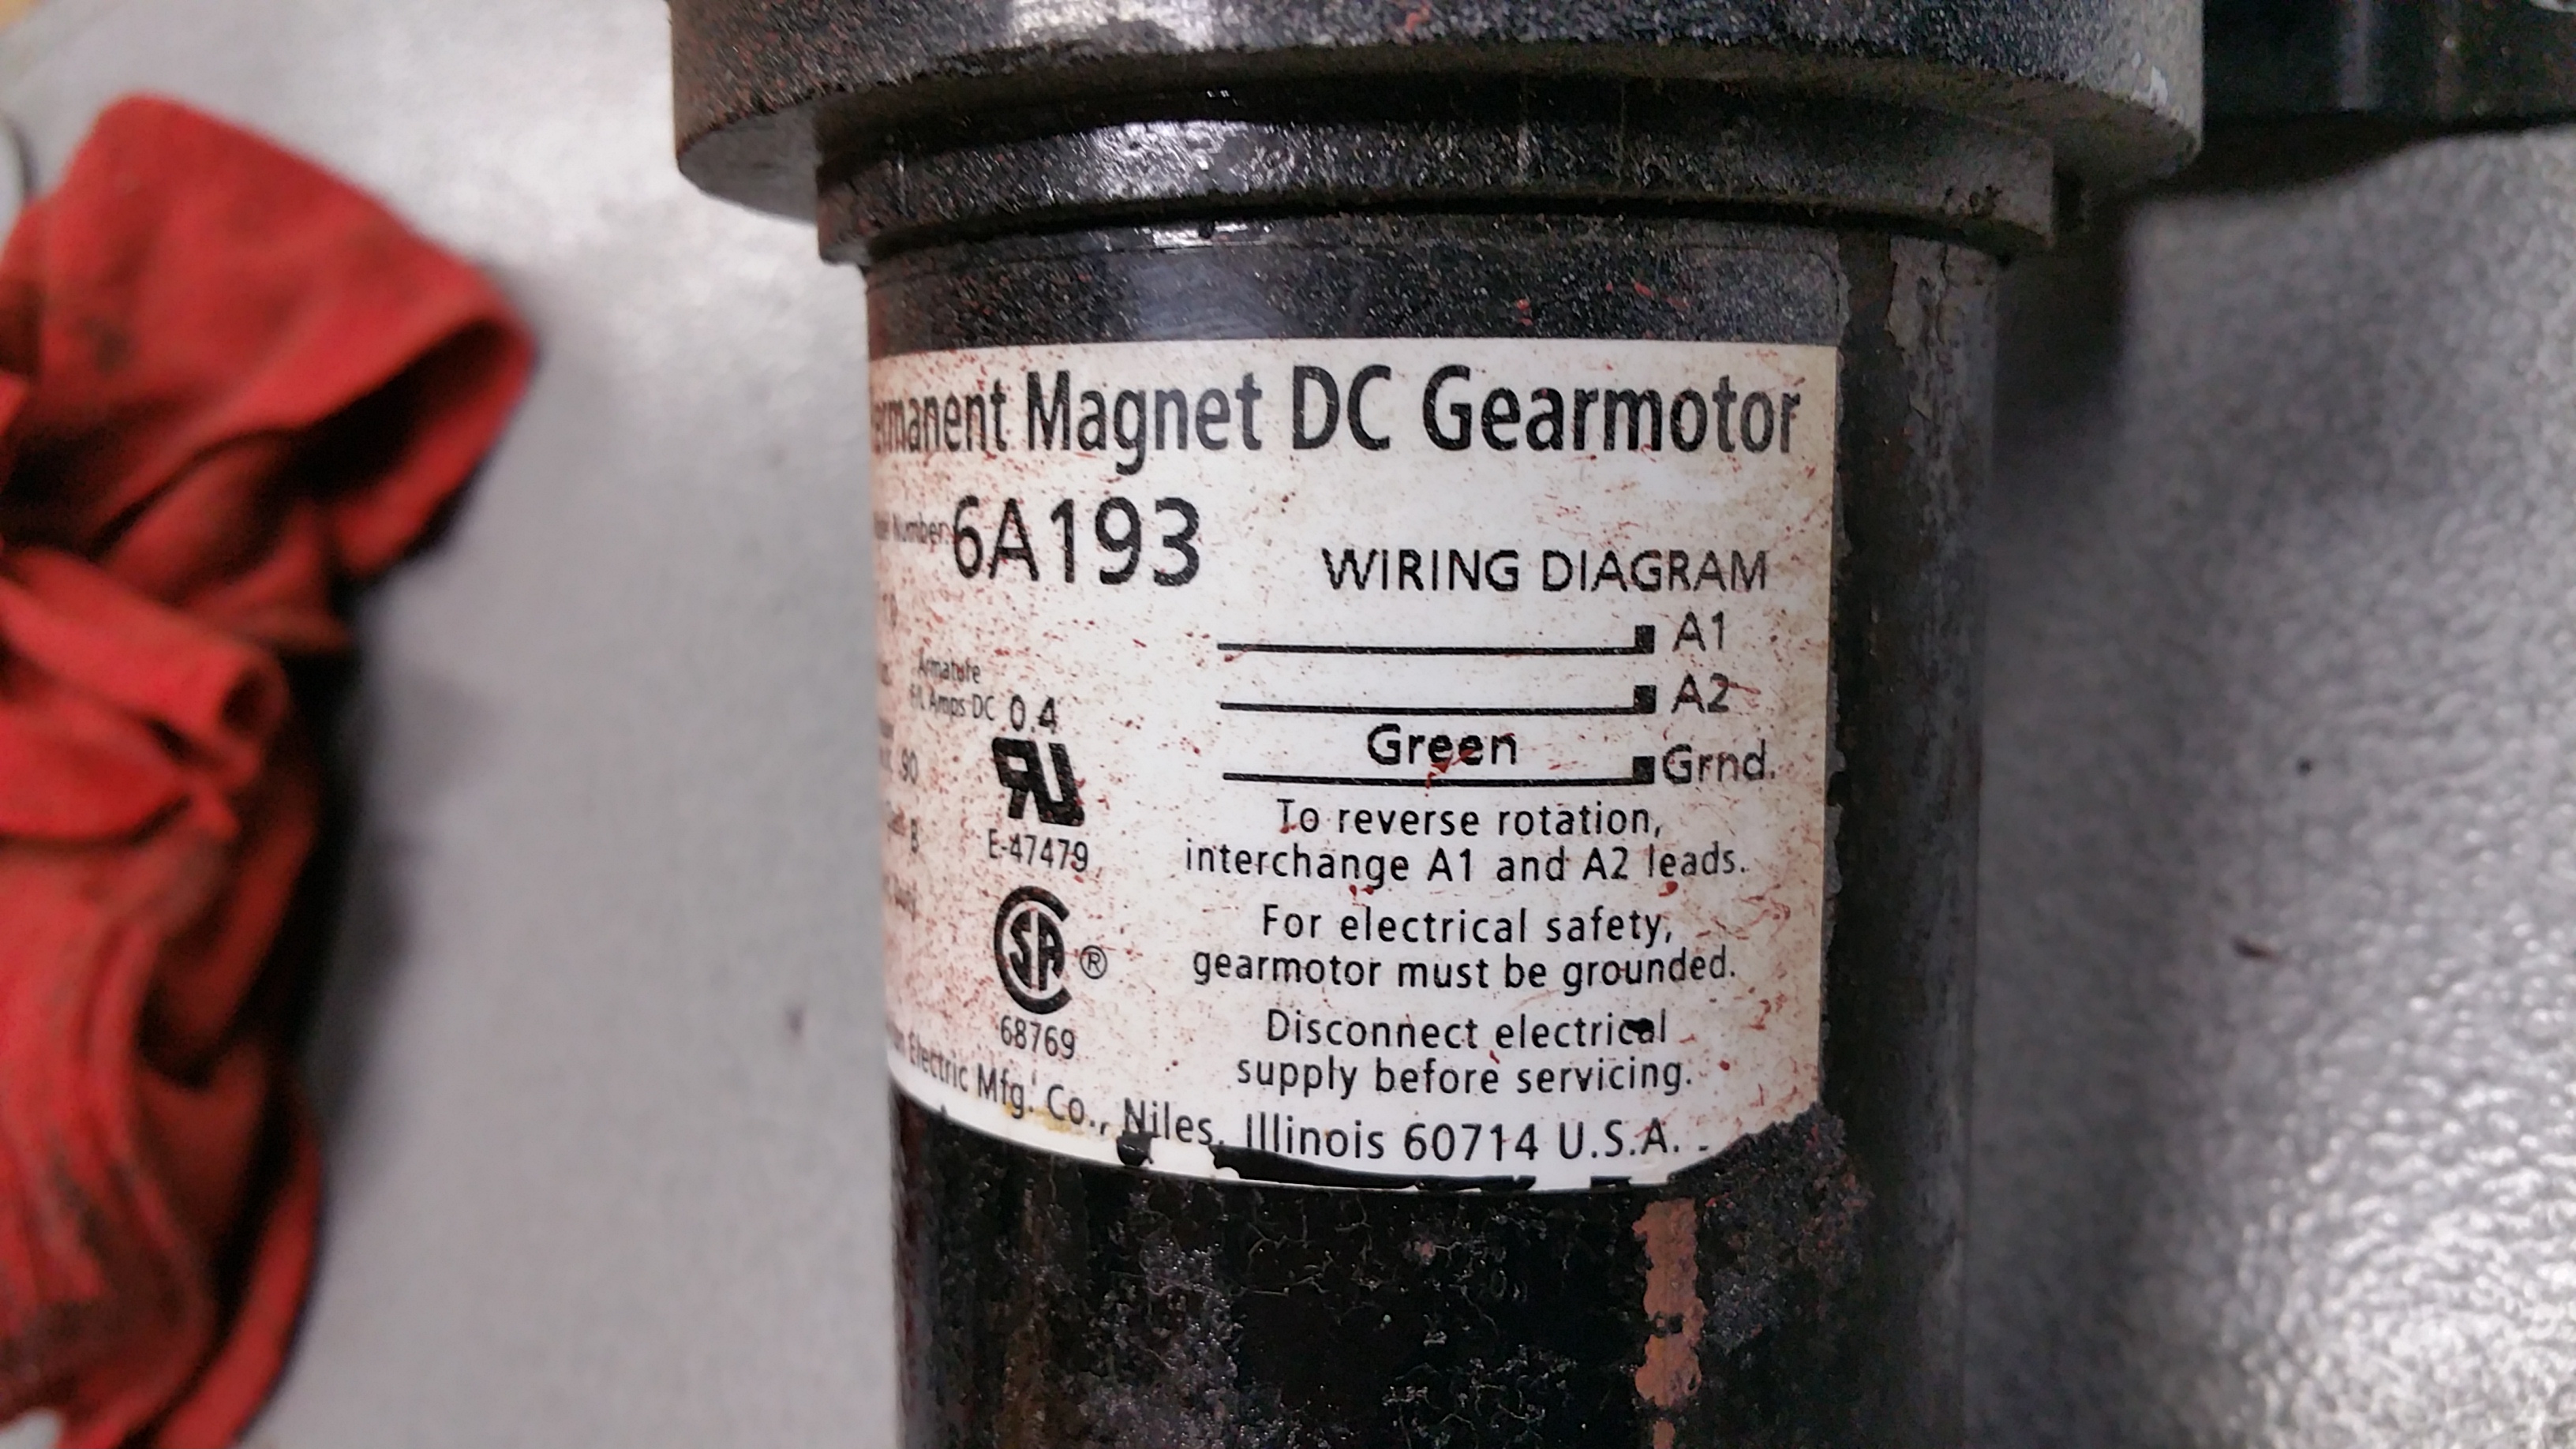
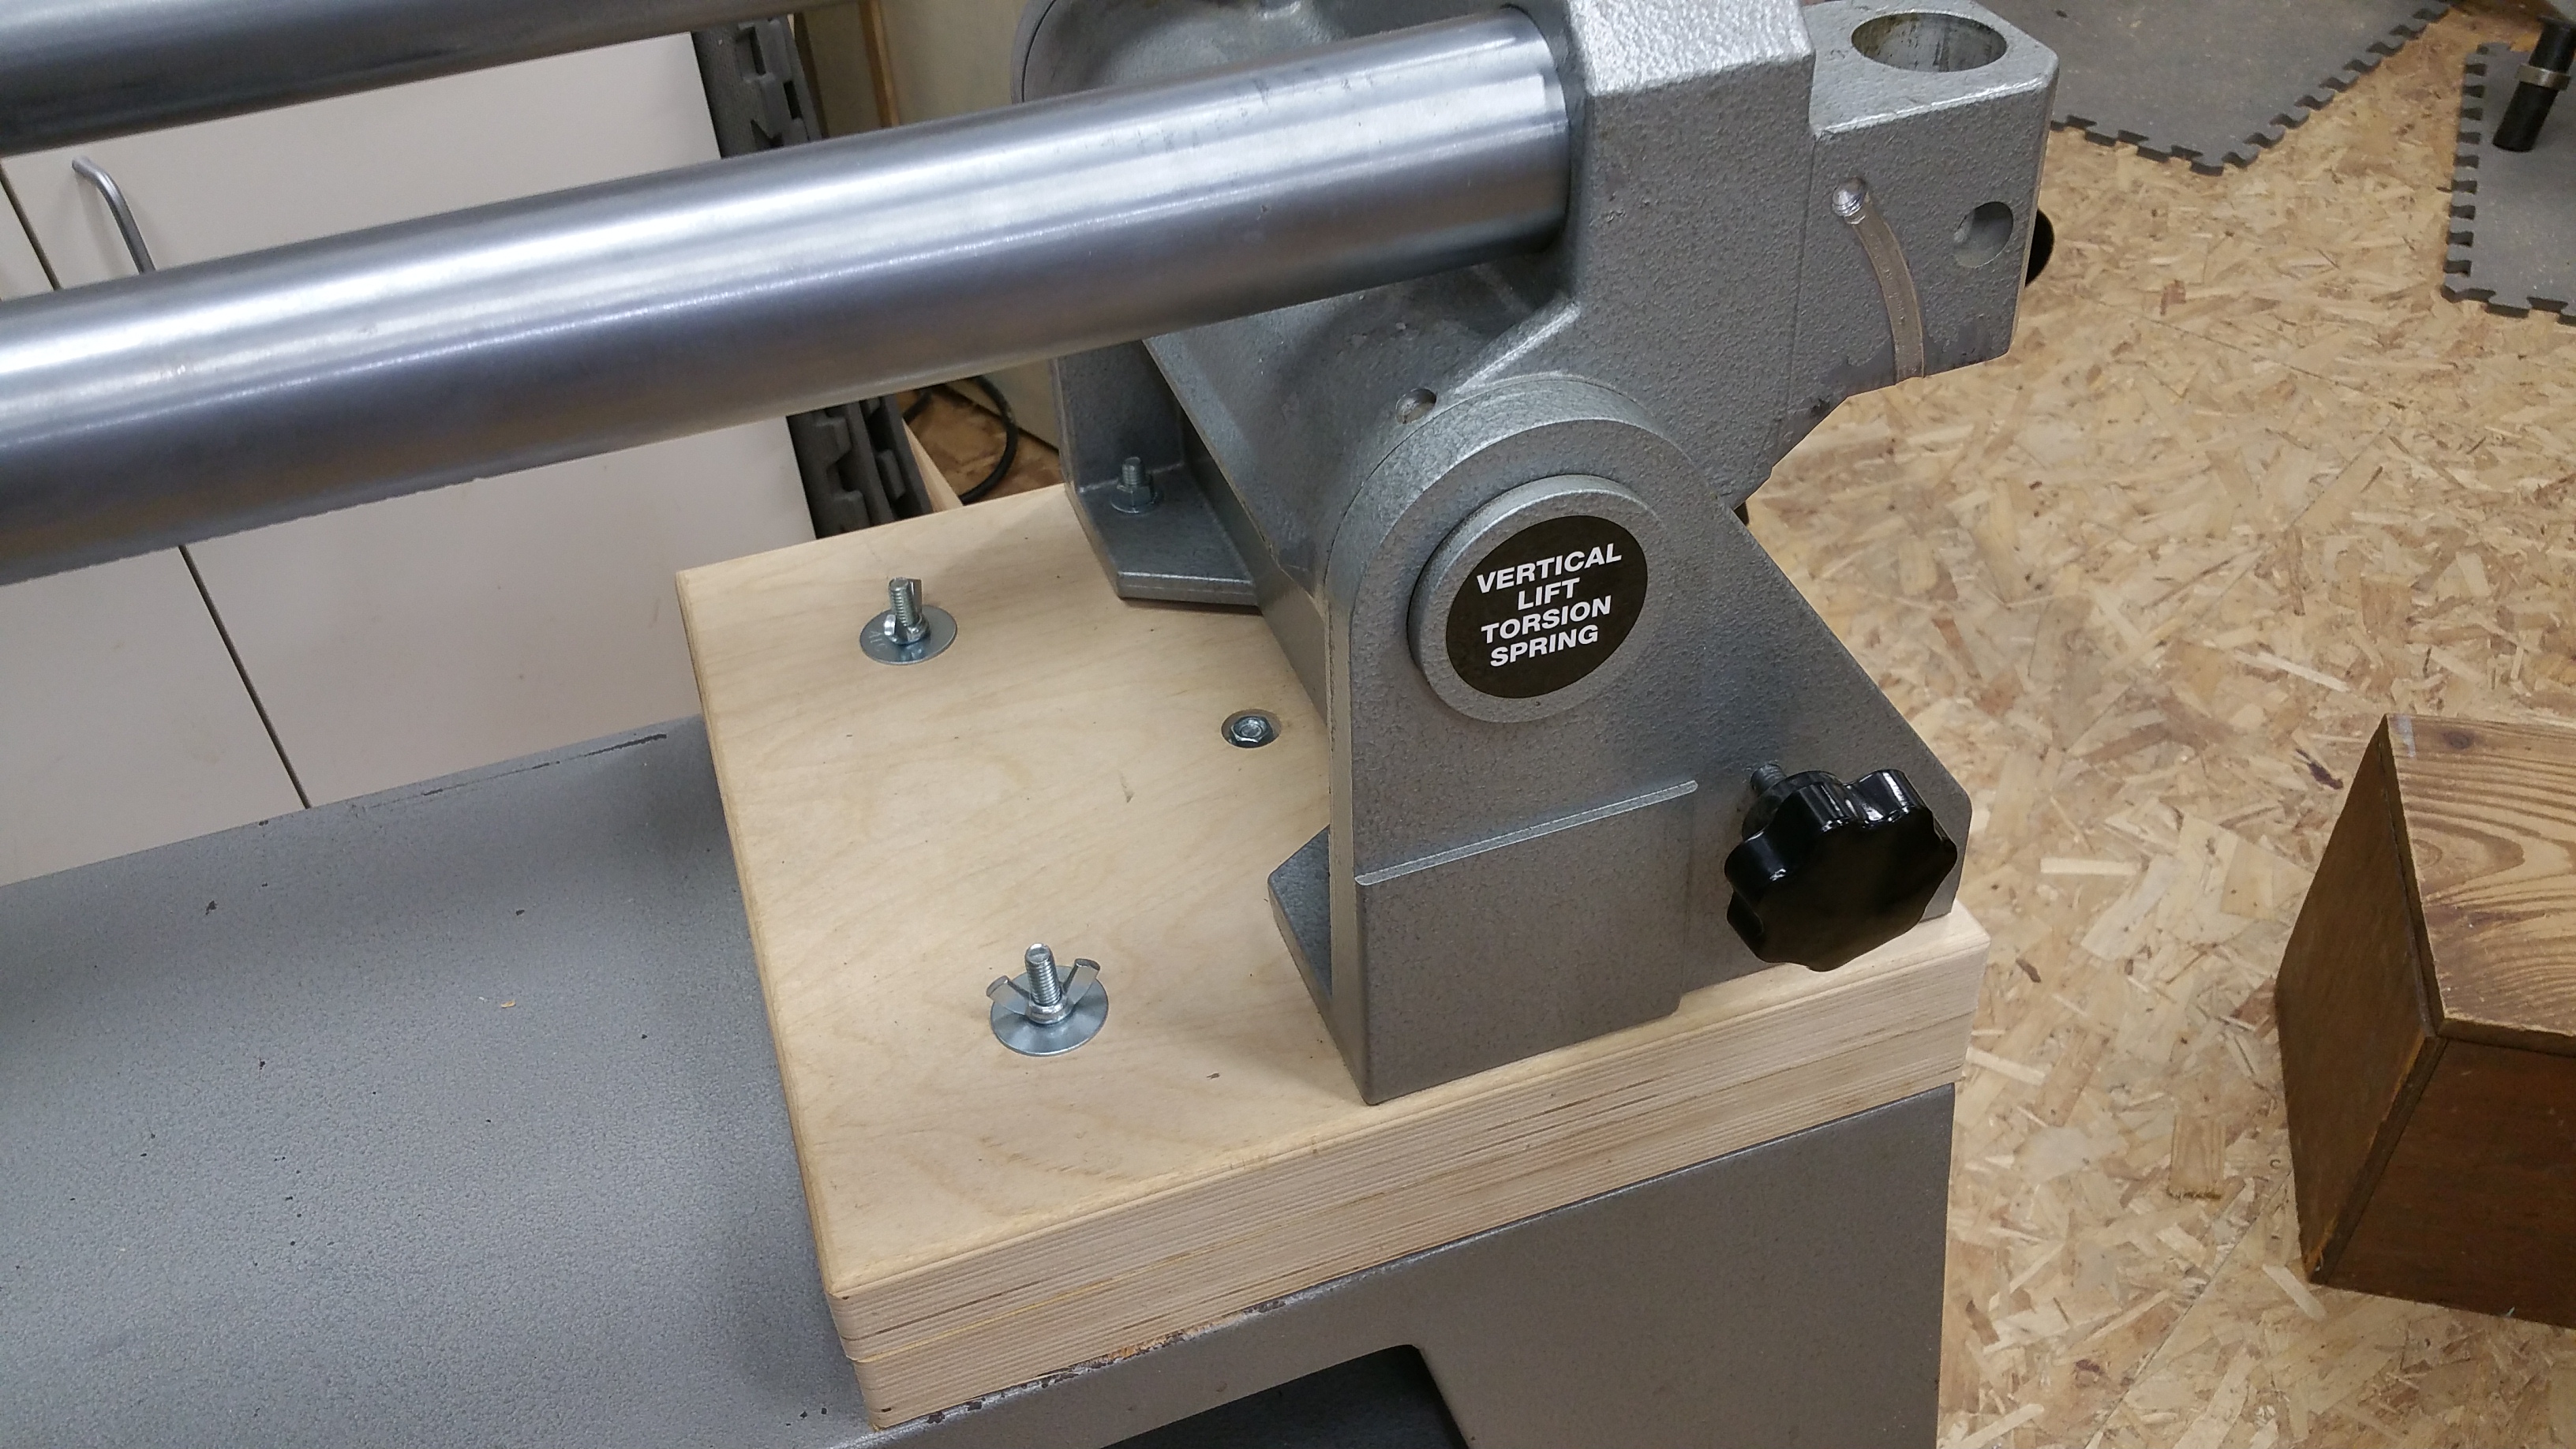
From the manual:
![Image]()
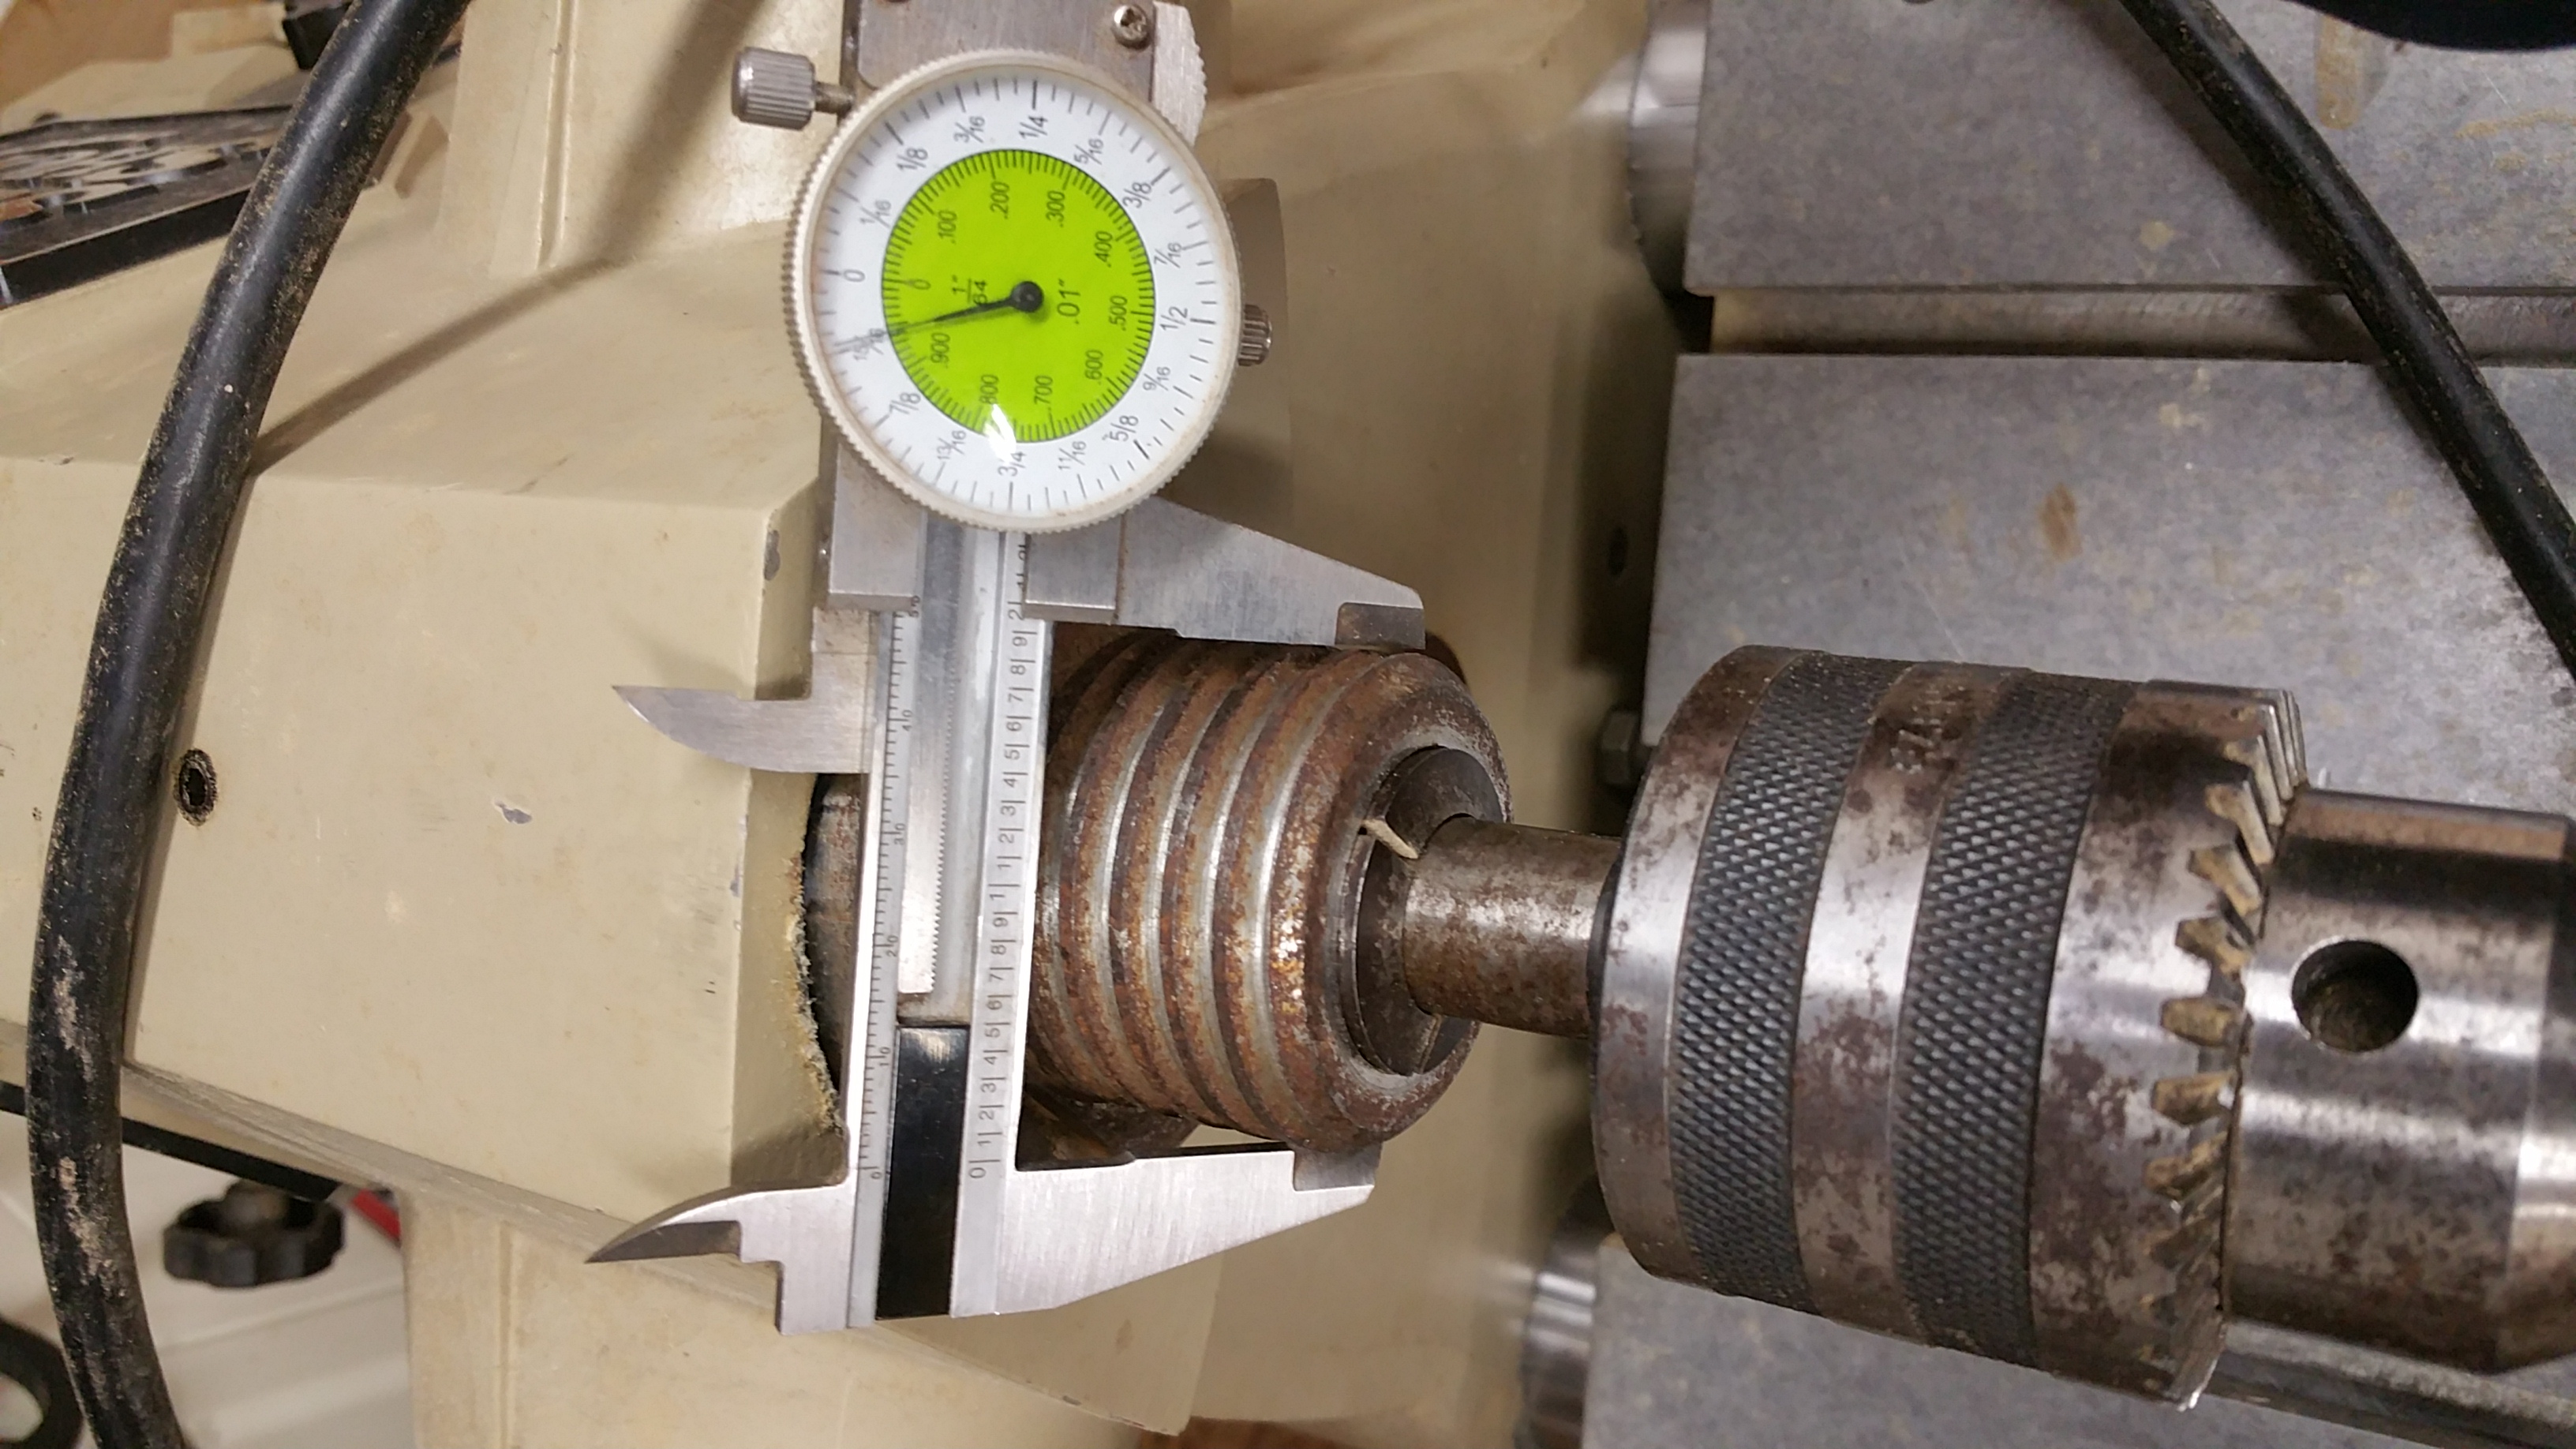
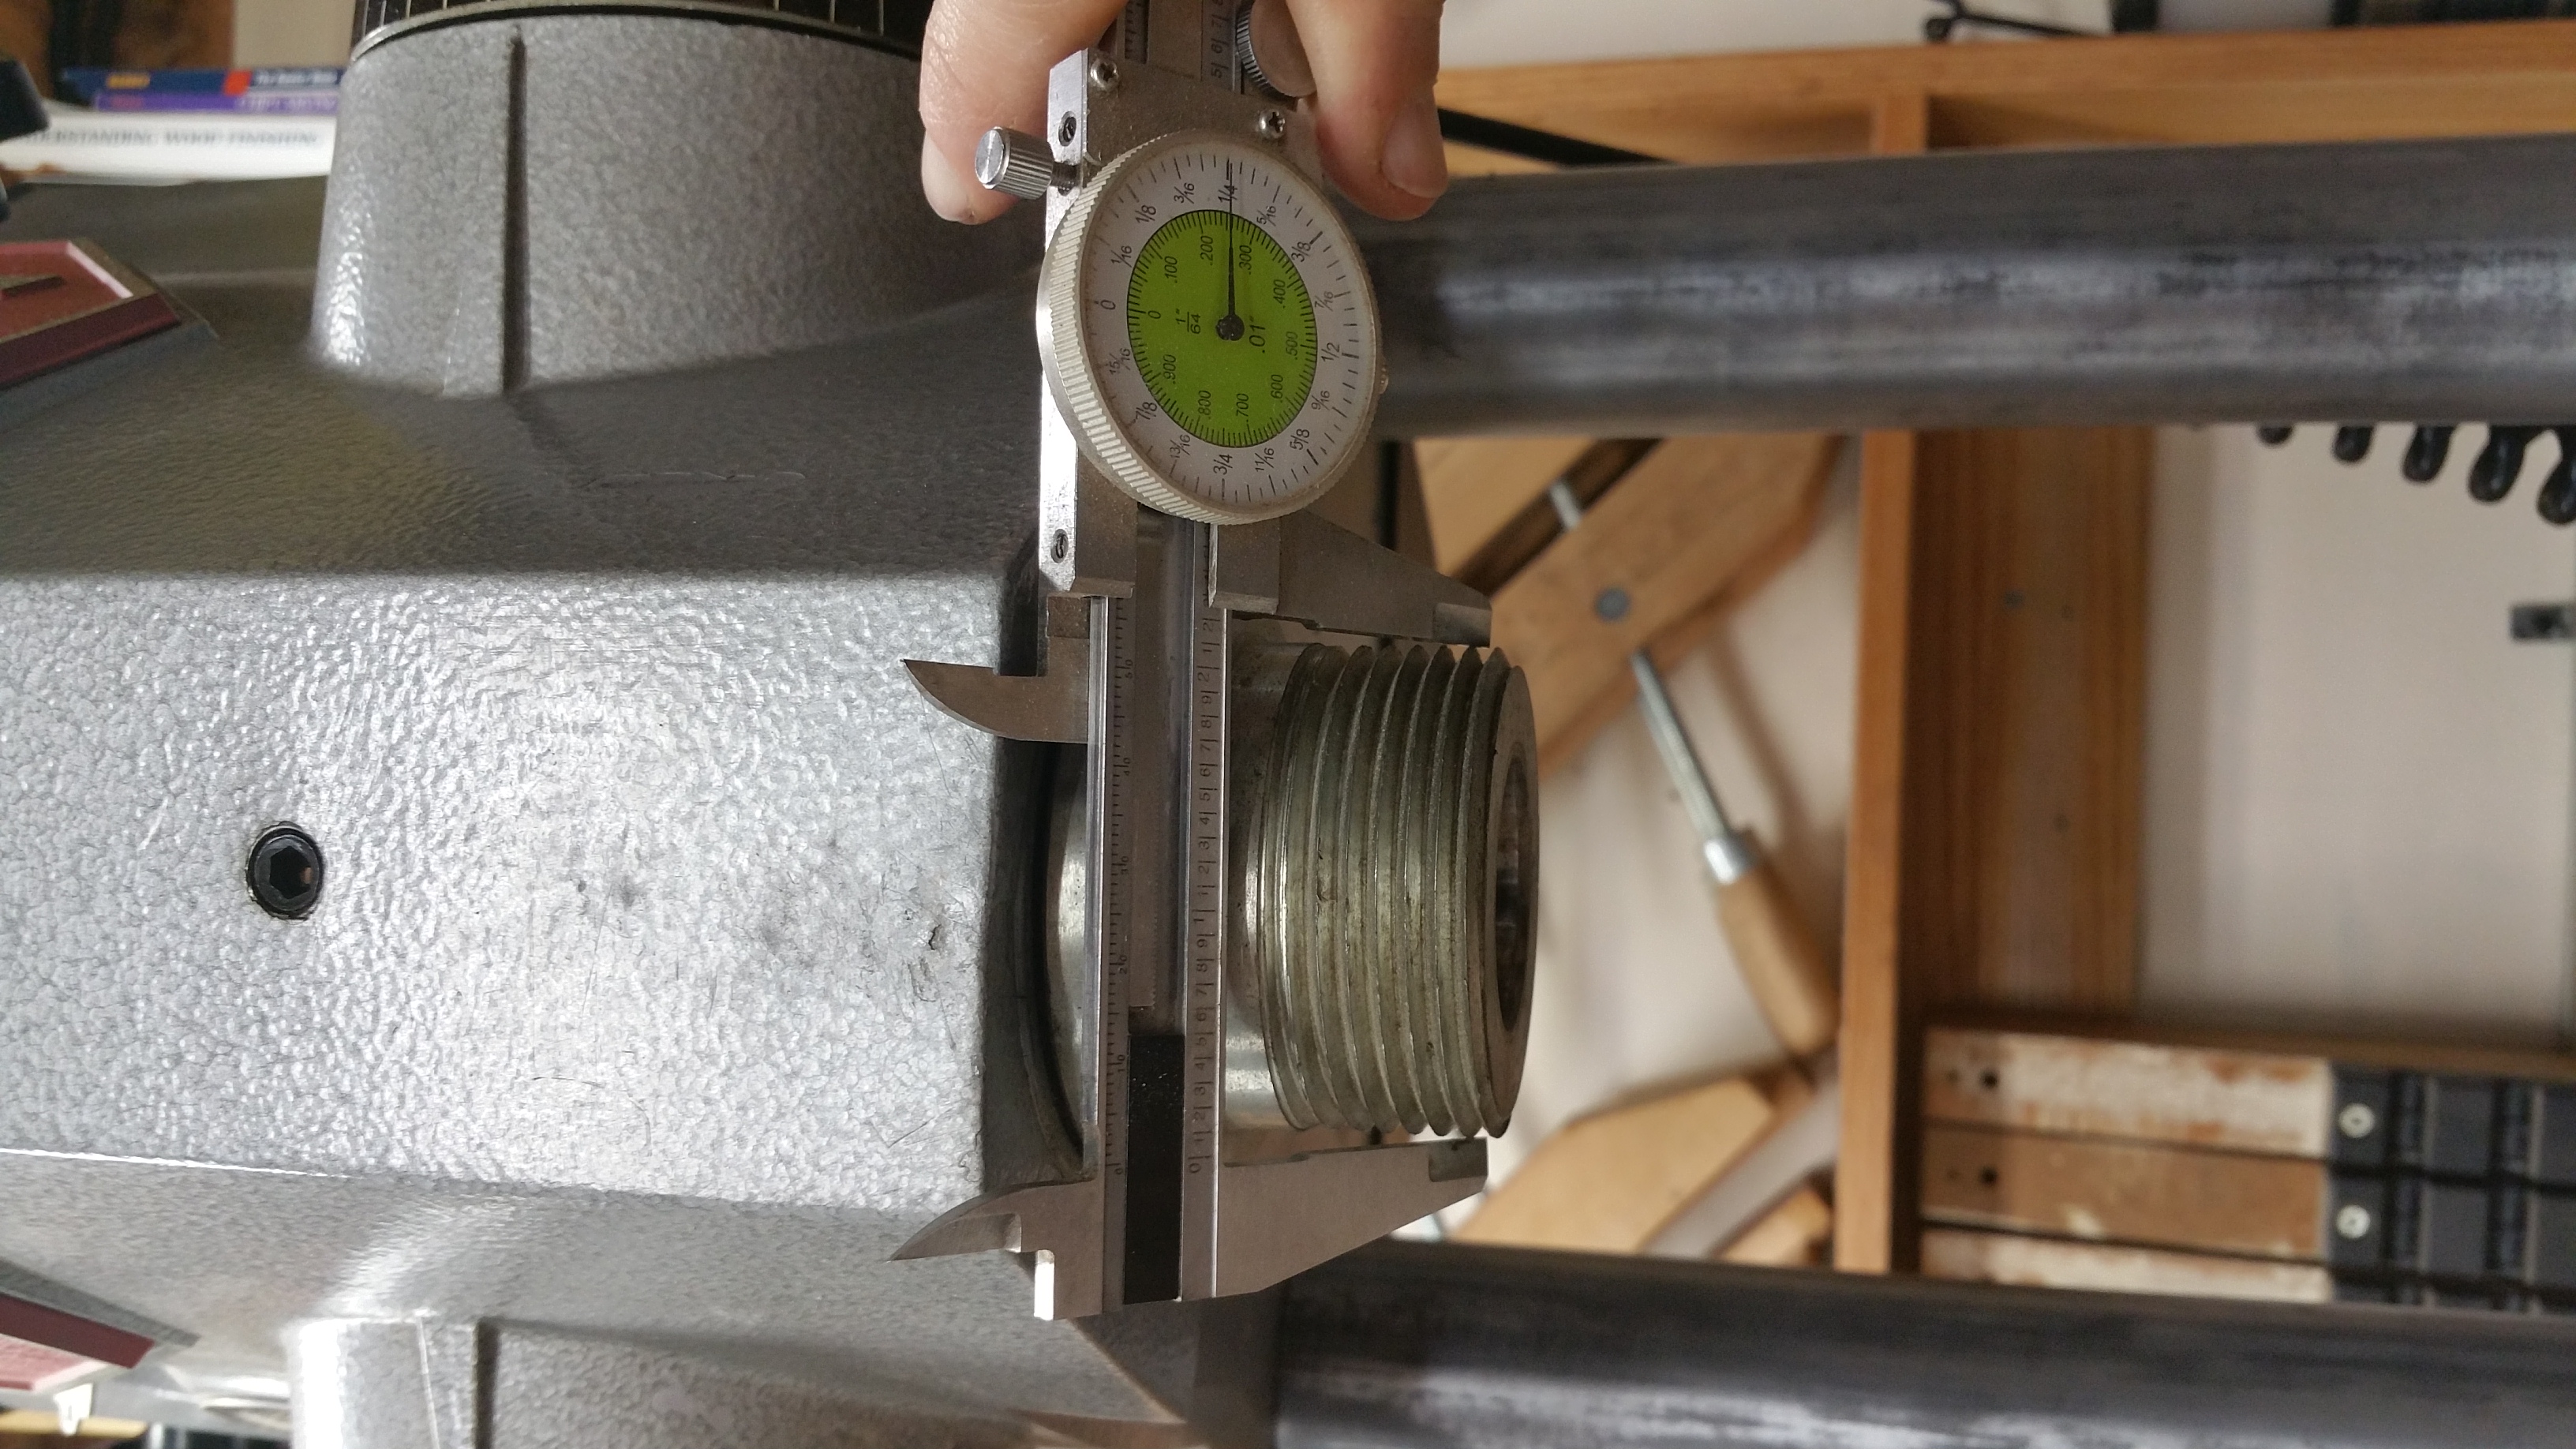
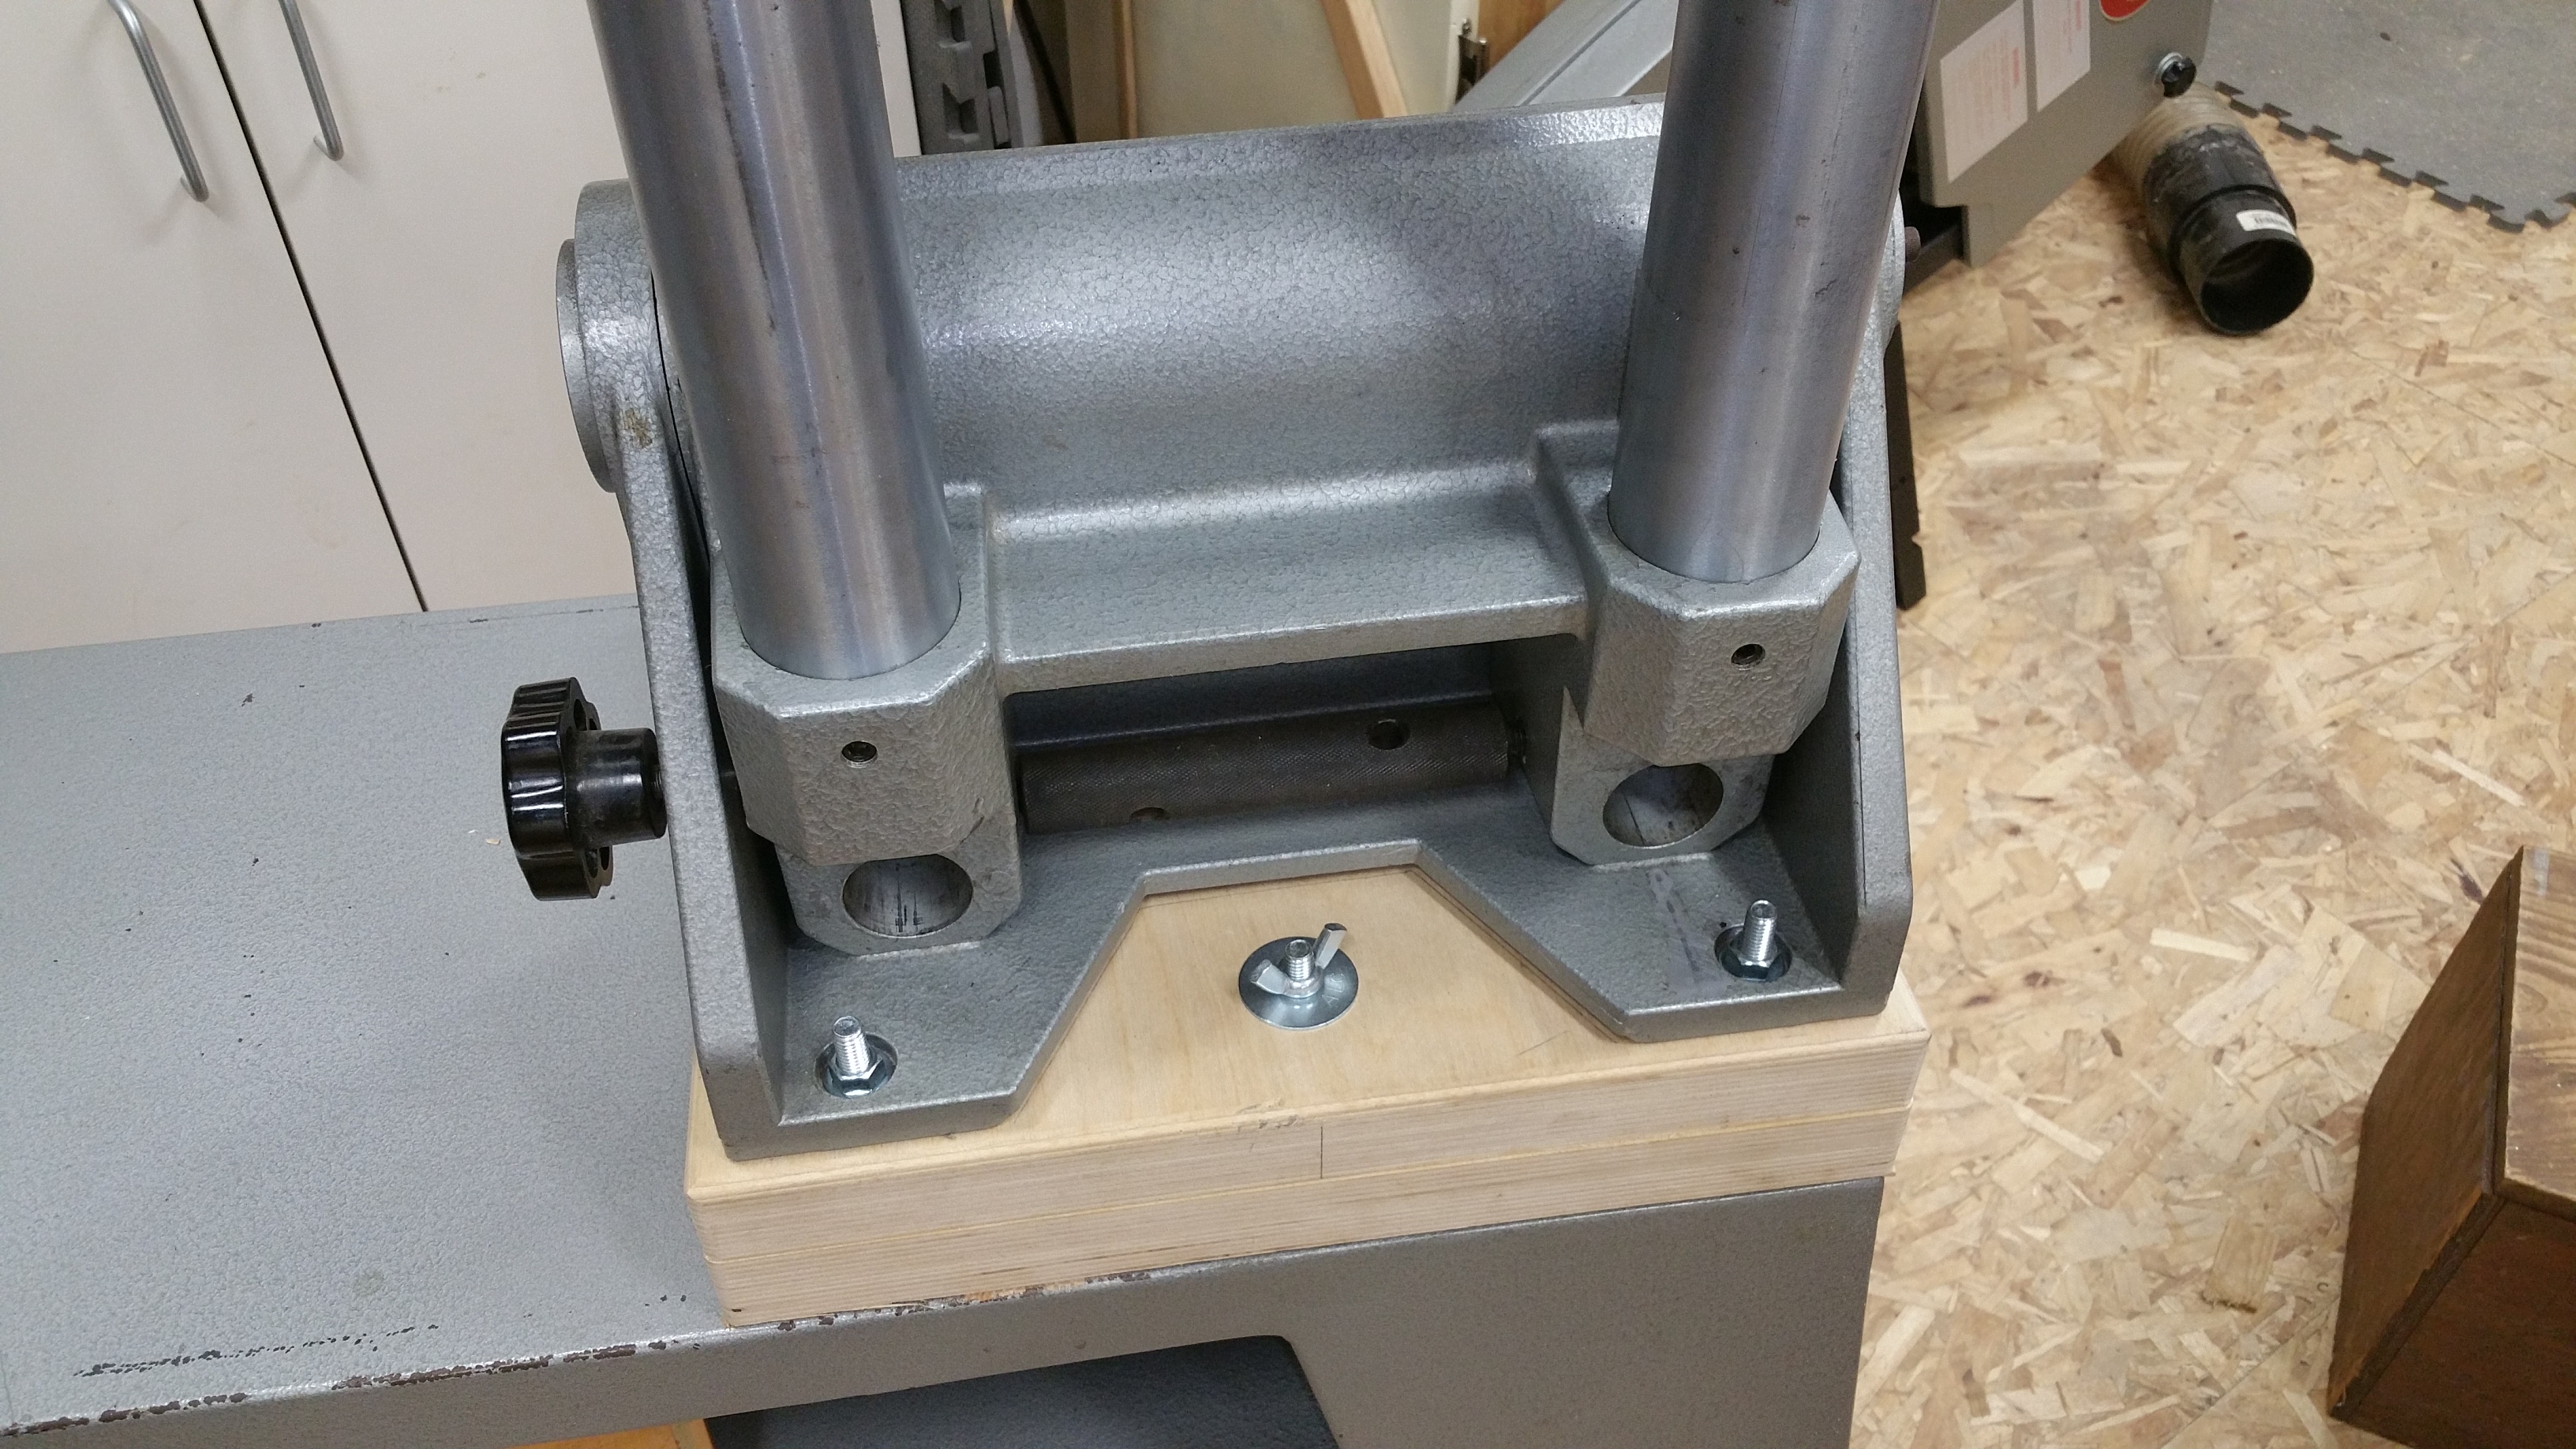
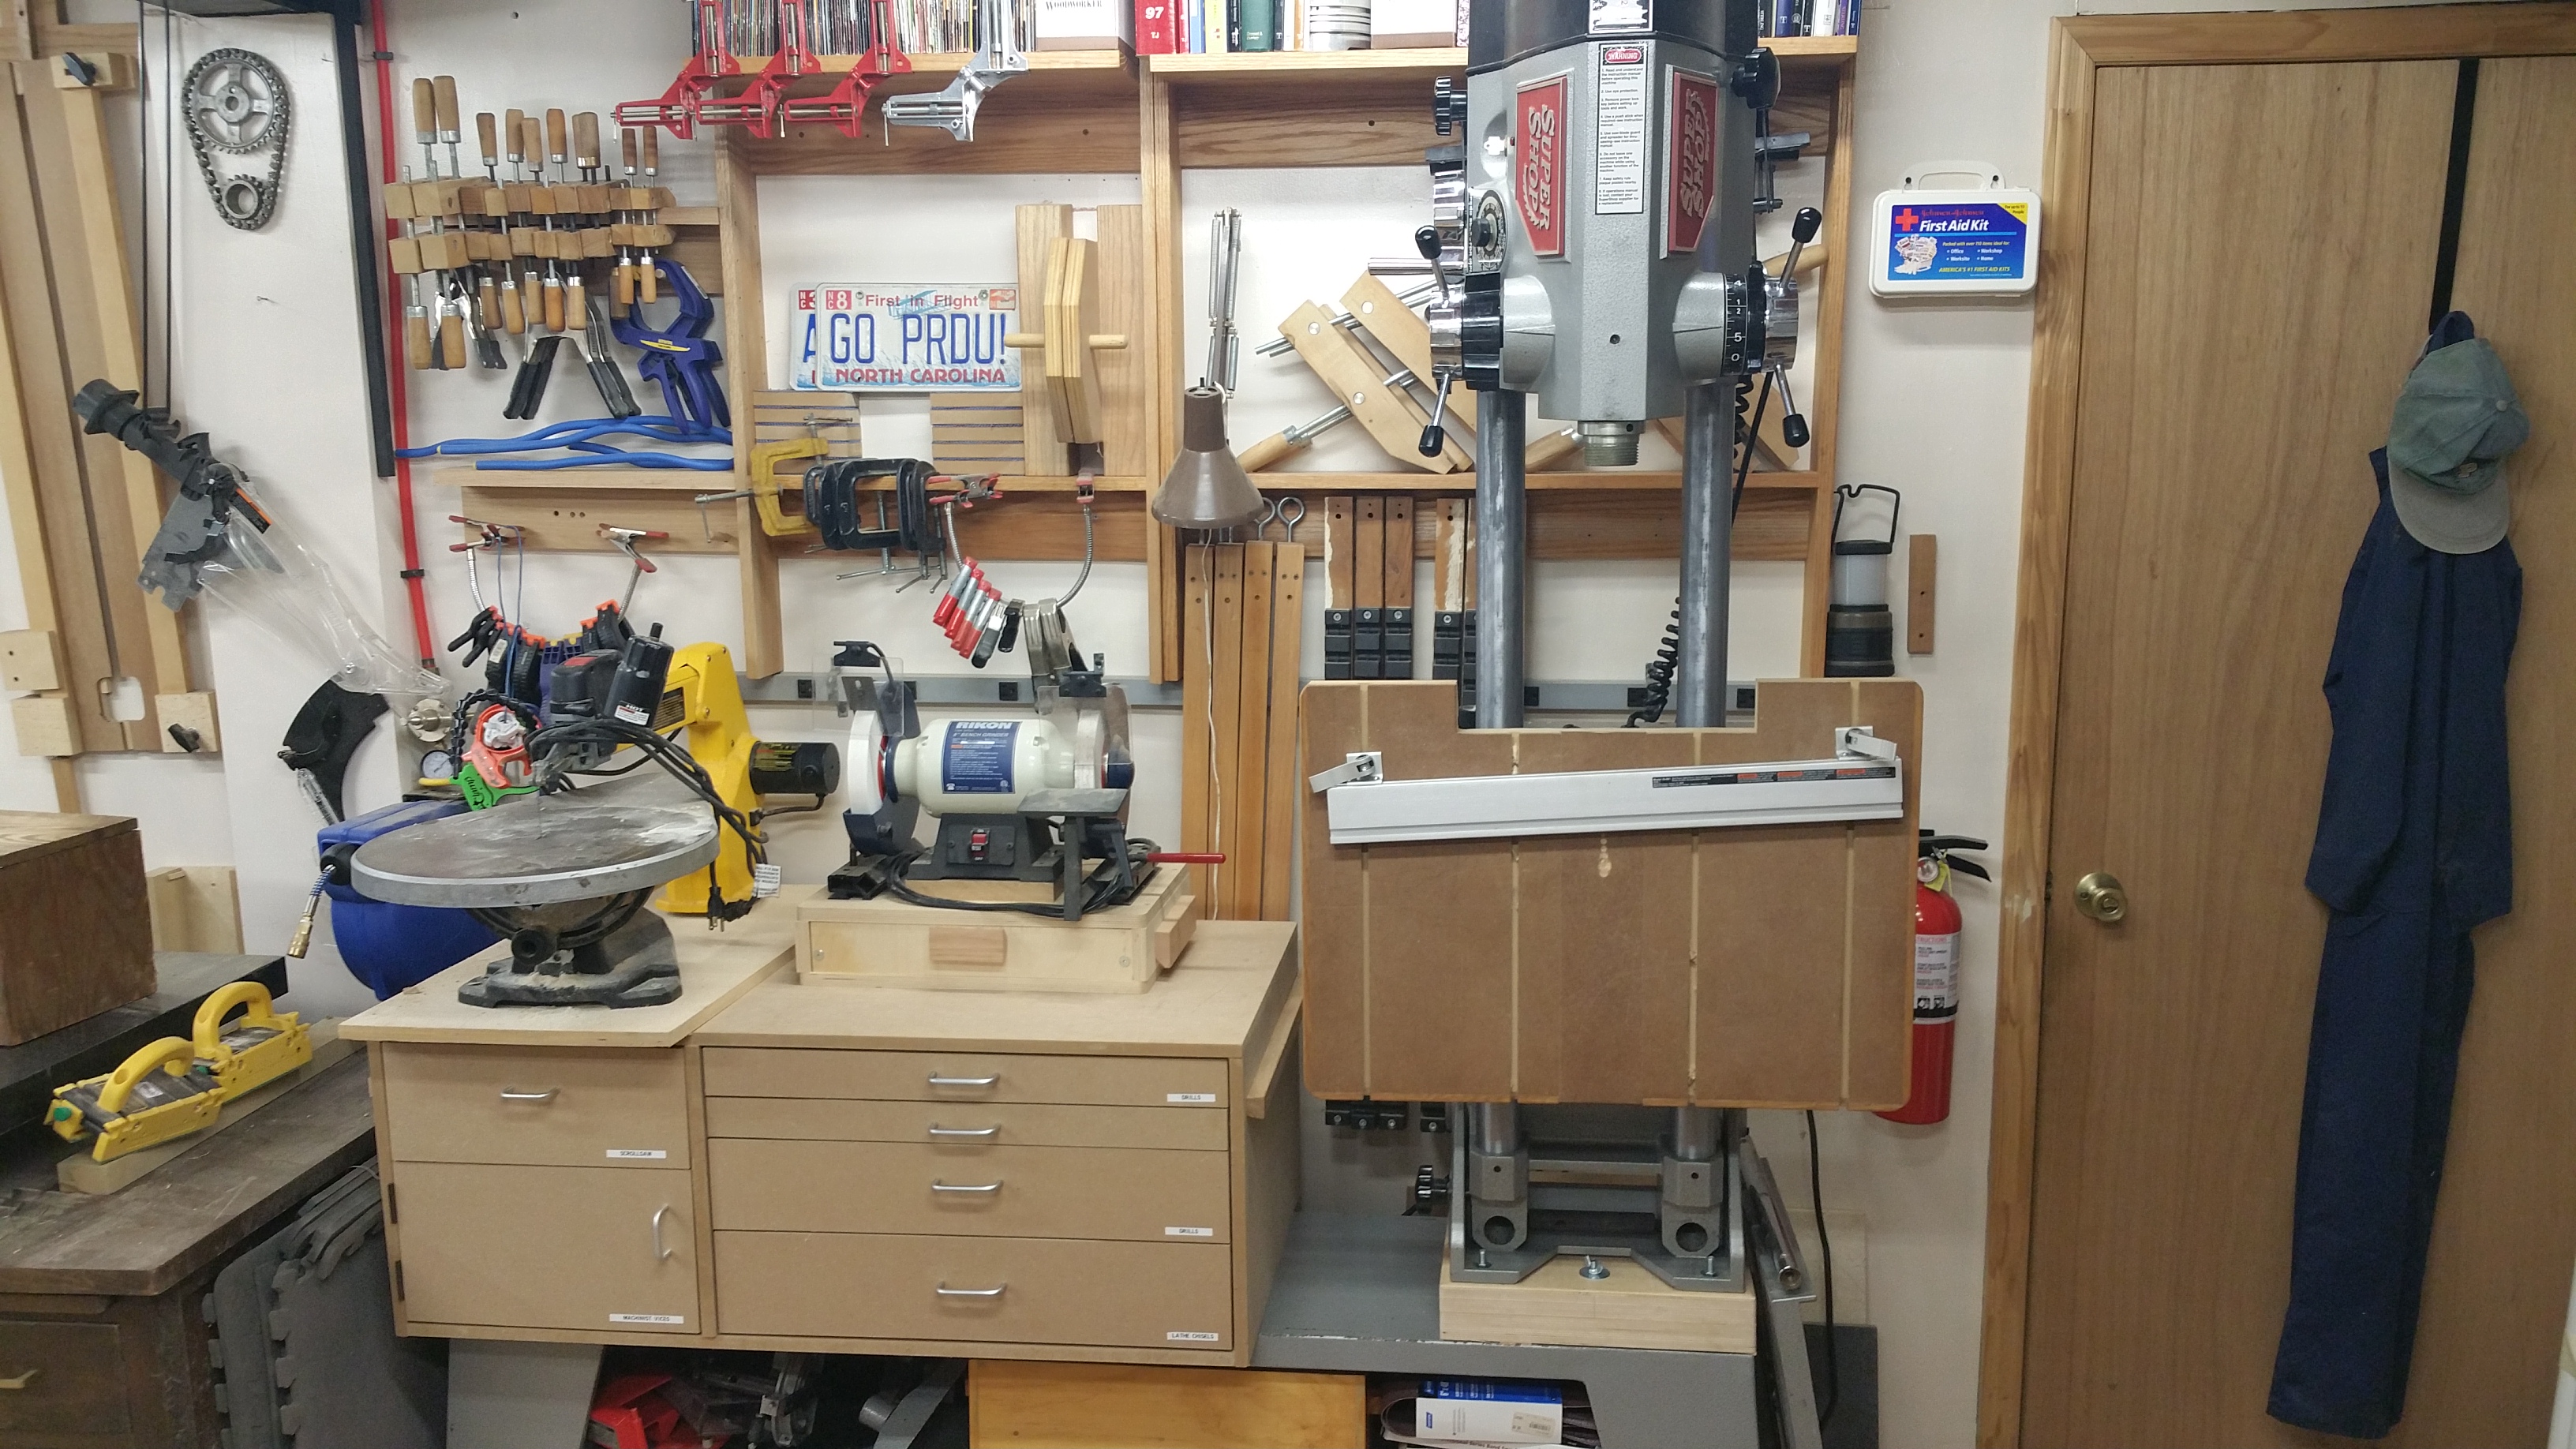
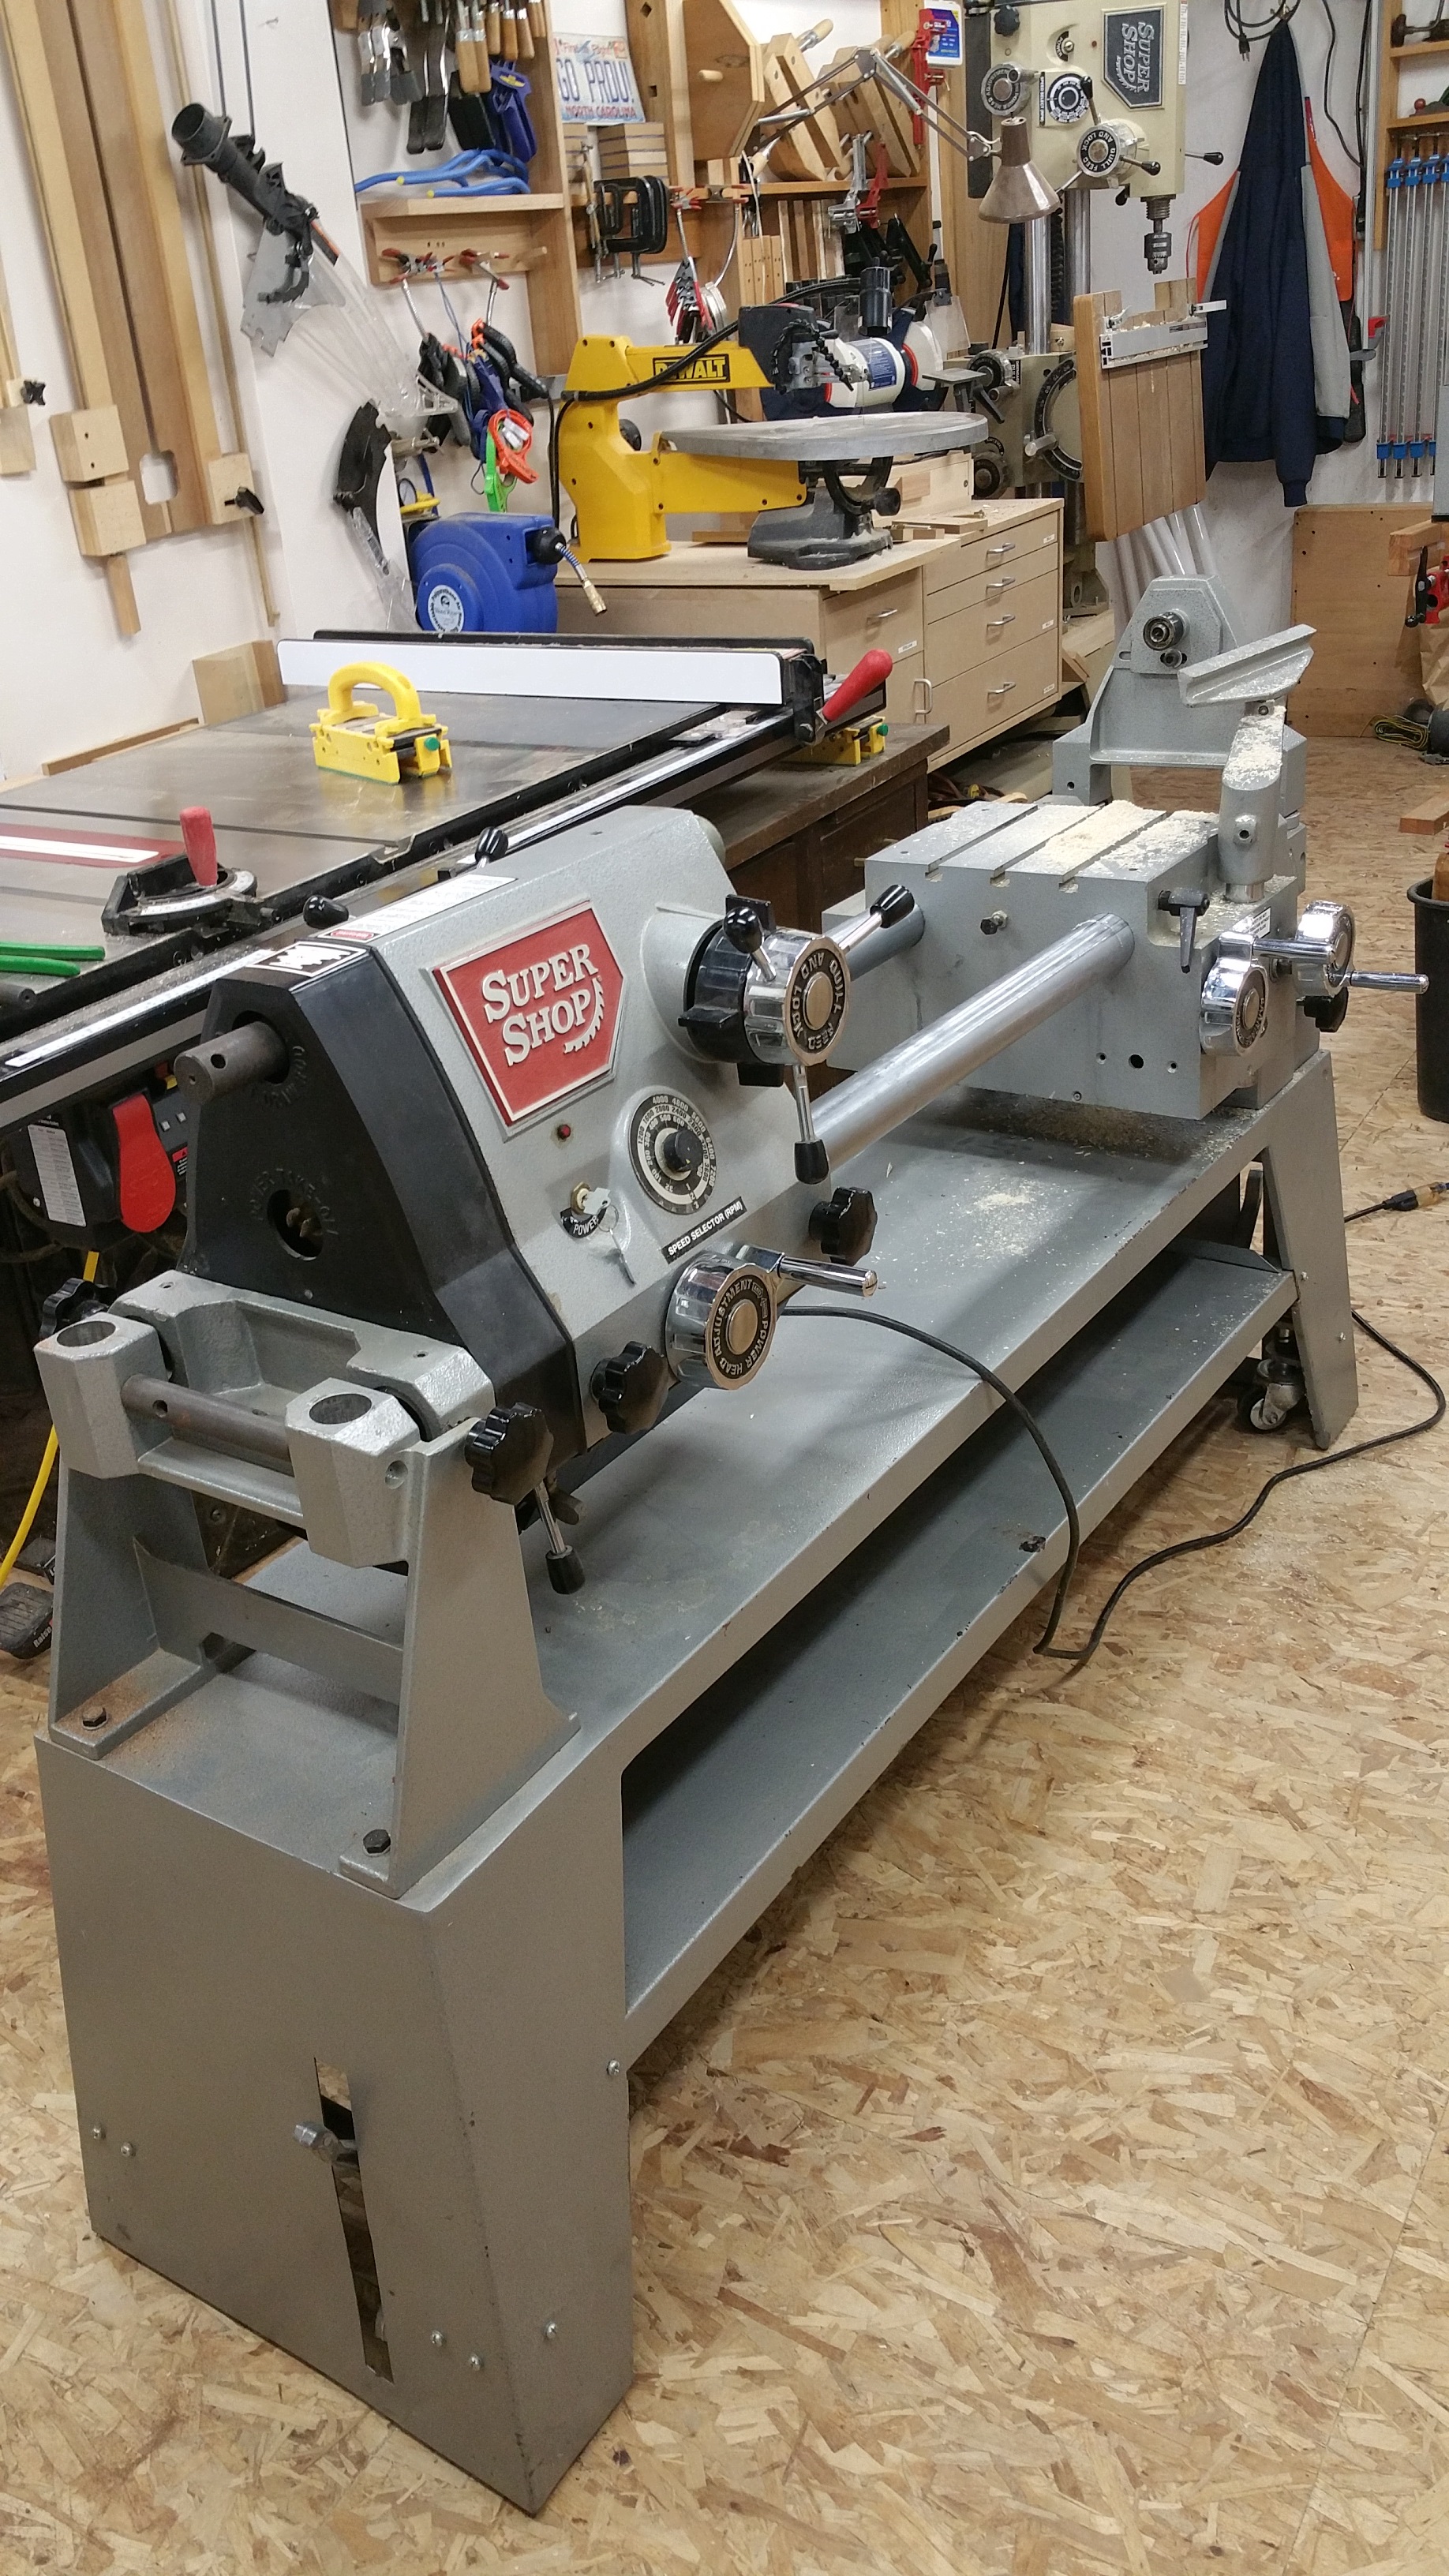
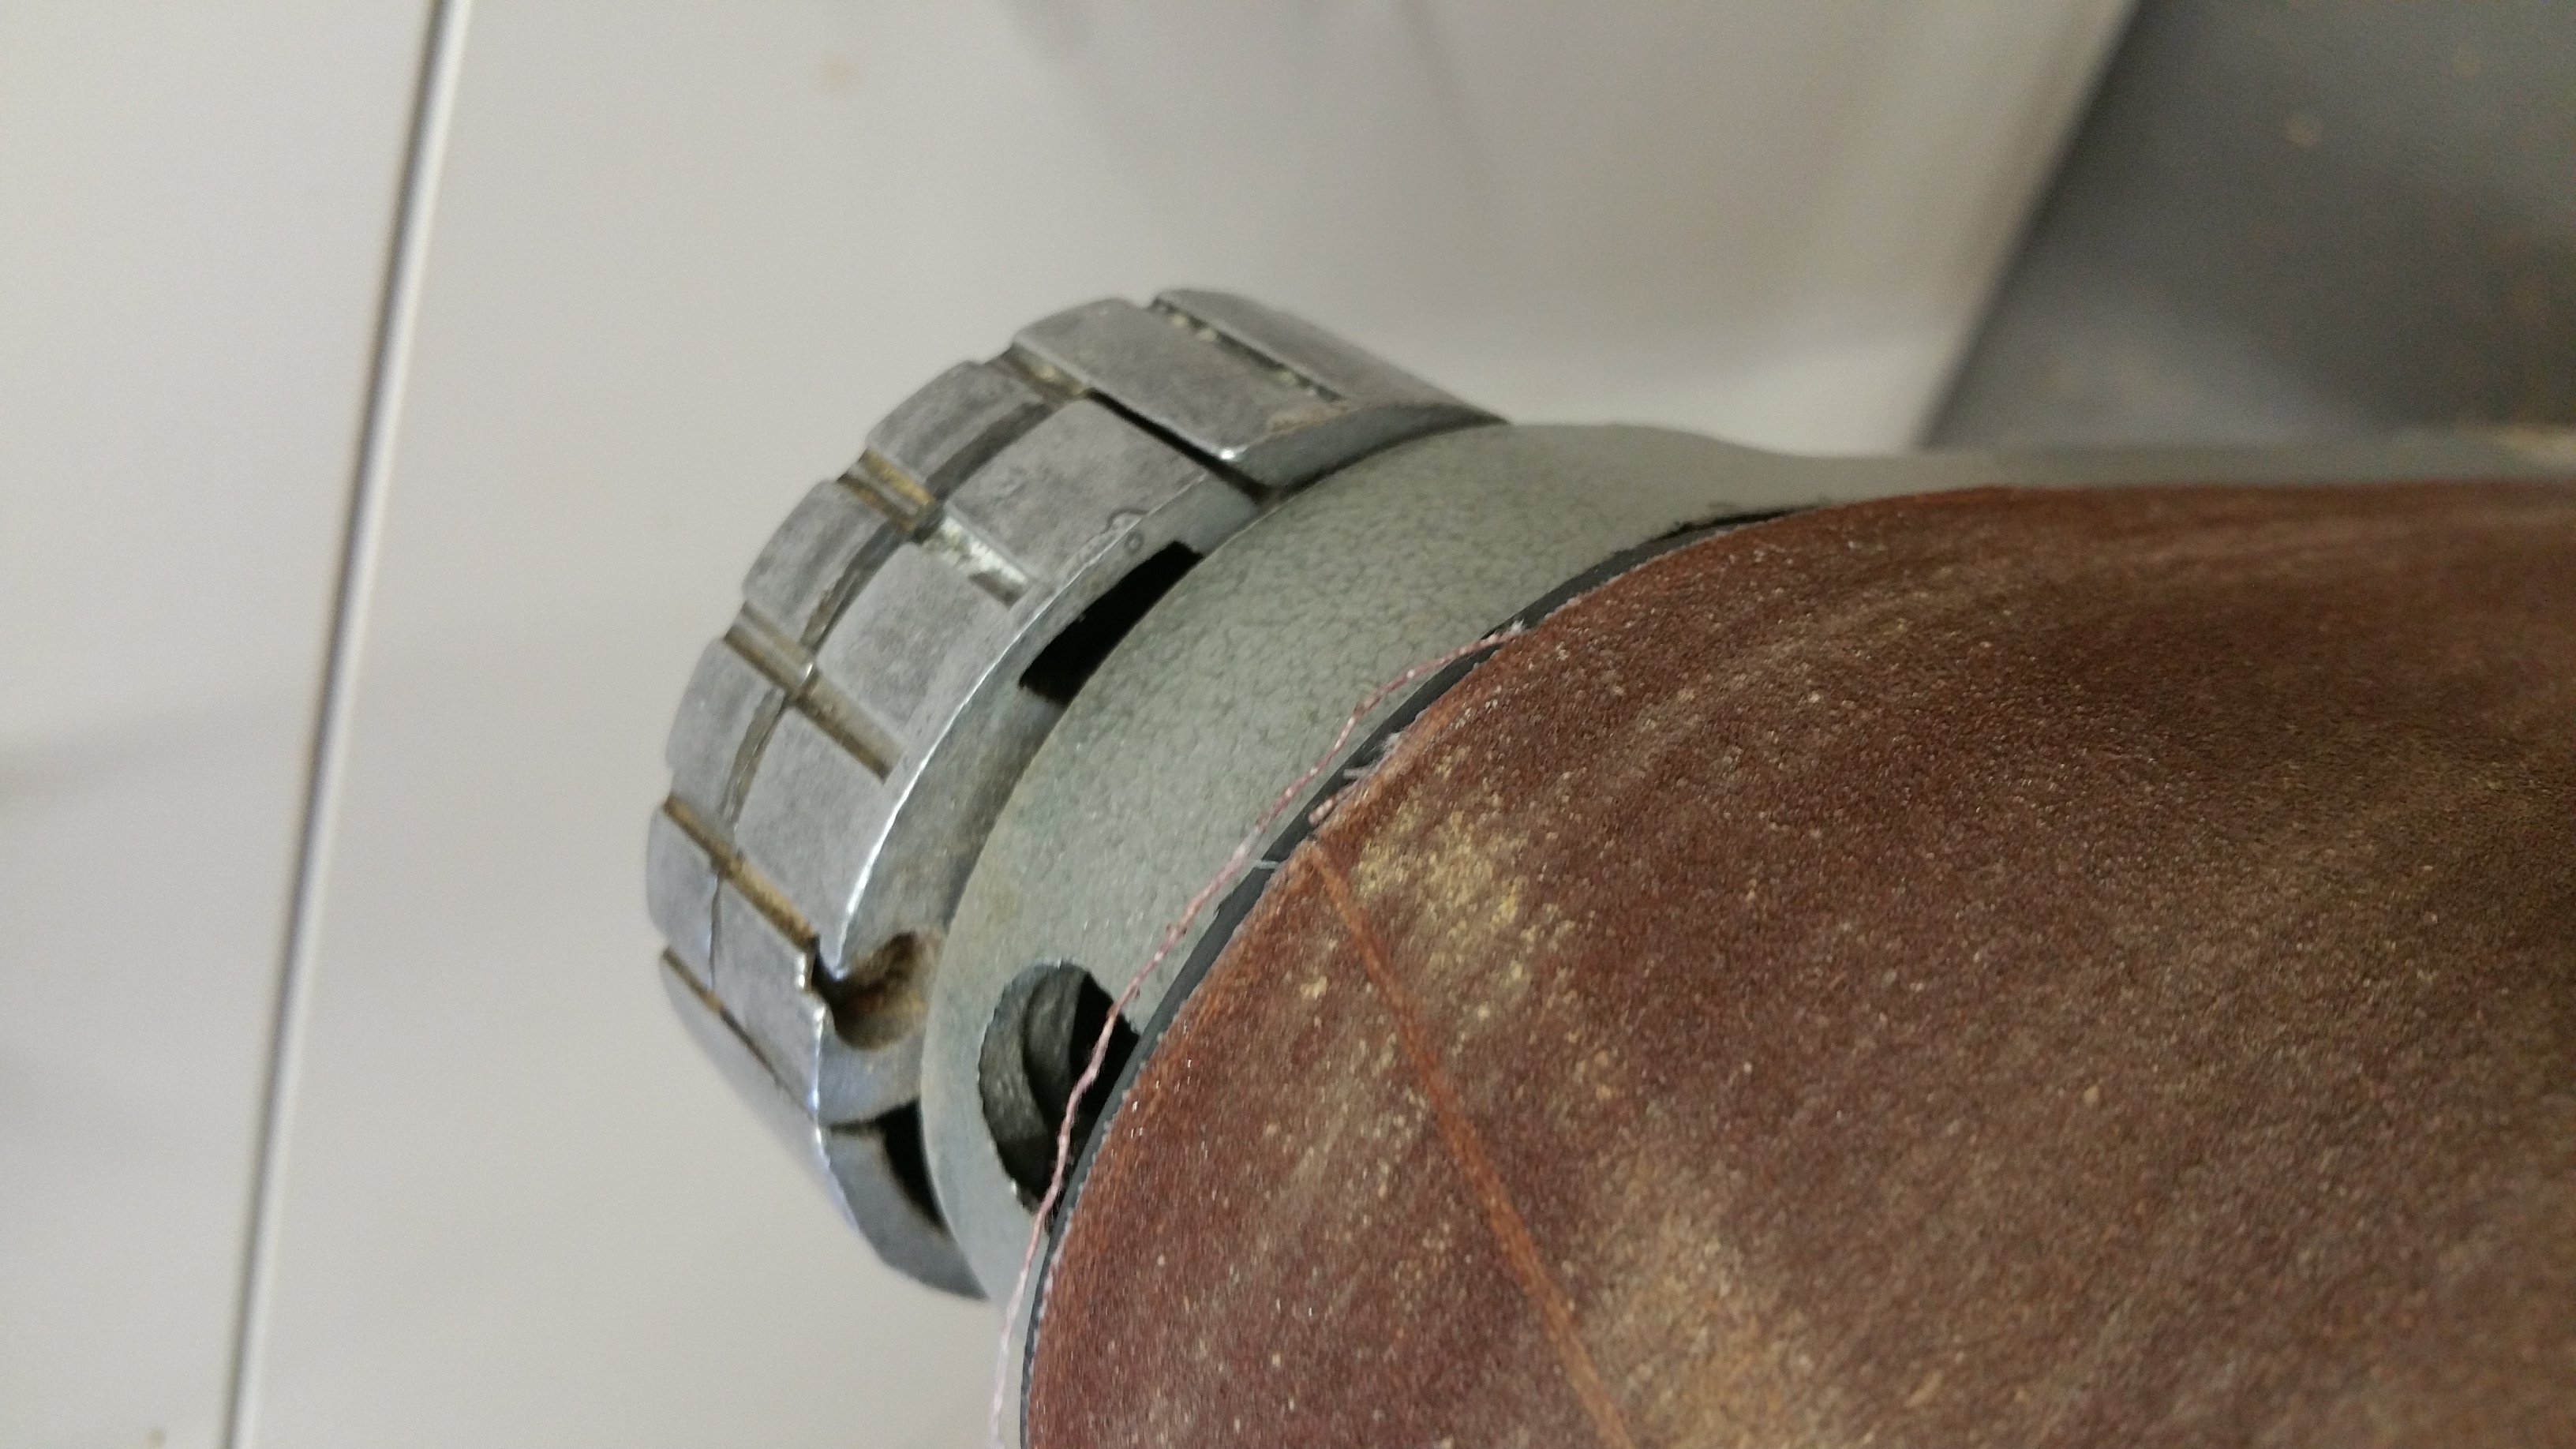
One at work:
![Image]()
DanK
A lot of information has already been shared.
Many knock offs have been produced and most are faithful reproductions of the original, with the exception of the power lateral feed. Many parts will be interchangeable (withing machining tolerances). There are no known caches of parts any more. As of 2018 Smithy has stopped taking calls about Super Shops.
Let's share our information, experiences, setups. We can offer machines for sale or point to sites trying to sell one. If you find or have a stash of parts, please post here.
From the manual:
One at work:
DanK


")