Arm Rests
DISCLAIMER: Before I start this blog, I want to make sure everyone knows that I am NOT a professional sofa/furniture builder. I just took on this project because 1) I needed a sofa and 2) because I thought it'd be really fun and satisfying if I built my own sofa. This is all my own design, and besides looking at a few pics on the internet, this is all my OWN method of doing it. That being said - for any of you professional sofa builders out there, I am sorry if I'm not doing it "correctly," but this is just how I am doing it, and thought I'd share with everyone. (I did do a little book reading, and studying before starting, so I do know a tiny bit about it).
I am not going to get EXTREMELY detailed on how I did this but hopefully the pictures will show enough, and if you have any questions, just ask and I'd be happy to try and answer you.
All wood is pine. I know this is not IDEAL for sofas (its nice to have hardwood in some of the more structural parts, but this sofa will not have heavy traffic, and I want it to be light as possible).
ARM RESTS:
The first step is designing the sofa, obviously. You must have a mental picture, or drawing, or something of what you want the sofa to look like before you start building the wooden frame. Remember there are going to be a lot of layers of foam and fabric on top of the wood, so if you have an idea of the size after completion - remember to build the wooden frame a little smaller. I'm more of a build first, design as I go type of guy - haha..so I had an overall idea of what I wanted it to look like, and then just went from there.
For the arm rests you want to make sure that everything is nice and tight and square, etc, etc. I used a Kreg Jig and glue for all of my joints. The frame doesn't have to be ROCK SOLID, as there will be fabric stapled to it holding it in place. Try and imagine where your arm will be placed and where the platform of the sofa and back of the sofa will attach to it. Make sure you have wood in the correct spots so when the time comes to join all the pieces together, you have part of the frame to attach it to. You can see on the arm rest frame below that I have a simple cube for the arm rests, and 2) 1×4's on the inside of the arm rest - this is where the platform will attach to the arm rest…..

Next is putting the burlap on. It doesnt have to look too pretty at this point. Stretch the burlap as tight as you can get it all over the wood frame, and attach with staples. This will give the foam a "solid" base to lay on, and give the arm rest a little more strength…..
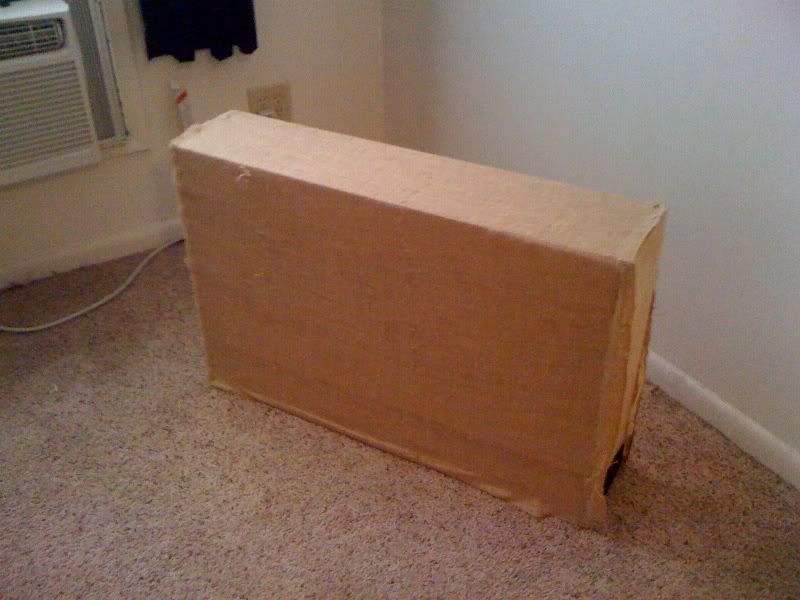
Next the foam padding goes on. I did not show the pic of this, but I only have about a 1.5 inch thick of rubber foam on the top of the arm rest. After the foam is on, wrap the entire thing with Dacron (which is the white fluffy stuff shown). I added two layers of it, giving the arm rest a little more padding and a tiny bit more strength to the structure. Dacron will give the sofa that fluffy look and also blocks the fabric from getting snagged on the frame. Make sure this i stretched tight and attached with staples. Not many staples are needed attaching the Dacron, as the sofa fabric will hold it in place. Also, where the arm rest attaches to the platform of the sofa, you want to make sure you do NOT put the Dacron there. It will get in the way of attaching the two pieces snuggly together. You will not see this part once it is put together so there is no need of putting it there
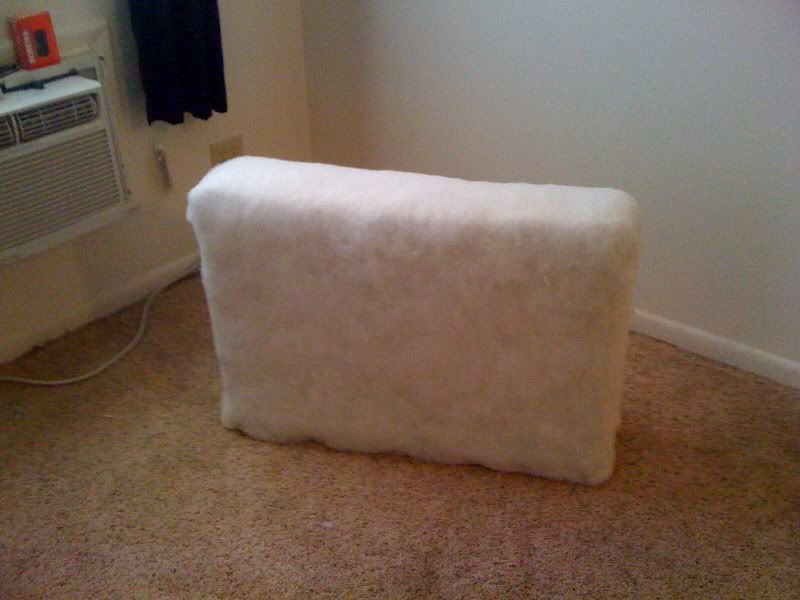
I did not show pictures of sewing - which is definitely a new experience to me. I think that took the longest out of everything because I had to figure out how to run a sewing machine (first time). I then had to research the correct stitch for it (you need a zig zag type stitch that allows for stretching, as you will need to stretch the fabric over the arm rest and make it tight). For cutting out the fabric - i used the measurements of the wooden frame itself. Once sewed, all that padding etc, will fill the fabric up making it nice and tight and wrinkle free.
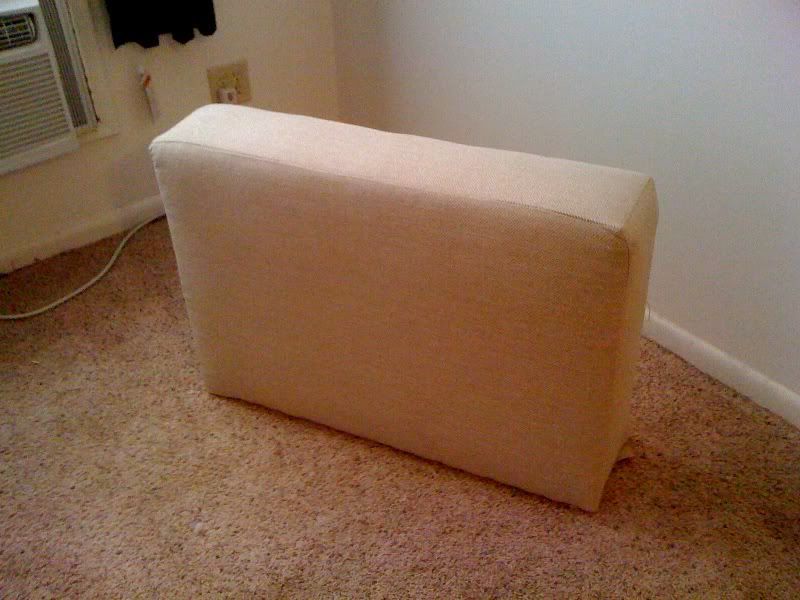
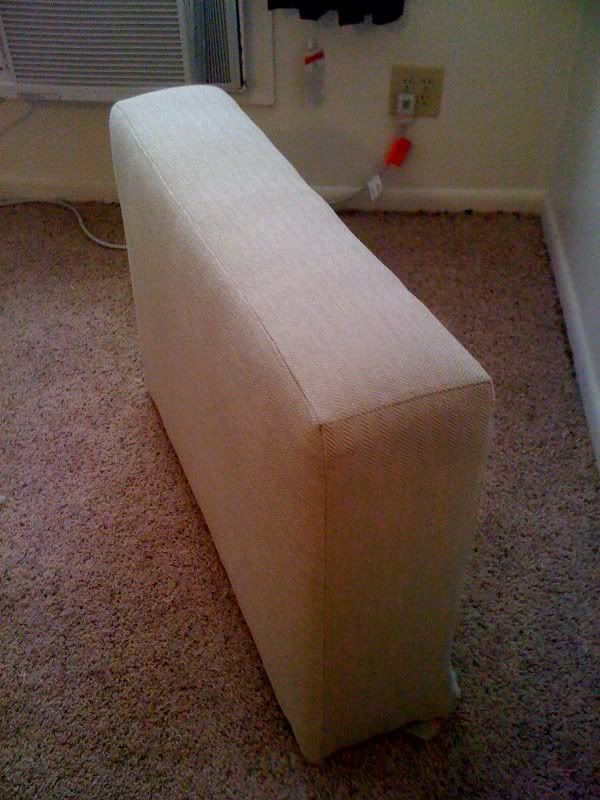
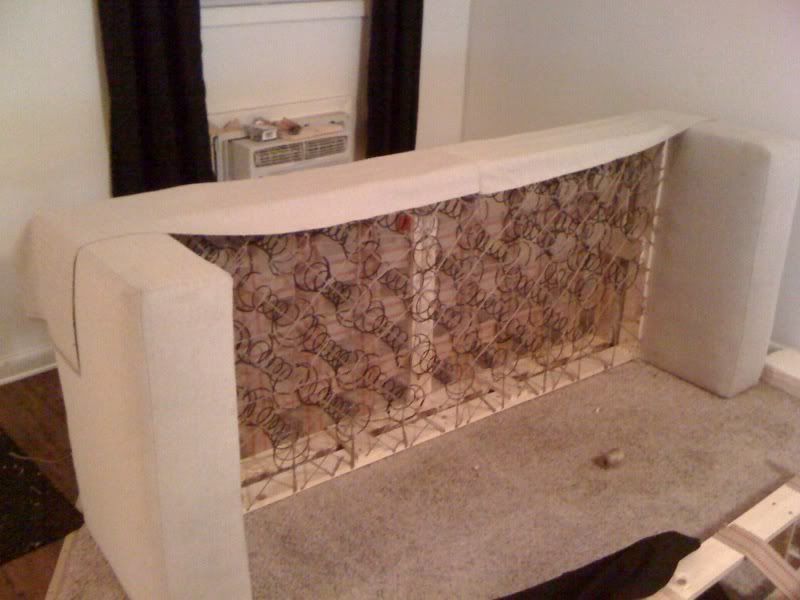
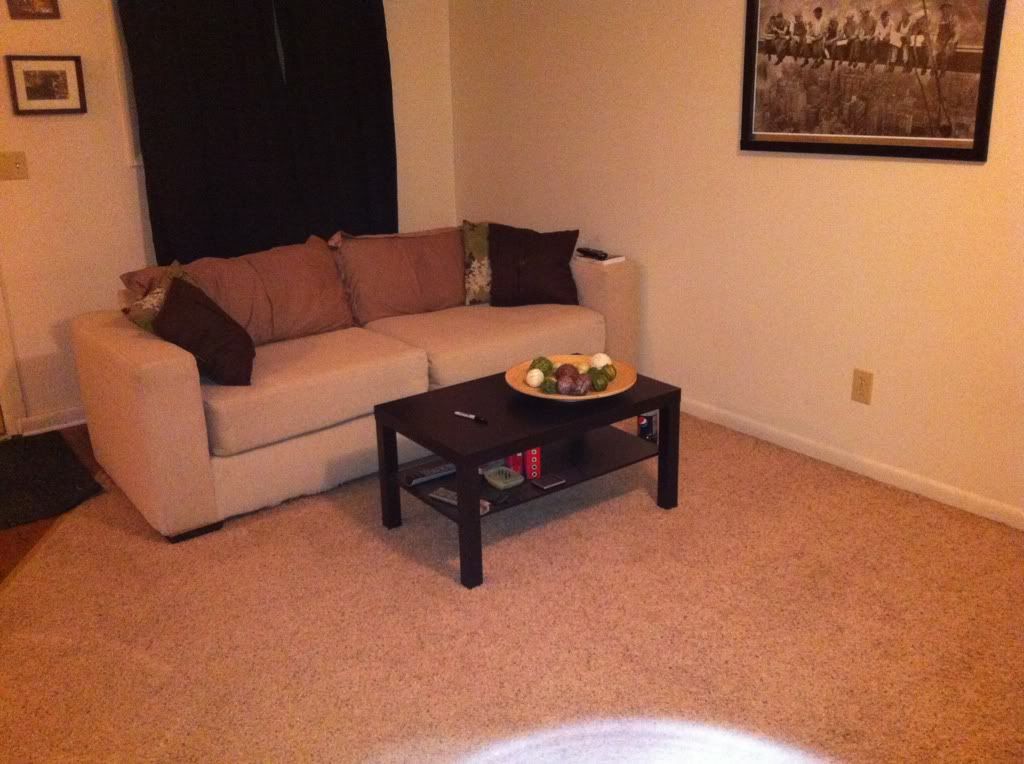
Now you have the finished arm rest. Now you only have to make the other one, then start working on the next part - the platform.
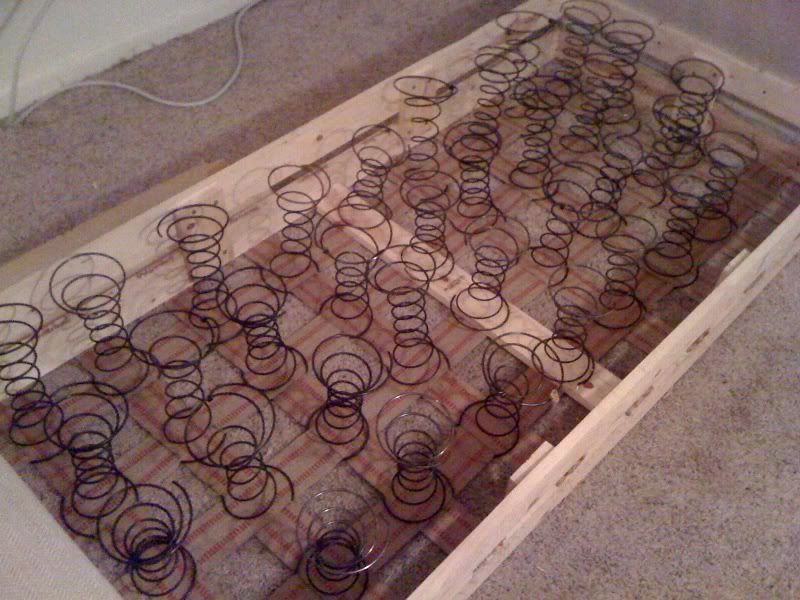
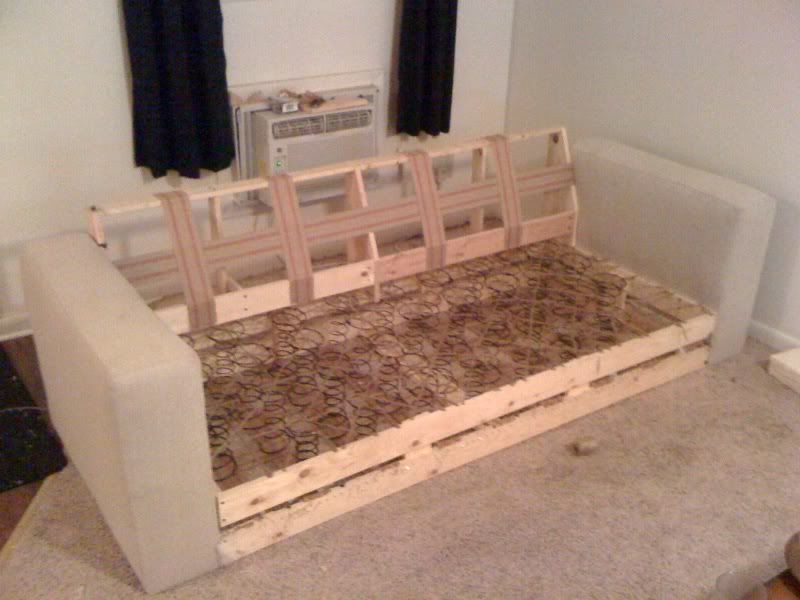
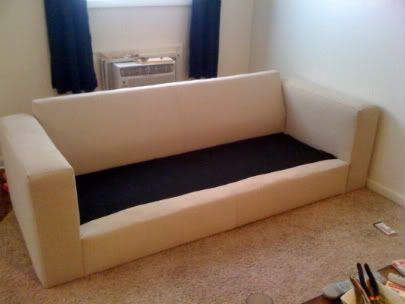
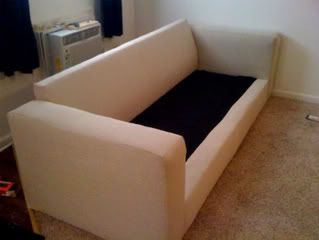
In part TWO I will show how to (or atleast how I did it) put the springs for the platform in. This is the hardest and most time consuming part!!! I will use the old "8-way hand tied spring" method which is BY FAR the hardest and BEST way of doing it. If buying a new sofa - always ask if its "8-way hand tied". If its not, its not a very high quality sofa. (most arent these days, by the way). Here's a sneak preview of the platform. Hopefully I'll have that blog (part 2) up shortly…...

Thanks for reading. Any questions let me know.
DISCLAIMER: Before I start this blog, I want to make sure everyone knows that I am NOT a professional sofa/furniture builder. I just took on this project because 1) I needed a sofa and 2) because I thought it'd be really fun and satisfying if I built my own sofa. This is all my own design, and besides looking at a few pics on the internet, this is all my OWN method of doing it. That being said - for any of you professional sofa builders out there, I am sorry if I'm not doing it "correctly," but this is just how I am doing it, and thought I'd share with everyone. (I did do a little book reading, and studying before starting, so I do know a tiny bit about it).
I am not going to get EXTREMELY detailed on how I did this but hopefully the pictures will show enough, and if you have any questions, just ask and I'd be happy to try and answer you.
All wood is pine. I know this is not IDEAL for sofas (its nice to have hardwood in some of the more structural parts, but this sofa will not have heavy traffic, and I want it to be light as possible).
ARM RESTS:
The first step is designing the sofa, obviously. You must have a mental picture, or drawing, or something of what you want the sofa to look like before you start building the wooden frame. Remember there are going to be a lot of layers of foam and fabric on top of the wood, so if you have an idea of the size after completion - remember to build the wooden frame a little smaller. I'm more of a build first, design as I go type of guy - haha..so I had an overall idea of what I wanted it to look like, and then just went from there.
For the arm rests you want to make sure that everything is nice and tight and square, etc, etc. I used a Kreg Jig and glue for all of my joints. The frame doesn't have to be ROCK SOLID, as there will be fabric stapled to it holding it in place. Try and imagine where your arm will be placed and where the platform of the sofa and back of the sofa will attach to it. Make sure you have wood in the correct spots so when the time comes to join all the pieces together, you have part of the frame to attach it to. You can see on the arm rest frame below that I have a simple cube for the arm rests, and 2) 1×4's on the inside of the arm rest - this is where the platform will attach to the arm rest…..

Next is putting the burlap on. It doesnt have to look too pretty at this point. Stretch the burlap as tight as you can get it all over the wood frame, and attach with staples. This will give the foam a "solid" base to lay on, and give the arm rest a little more strength…..

Next the foam padding goes on. I did not show the pic of this, but I only have about a 1.5 inch thick of rubber foam on the top of the arm rest. After the foam is on, wrap the entire thing with Dacron (which is the white fluffy stuff shown). I added two layers of it, giving the arm rest a little more padding and a tiny bit more strength to the structure. Dacron will give the sofa that fluffy look and also blocks the fabric from getting snagged on the frame. Make sure this i stretched tight and attached with staples. Not many staples are needed attaching the Dacron, as the sofa fabric will hold it in place. Also, where the arm rest attaches to the platform of the sofa, you want to make sure you do NOT put the Dacron there. It will get in the way of attaching the two pieces snuggly together. You will not see this part once it is put together so there is no need of putting it there

I did not show pictures of sewing - which is definitely a new experience to me. I think that took the longest out of everything because I had to figure out how to run a sewing machine (first time). I then had to research the correct stitch for it (you need a zig zag type stitch that allows for stretching, as you will need to stretch the fabric over the arm rest and make it tight). For cutting out the fabric - i used the measurements of the wooden frame itself. Once sewed, all that padding etc, will fill the fabric up making it nice and tight and wrinkle free.


Now you have the finished arm rest. Now you only have to make the other one, then start working on the next part - the platform.
In part TWO I will show how to (or atleast how I did it) put the springs for the platform in. This is the hardest and most time consuming part!!! I will use the old "8-way hand tied spring" method which is BY FAR the hardest and BEST way of doing it. If buying a new sofa - always ask if its "8-way hand tied". If its not, its not a very high quality sofa. (most arent these days, by the way). Here's a sneak preview of the platform. Hopefully I'll have that blog (part 2) up shortly…...

Thanks for reading. Any questions let me know.


