

Golden Ratio Gauge.
So, I haven't told you all this yet, but I'm a huge fan of Steve Ramsey at Woodworking for Mere Mortals. I was watching one of his videos and I noticed he made a Golden Ratio (or Phi) Gauge. This gauge is used to determine the proportions of an object so that it matches the Golden Ratio, which is considered a mathematical model for perfect beauty. I'm also a fan of Finite Mathematics.
WARNING MATH CONTENT AHEAD!
<math>
Phi is a mathematical concept. It's a constant ratio of 1:1.618. It can also be expressed more abstractly. as a+b / b = Phi where a rectangle with height a and width b is placed adjacent to a square with sides length a. Basically, it makes things look very pretty. It's found all over in Nature as well as in man made structures. (Coincidentally, the Fibonacci Sequence converges on phi as it progresses. Look that up some time if you're interested.)
</math>
To make this gauge I got the template from Steve Ramsey's website woodworkingformeremortals.com. From there it was pretty simple. The pieces do have to be cut exactly to size, which made things a little bit difficult, but not too bad. It did help to have a finer blade to put on my saw, I would suggest using the finest blade you have. It took me three tries to make one perfect. Now, here's the step by step.
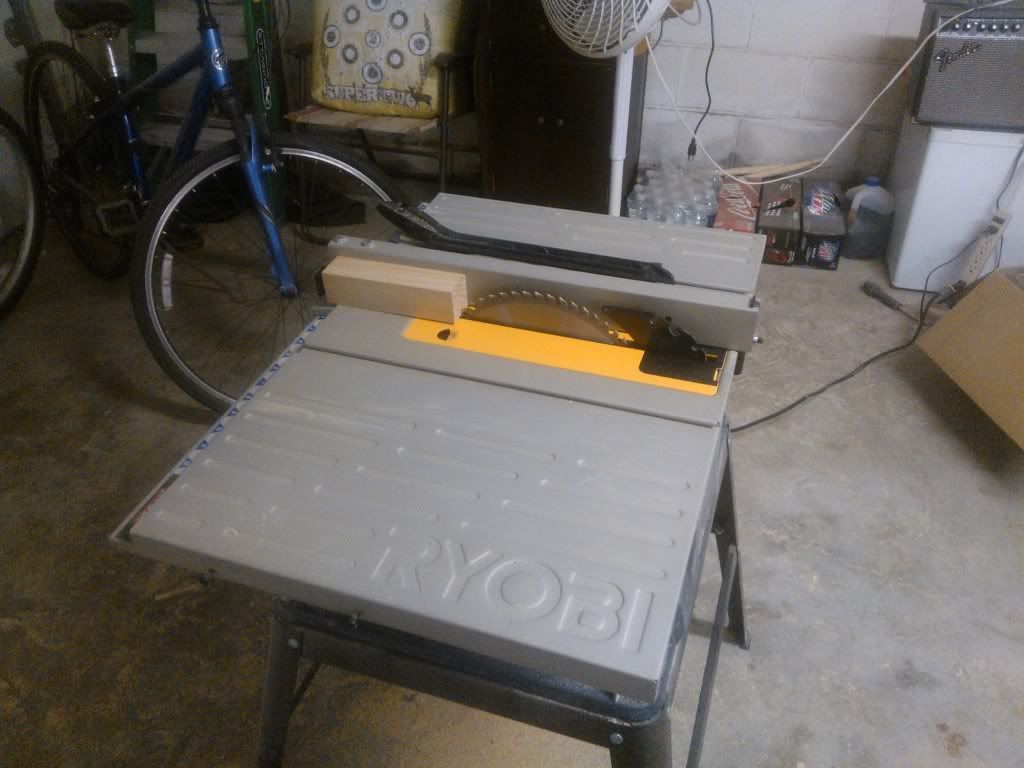
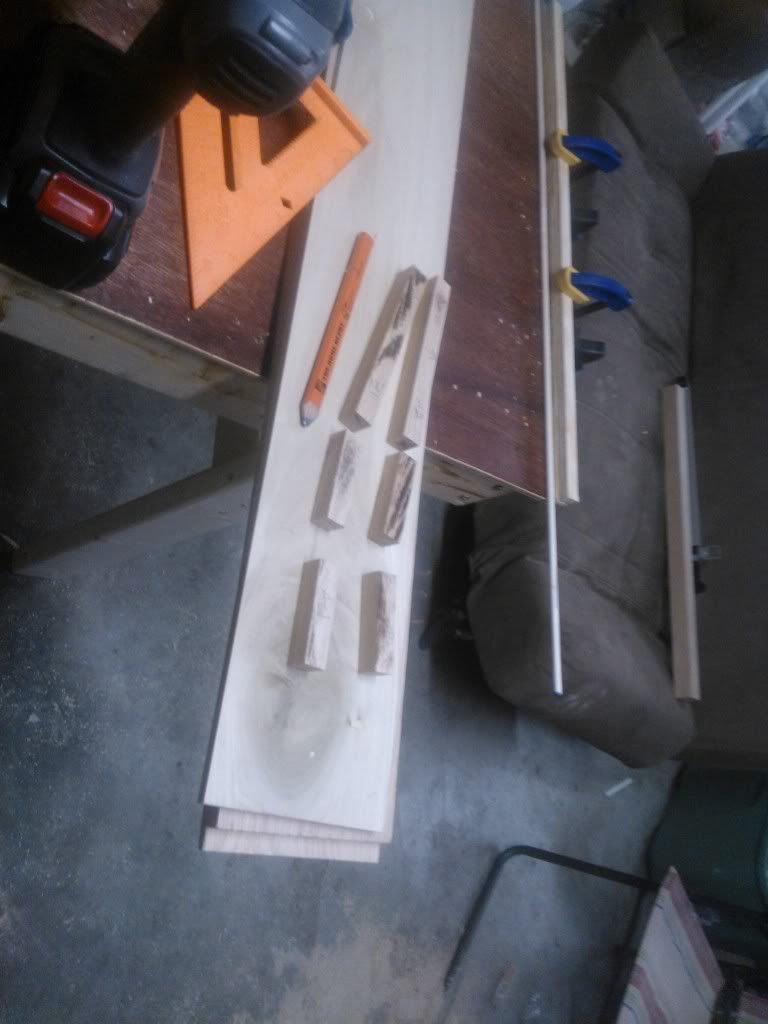
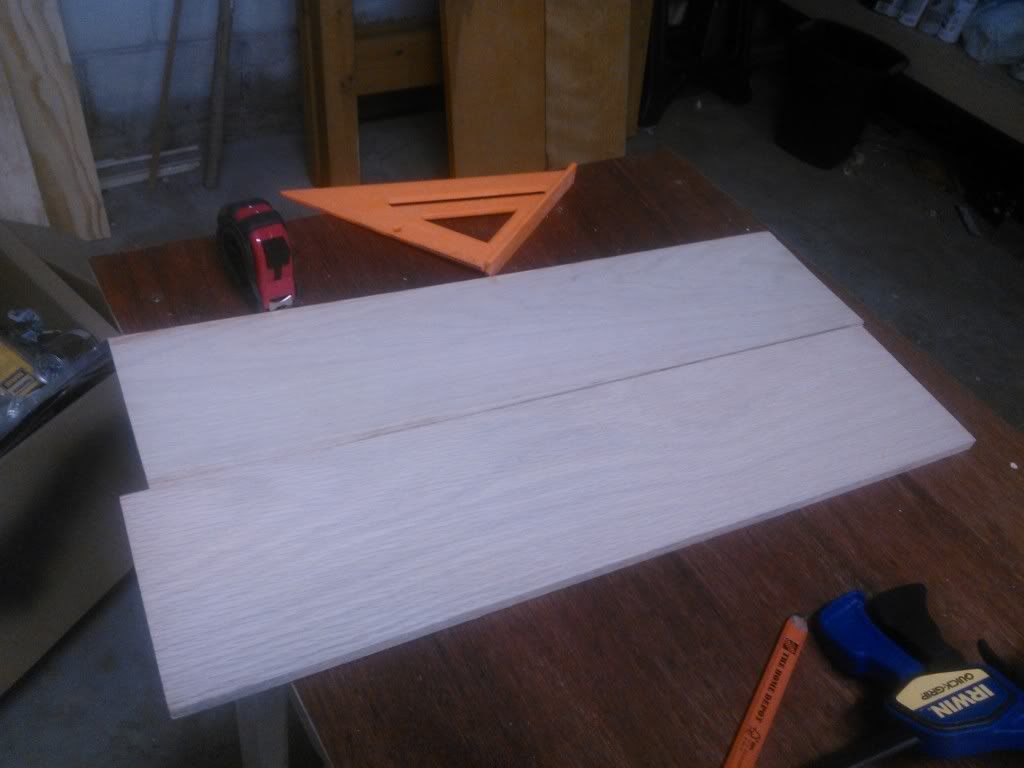
The first step was to measure out the pieces of 5/8 inch wide 1/4 inch plywood. I had some of these lying around because it's where I cut my runners for my accessory tracks on my Ryobi 10" 15A table saw. The next thing I did in this step was marked the measurements onto the pieces for the arms of the gauge. I left about a quarter of an inch between my arms, that way there was a lot of waste space for me to make sure I didn't over-cut a piece.
The second step was to cut out the pieces. This was pretty straight forward, one thing I suggest is making sure you keep your blade on the waste side. I know this is pretty basic, but I forgot to do it once and ended up with a piece that was 1/8 inch too short. With a project like this though, 1/8 inch makes for a lot of problems.
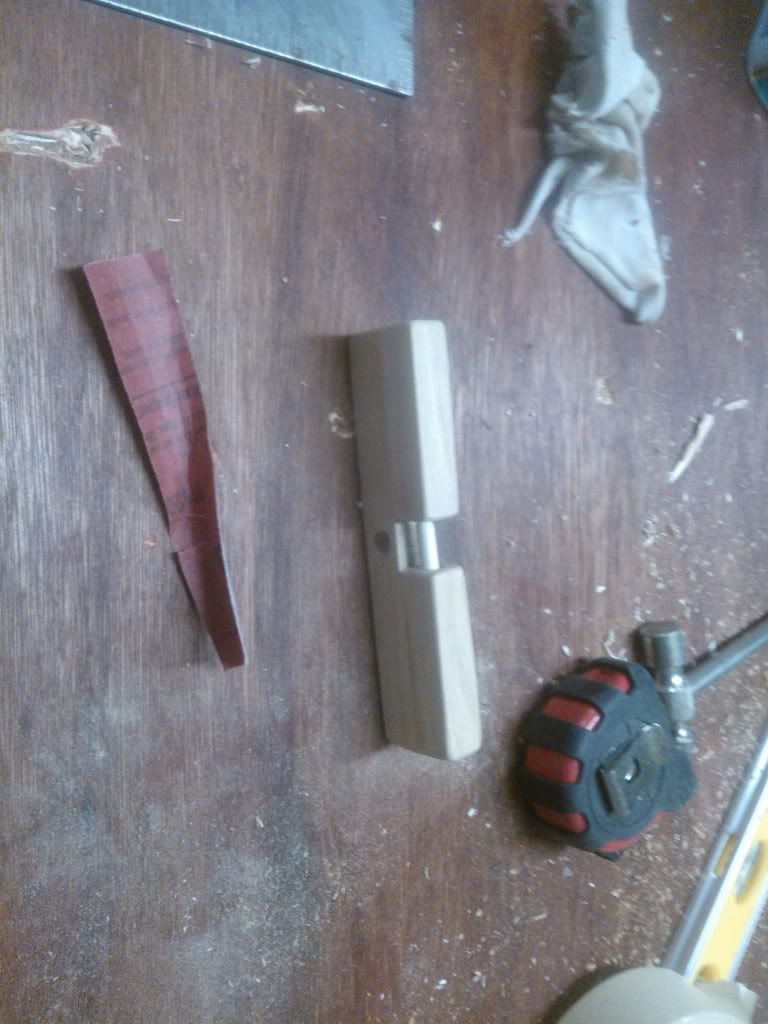
The third step was drilling the holes. I clamped the pieces together after measuring the holes on the 4 3/4 inch long piece. This worked out as a nice "jig" for the top piece on the stack so I could make sure all of the holes ended up nice. I used a 1/8 inch bit in my power drill (Don't have a drill press yet, it's on my to-do list though). After making sure my drill was level I bored a hole through all four pieces.
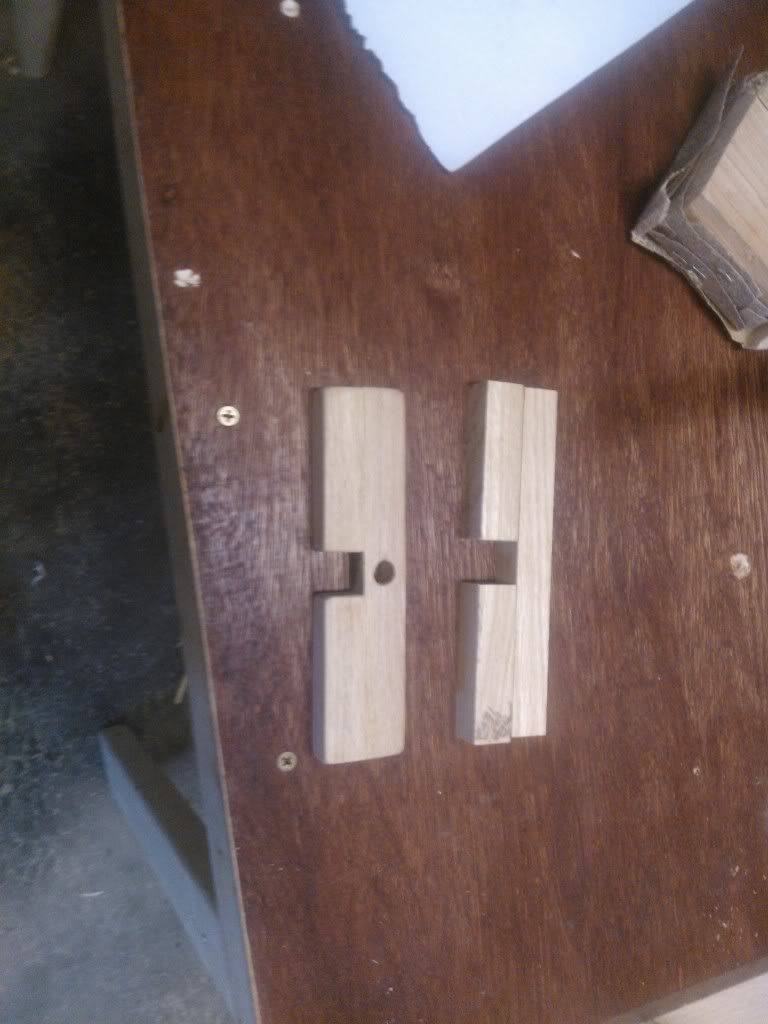
The fourth, and final step, was assembly. This was pretty easy. I simply put 3/4" long 3/16 inch bolts in the holes I drilled in the pattern as I saw in the Steve Ramsey video. You can also check out my project for a final picture.
All in all things turned out well. I'm glad I did this project. It was a good learning experience in taking your time and making sure everything is done right. Also, it was surprisingly short, it took me just about an hour and fifteen minutes to complete.
I did make a few small adjustments. I noticed that Steve put points on his, but I felt that marking the center line of the gauge pieces would be just as accurate, if not a little bit more so. I didn't take measurements from the one Steve made in the video, so I can't be sure how accurate his is. In my attempts I made them with varying ratios. The first one was 1:1.833, this was too far off to be acceptable to me. My second one, well, I didn't even bother assembling that one because I cut one arm 1/8 inch too short. Silly me. The Third one, however, has a ratio of approximately 1:1.62, which is pretty close in my opinion.
In short, the moral of this project is make sure you measure well and take your time to cut accurately and place everything exactly where it needs to be. It pays off in the end!
So, I haven't told you all this yet, but I'm a huge fan of Steve Ramsey at Woodworking for Mere Mortals. I was watching one of his videos and I noticed he made a Golden Ratio (or Phi) Gauge. This gauge is used to determine the proportions of an object so that it matches the Golden Ratio, which is considered a mathematical model for perfect beauty. I'm also a fan of Finite Mathematics.
WARNING MATH CONTENT AHEAD!
<math>
Phi is a mathematical concept. It's a constant ratio of 1:1.618. It can also be expressed more abstractly. as a+b / b = Phi where a rectangle with height a and width b is placed adjacent to a square with sides length a. Basically, it makes things look very pretty. It's found all over in Nature as well as in man made structures. (Coincidentally, the Fibonacci Sequence converges on phi as it progresses. Look that up some time if you're interested.)
</math>
To make this gauge I got the template from Steve Ramsey's website woodworkingformeremortals.com. From there it was pretty simple. The pieces do have to be cut exactly to size, which made things a little bit difficult, but not too bad. It did help to have a finer blade to put on my saw, I would suggest using the finest blade you have. It took me three tries to make one perfect. Now, here's the step by step.
The first step was to measure out the pieces of 5/8 inch wide 1/4 inch plywood. I had some of these lying around because it's where I cut my runners for my accessory tracks on my Ryobi 10" 15A table saw. The next thing I did in this step was marked the measurements onto the pieces for the arms of the gauge. I left about a quarter of an inch between my arms, that way there was a lot of waste space for me to make sure I didn't over-cut a piece.
The second step was to cut out the pieces. This was pretty straight forward, one thing I suggest is making sure you keep your blade on the waste side. I know this is pretty basic, but I forgot to do it once and ended up with a piece that was 1/8 inch too short. With a project like this though, 1/8 inch makes for a lot of problems.
The third step was drilling the holes. I clamped the pieces together after measuring the holes on the 4 3/4 inch long piece. This worked out as a nice "jig" for the top piece on the stack so I could make sure all of the holes ended up nice. I used a 1/8 inch bit in my power drill (Don't have a drill press yet, it's on my to-do list though). After making sure my drill was level I bored a hole through all four pieces.
The fourth, and final step, was assembly. This was pretty easy. I simply put 3/4" long 3/16 inch bolts in the holes I drilled in the pattern as I saw in the Steve Ramsey video. You can also check out my project for a final picture.
All in all things turned out well. I'm glad I did this project. It was a good learning experience in taking your time and making sure everything is done right. Also, it was surprisingly short, it took me just about an hour and fifteen minutes to complete.
I did make a few small adjustments. I noticed that Steve put points on his, but I felt that marking the center line of the gauge pieces would be just as accurate, if not a little bit more so. I didn't take measurements from the one Steve made in the video, so I can't be sure how accurate his is. In my attempts I made them with varying ratios. The first one was 1:1.833, this was too far off to be acceptable to me. My second one, well, I didn't even bother assembling that one because I cut one arm 1/8 inch too short. Silly me. The Third one, however, has a ratio of approximately 1:1.62, which is pretty close in my opinion.
In short, the moral of this project is make sure you measure well and take your time to cut accurately and place everything exactly where it needs to be. It pays off in the end!
") (they won't hurt)
(they won't hurt)

