Baby's First Furniture - The Plan.
My wife and I are expecting our first child in February. This after 2 years of trying. Needless to say, we are very excited. This, of course, is my chance to build some baby furniture and spend a little time in the shop that isn't work related. No real deadlines, and the freedom to use all of the creativity I want. What could be better.
There is one other reason I'm building these 2 items. I'd really like to build something that my daughter will have when she gets married and decides to have a child of her own. Does anything ever get passed down anymore? I know there are no family heirlooms in either of our families. It's time to change that!
So here's the plan…. A crib and a Changing table/Dresser.
A Crib with a raised panel back (headboard) and curved "arms" coming off of the headboard. It should be pretty straight forward, but there are 3 techniques that I plan to use that I've never done before.
1. Bent laminations for the curved arms.
2. Inlay - A little unsure what I want to do here. Most likely it will be some sort of nature inspired inlay. Possibly a branch with leaves (like an olive branch?) or a couple of dragonflies (wife loves dragonflies) or something like that on the headboard area.
3. drop down front. - I'll probably just use the crib hardware from Rockler. I haven't really looked at other options, but all of the other hardware I've purchased from them has been good.
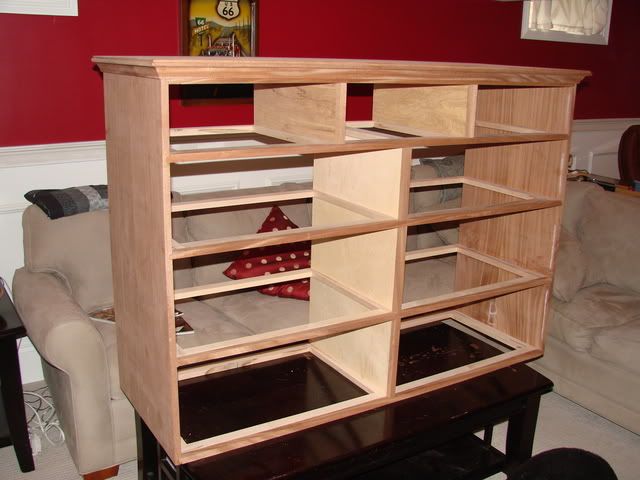
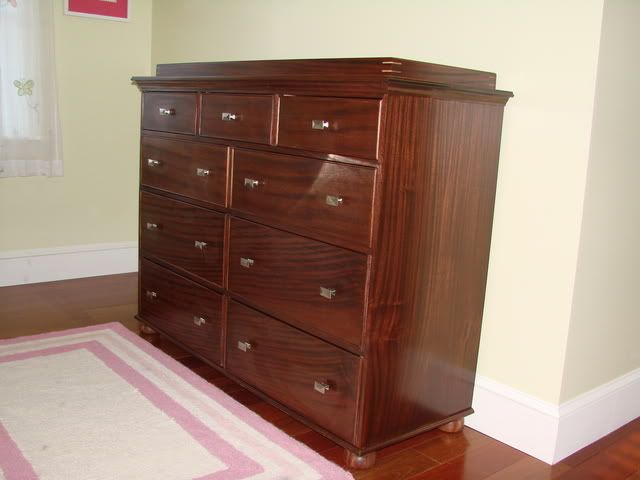
The Changing table will basically be a child's dresser with a changing table top. After diapers are done, the plan is to take the top off and have a nice looking dresser that can be used for a long time. The changing table top will be divided into 2 "compartments". One to surround the changing pad and the other to surround a basket that will hold all of the necessary "Stuff" (will probably have to be a big basket - Kids need a lot of stuff).
During my last trip to the lumber mill, I got a look at some "Eucalyptus". They recently started carrying this stuff and according to the owner, it's very much like mahogany. Hard, heavy and stable. It's a little lighter in color than I'd like it to end up, so there will have to be some coloring involved. But the price is very reasonable at less than $4.00/BF.
All in all I can't wait to get started. I'm finishing up my rough drawings which a materials list can be created from. From there, it's lumber mill time and let the chips fly.
I'll try to post updates and pics along the way. This is my first blog, so I hope I don't put anybody to sleep.
-Bob


