
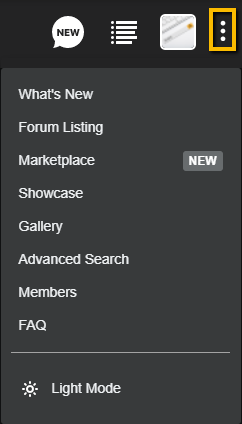
- Navigating The Site
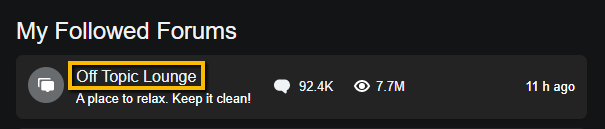
- Navigating Thread Listings
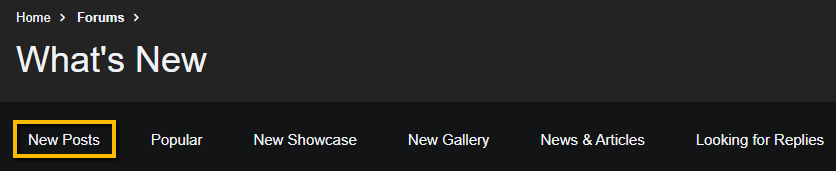
- How To Find New Posts
- How To Filter New Posts To Only Display Specific Section(s)
- How To Keep Your Favorite Forum Sections at the Top
- How To Mark All Forums Read
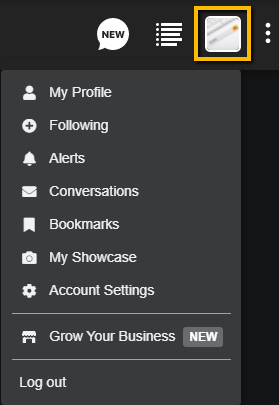
- How To Find Your Profile
- Setting Your Location
- How To Find Account Settings & Preferences
- How To Change/Update Avatar
- How To Find Conversations (Private Messages)
- How To Delete A Conversation
- How To Find Subscribed Threads
- How To Switch Between Dark Mode & Light Mode
- How To Reply To A Discussion Thread
- How To Start A New Discussion Thread
- How To Quote/MultiQuote
- How To Upload Images To Posts
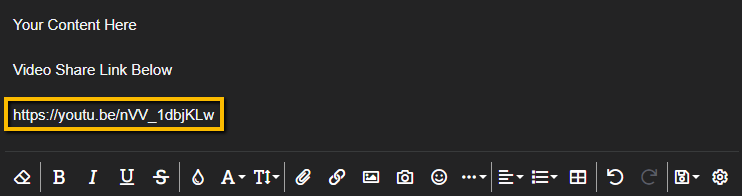
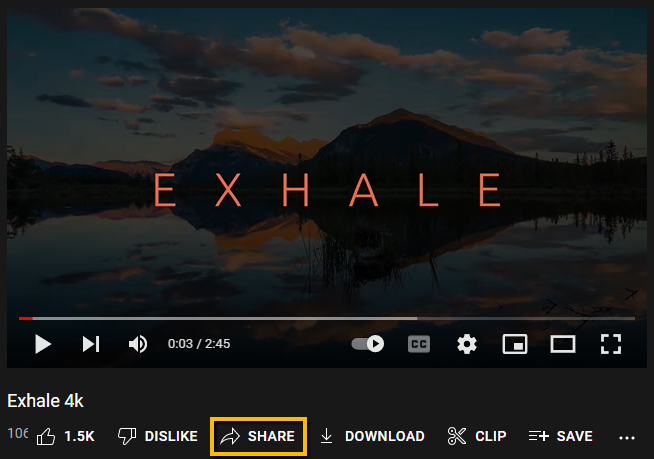
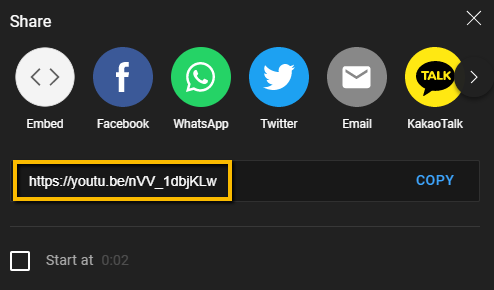
- How To Display A Video In Your Post
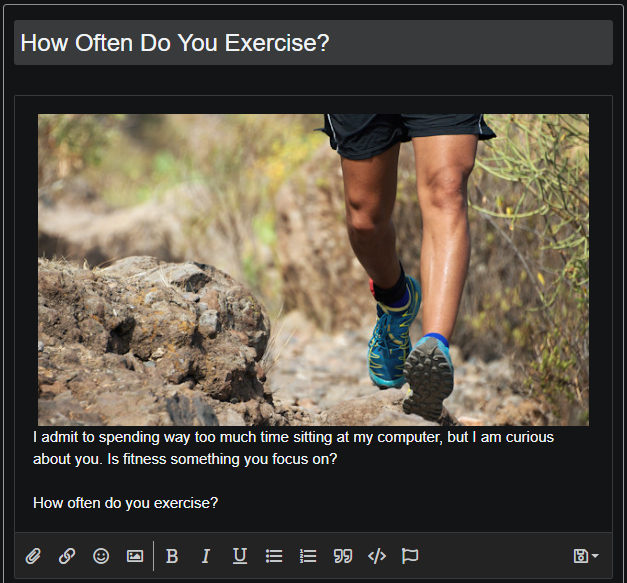
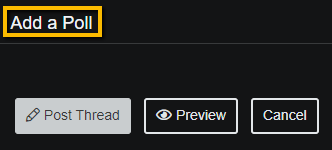
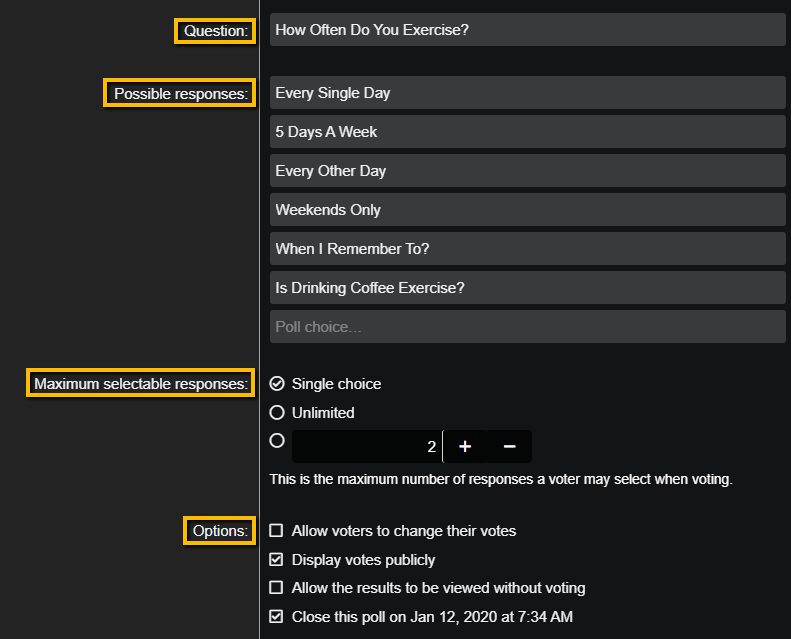
- How To Post A Poll
- How To Edit Your Post
- How To Delete A Post
- How To Find Your Content
- How To Save (Bookmark) Threads Or Posts
- How To Search The Site
- What Is The Difference Between The Showcase And Gallery?
- How To Create A Showcase
- How To Edit Your Showcase
- How To Add A Gallery
- How To Create A Signature
- How To Link (Permalink) To Specific Post
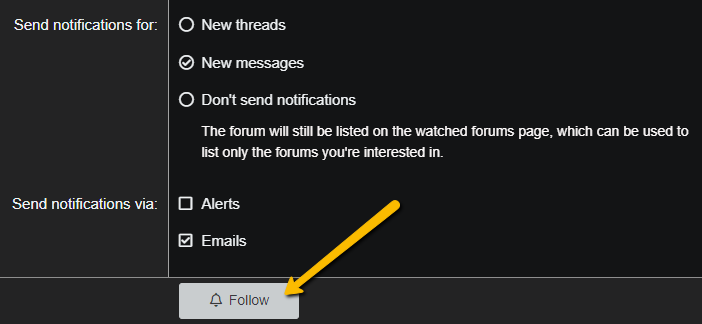
- Alerts/Notifications
- Push Notifications
- Who’s Online?
- How To Report a Post
- Premium Membership FAQs
- Marketplace FAQs

Admin

- Status


- Status
-
?
-
?
-
?
-
?
-
?
-
?
-
?
-
?
-
?
-
?
-
?
-
?
-
?
-
?
-
?
-
?
-
?
-
?
-
?
-
?


