Materials and tools
Making an ancient bucket with Stefang
Materials and tools
Before you get into this project watch this video http://svtplay.se/v/1371069/oppet_arkiv/laggade_trakarl_tillverkas_i_bollebygd__utan_ljud__1923?sb,k103004,1,f,103007 it is what we are making here, not only the bucket but also the tools.
Ok not much done…
I went into fixing the old tools mood…
My conclusion:
Wood
I'll use pine also, (cheap) perhaps some pallet wood, 3,7 meter, 7,5 cm, 2 cm thick.
'Wonder how high the bucket will be… better ask Mike'.
Willow
Pil in Danish, 8 branches of 1,25 meter, 0,8-1,3 cm thick (have to take a walk soon).
Plane
Hardwood, beech, 30 cm, 7,5×7,5 cm.
Will look in the work shop, and find some, think I have some beech extra.
Plane iron, I have several, wonder if a block plane iron are with enough since I have eight…
Binding lever
All will do, so scrap, 33 cm x 2 cm x 33 cm.
All this will be ready in minute's sir! (Long minutes).
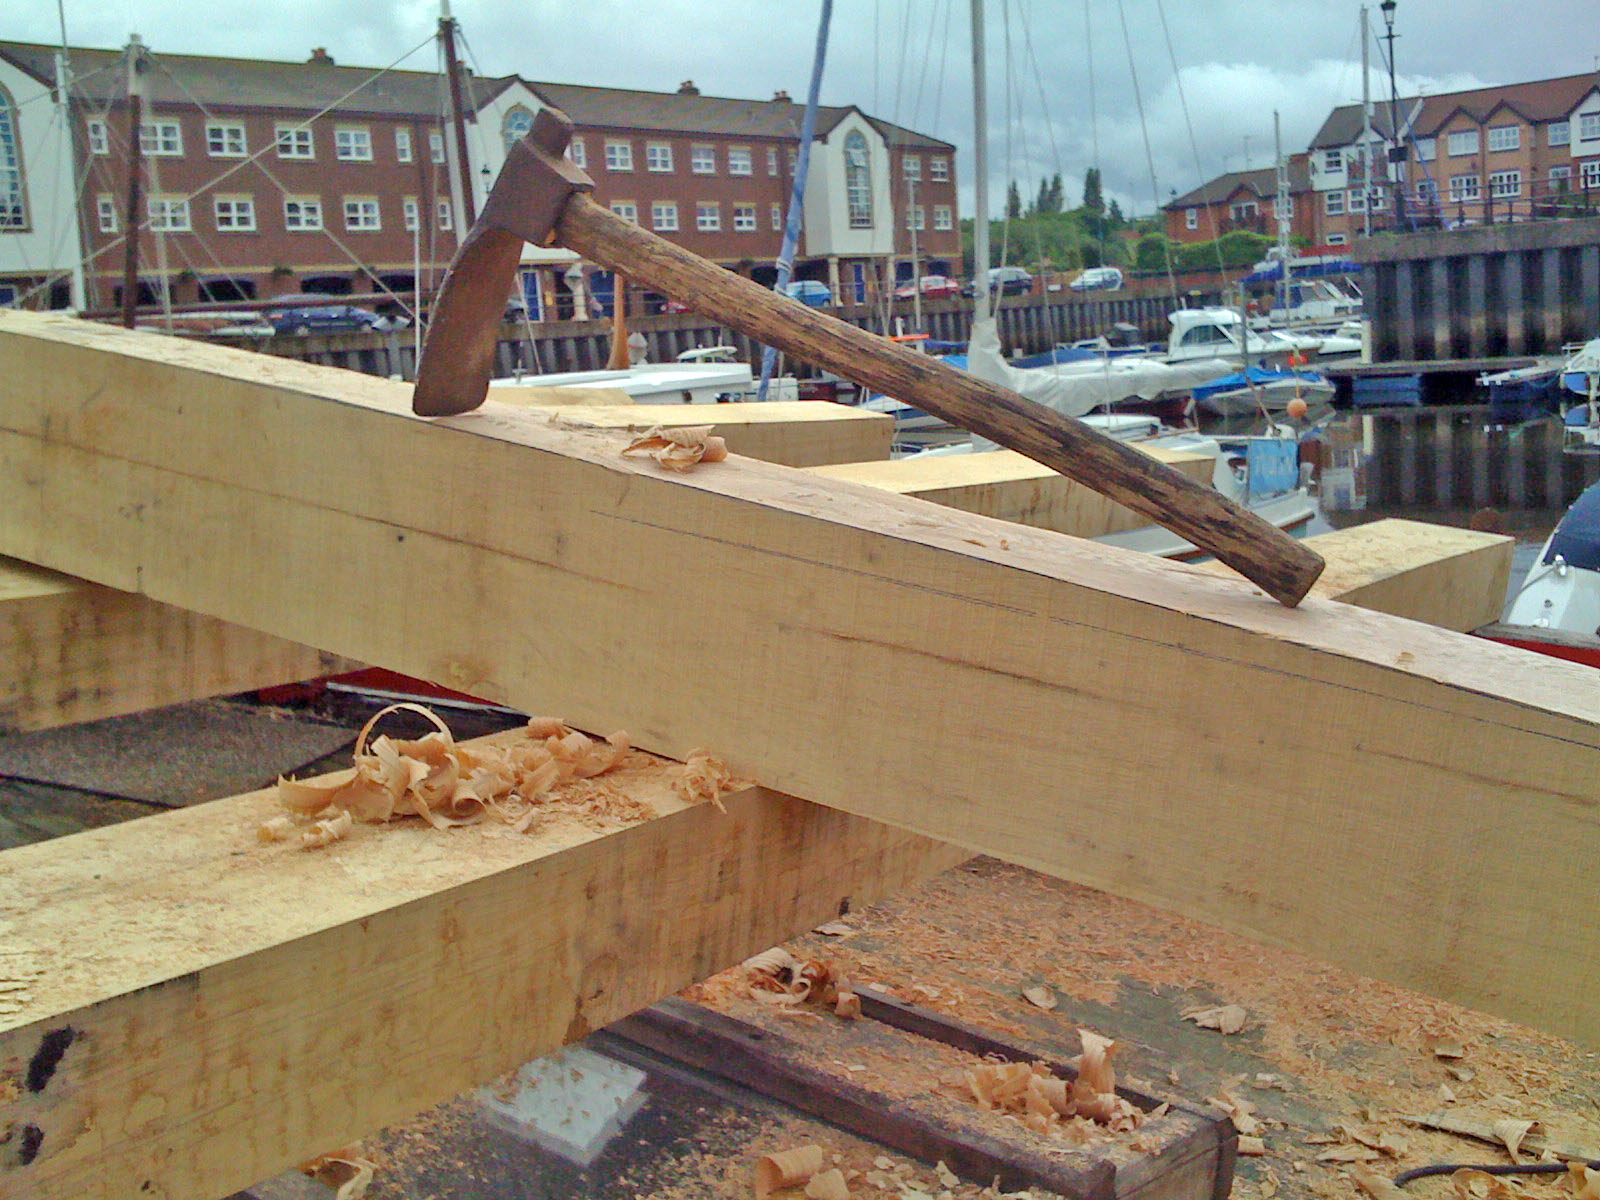
So what have I been up to!
![Image]()
Sharpening and making handles for my axes in stead…
yes I'm a bad student.
Best thoughts for now,
MaFe
Making an ancient bucket with Stefang
Materials and tools
Before you get into this project watch this video http://svtplay.se/v/1371069/oppet_arkiv/laggade_trakarl_tillverkas_i_bollebygd__utan_ljud__1923?sb,k103004,1,f,103007 it is what we are making here, not only the bucket but also the tools.
Ok not much done…
I went into fixing the old tools mood…
My conclusion:
Wood
I'll use pine also, (cheap) perhaps some pallet wood, 3,7 meter, 7,5 cm, 2 cm thick.
'Wonder how high the bucket will be… better ask Mike'.
Willow
Pil in Danish, 8 branches of 1,25 meter, 0,8-1,3 cm thick (have to take a walk soon).
Plane
Hardwood, beech, 30 cm, 7,5×7,5 cm.
Will look in the work shop, and find some, think I have some beech extra.
Plane iron, I have several, wonder if a block plane iron are with enough since I have eight…
Binding lever
All will do, so scrap, 33 cm x 2 cm x 33 cm.
All this will be ready in minute's sir! (Long minutes).
So what have I been up to!
Sharpening and making handles for my axes in stead…
yes I'm a bad student.
Best thoughts for now,
MaFe

") Mads
Mads