LumberJocks Woodworking Forum banner
89K views 17 replies 8 participants last post by  grbrico  
#1 ·
Introduction

Hello Everyone.

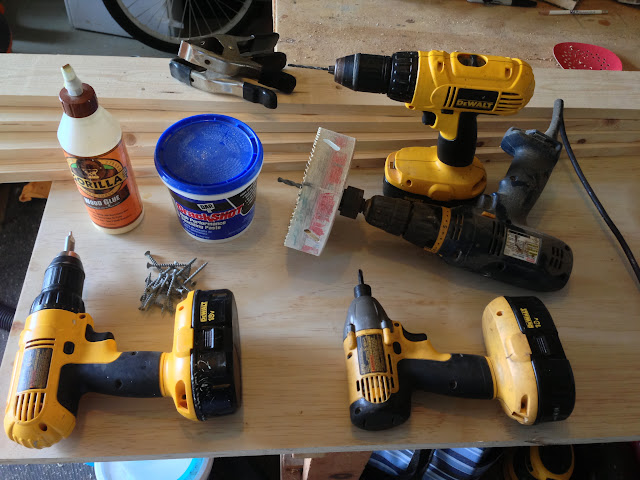
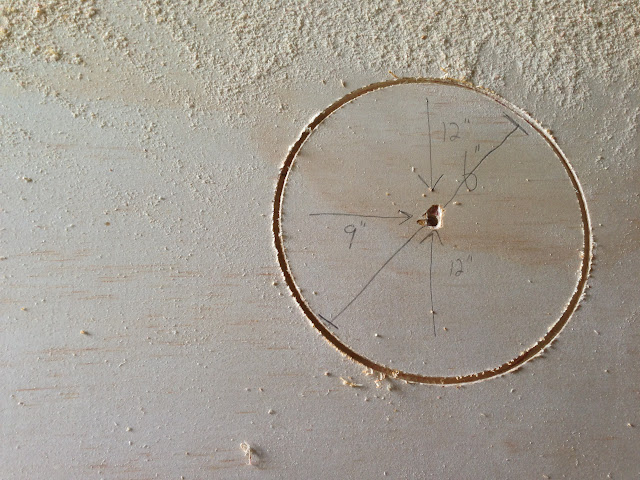
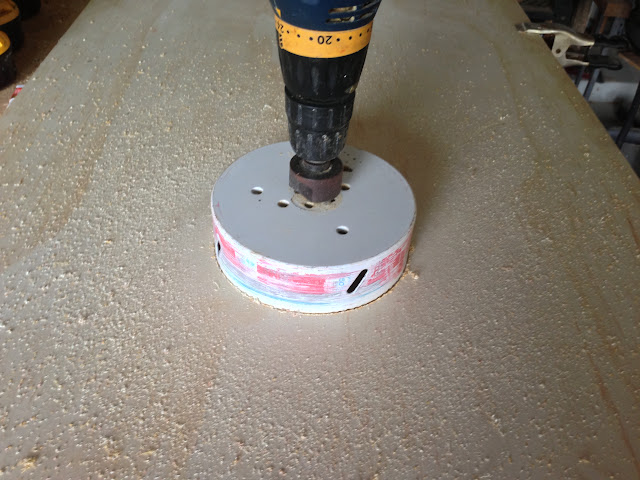
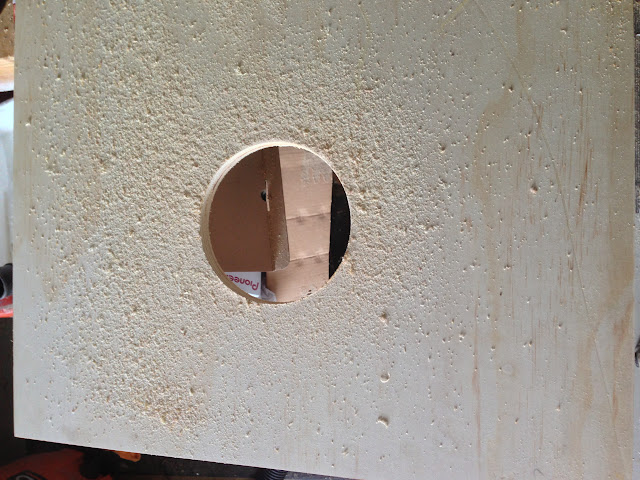
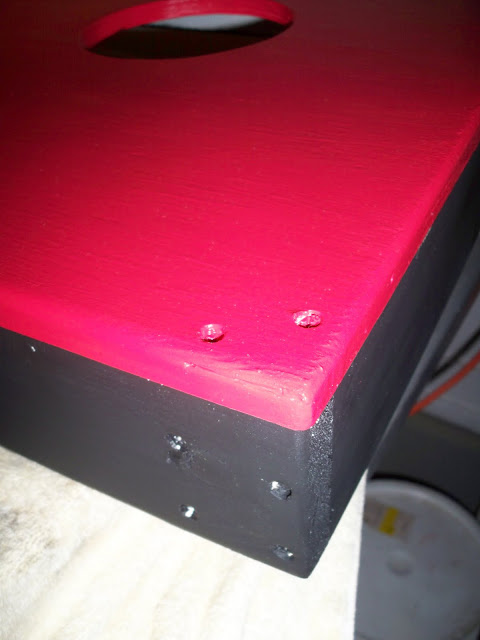
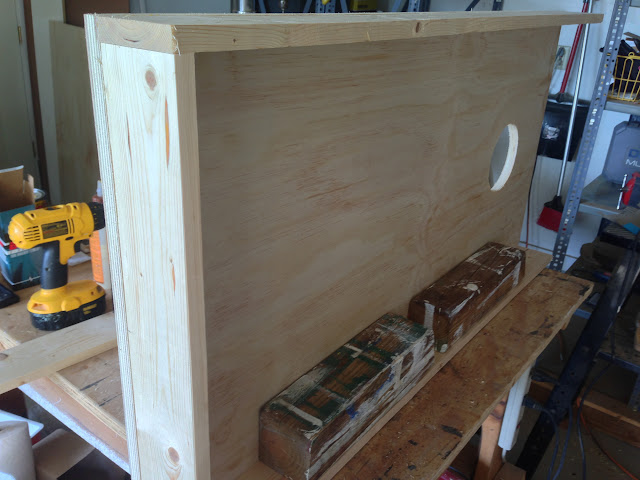
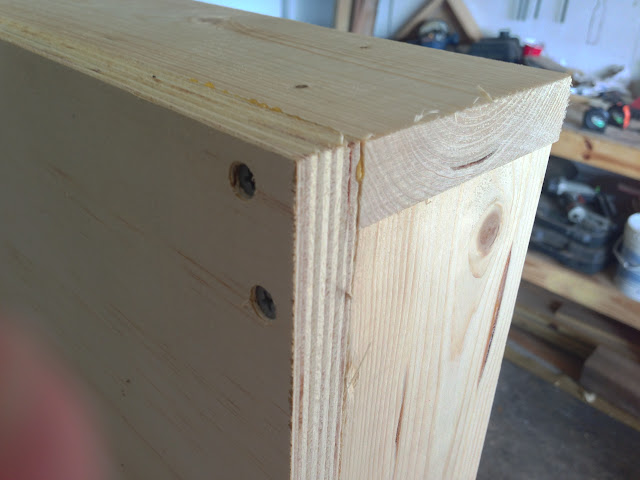
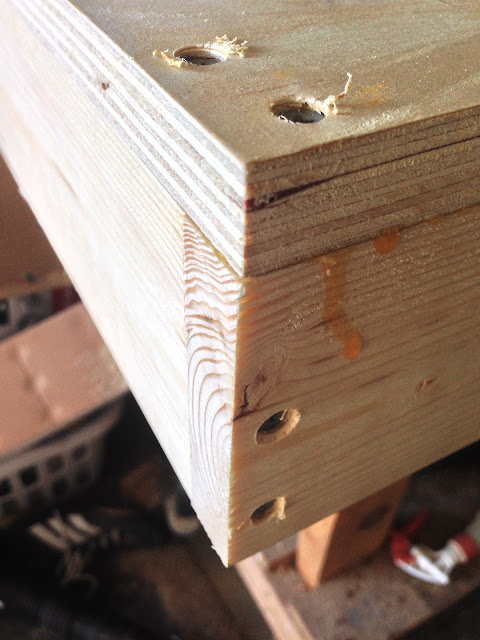
I have been enjoying lots of posts and classes on this website and I wanted to contribute something as well. I have built many cornhole sets over the past 7 years since my father, sister and I built our first. I believe our current design is great for a portable, regulation sized set. I know there are many tutorials on the web for building sets but this is mine. They are easy to build and when you get the hang of it, you can turn out a two boards in about an hour. I'll be posting pictures and instructions, including measurements, as well as alterations you could possibly make. They are very easy to customize and it's a great game to play with family and friends.

Throughout the process, please submit your suggestions or critiques as well as pictures of the boards you have made using these plans or any other plans. It's a great project that anyone can make and the level of customization is endless. I hope this can be a great place to come for new ideas for your next boards by looking at each other's sets.

I will begin posting tomorrow and continue throughout the week. After I build the boards, I will show you how to make the bags as well.

I plan to have everything posted by the end of this week so you have plenty of time to make some sets for Christmas presents if you want.

Thanks for reading and I hope you enjoy the class,

Stephen
 
#6 ·
Nice sequence. A few comments. I must have missed the details about the length of the 2 legs. Regulations call for the set to have a 3 inch front edge and 12 inches @ the back. Without ripping the 1Ă—4 frame to 2-1/4 inches, your design is not in compliance and cannot be used for ACA competitions.
 
#7 ·
Materials, Tools and First step

In this section I'm going to cover the tools and materials needed and the first step in making the boards.

Here are a few examples of boards I've built. If you've never played cornhole before, it's essentially horseshoes. You toss bean bags on to the boards and you get three points for making it in the hole, and one point for making it on the board. You play in teams and throw against the other team. I'll include rules in the last post.


Tools:
Power Drill
Power Driver
Jig Saw or 6" hole saw
Chop/miter Saw
Power Sander

Materials:
2'x4'x3/4" Plywood (2)
1"x4"x8' Pine (4)
Approximately 46 wood screws
Wood Glue
Wood filler or Spackling
Paint or stain
Clear coat of your choice (Polyurethane for oil based paint/stain or Polycrylic for water based paint/stain)
Stickers/logos of your choice


Some people use 2×4's to build the frame but this is unnecessary bulk and weight but you could choose to use thinner plywood or 1×3's. This is personal preference. Some people also build boards smaller for easier portability (2'x3' is typical). These plans can just be altered to whatever size you want to build. One possibility is using 2×4's and cutting them down to 1×4's on the table saw since they are cheaper… Imagine that… Less wood is more expensive! haha

Step 1.
Drilling the holes is simple if you have a 6" hole saw. They are fairly cheap from big box stores and come in handy if you plan on making a couple sets. You can always drill a hole and cut the 6" hole out with a jig saw. The top of the hole is to be 6" down from the top of the board and centered. If you use a hole saw, you can measure 9" down and 12" from the sides for the center.


Make sure to drill about 1/4 of the way through on one side, then flip the boards over and finish the hole to avoid tear out.


Smooth the hole out with a bit of sand paper and you're ready to move to the next step.
 
#10 ·
Cutting and Installing the sides

The next step is cutting and installing the sides of the frame. This method includes building the frame to the top instead of building a frame then adding the top. It makes for perfectly smooth sides.

The link to these pictures is not working but here is a link to the entire gallery. This is a great way to see all the pictures in one place.
Measure the length of your boards, some boards cut by big box stores aren't perfectly 48" and therefore you may need shorter or longer sides. Cut one of your 1Ă—4's to length, then cut the next side from a second 1Ă—4. These cuts will leave less than 48" left over which is perfect for the next steps.


Read "Alterations" before gluing…
Apply a bead of glue to the side and flush it up with the board. I use 4Ă—4's in the back to level the board top on the first side. Start on one end and predrill, countersink and then screw in the first screw.


Stretch out a tape measure and drill your next screw at 1 foot in, the second at 2 feet and the third at 3. Do one at a time and make sure the side remains flush to the edge of the plywood. Finally, screw in the last screw close to the end.


Repeat this for the second side.

Alterations
If you are interested in a two toned paint job (like the picture below), do not glue the frames yet and do not sink the screws lower than your countersink. When you finish sanding, routing and priming the boards you can remove the frame and paint the plywood and frame different colors. When the paint is dry, you can glue and screw the frame to the board, then fill in the holes and do some touch up paint.

If you are not planning on painting the boards, you may want to use pocket screws through the frame into the plywood to hide the screw holes. I usually paint so I choose the easiest method of screwing through the plywood.

 
#11 ·
Cutting and Installing Ends, Finishing the Frame

This lesson will complete the frame of the boards.

Measure the distance between the two side frames. This will be the measurement of the end pieces. Make sure you measure this correctly, too large can be trimmed down, but too short will be waste.

I use 4Ă—4's to hold the boards up.


Make sure to flush up the end piece with the plywood and not the side piece. It's common that the sides can be longer but these will be trimmed down with a router or sander later.
Predrill and countersink the first screw from the plywood, into the end piece.


Then predrill and countersink the two screws from the side piece into the end.

 
#12 ·
Finishing the boards

This post will show you the way I finish the boards. I will not be painting these yet but I have included a link at the bottom for customization help. I just want to show you how to build the boards and prepare them for paint or stain.

The first step in finishing the boards is flush trimming the plywood to the frame. If you don't have a flush trim bit, you can just sand it down if it's not too far off. I also like to adjust my flush bit to smooth out the inside of the hole.


Once the sides are flush, you can use a round over bit in your router, or just sand the sides down to a smooth curve. Do the plywood and the bottom of the frame, on the outside only. Curving the inside of the frame is not necessary.


Route both the top and bottom of the hole so it's smooth on both sides for removing the bags IF you make one!


I find that the legs are better off just being smoothed off with a sander, so don't use the router bit on these.

I encourage you to take time planning your paint job. If you decide to use paint, I recommend using Polycrylic Full Gloss since it is waterbased. You really don't have to use a clear coat if you paint with full gloss or semi gloss paint unless you use stickers for a team logo or something. If you stain it, I recommend Polyurethane Full Gloss.

I would love to see your boards! Post them in your projects page and put a link in the comments or embed a photo like I did. I don't care if you used my post or not, this could be a great place for future builders to get some ideas! I hope you enjoyed my tutorial and if you have any questions or find a mistake, PLEASE, message me anytime!

Thank you,

Stephen

This link is the American Cornhole Association's site. You can find the rules here as well as many other Cornhole related resources. The most important rules are scoring, distance and the boards dimensions.
http://www.playcornhole.org/rules.shtml

I have done a lot of different paint jobs on boards and there are so many ways to customize your boards. Instead of trying to describe them all or going into detail about all of them, I'm including the website below for you to check out. This site has many builders sharing their boards and instructions on how to customize your own. This is where I learned about the paint schemes.
http://www.cornholegameplayers.com/forum/viewforum.php?f=1

This website shows you how to sew the bags. If you are not familiar with the sewing machine, this is a great, simple project to learn with. It's simply a square sewed to another square.
http://www.cornholegameplayers.com/building-instructions/sew-cornhole-bags/