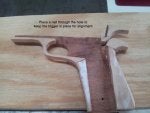
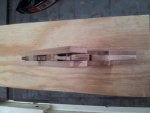
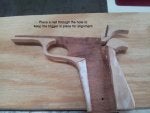
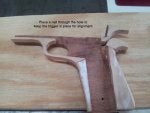
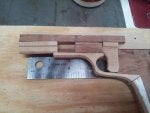
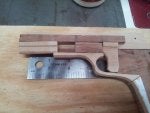
1911 Automatic Rubber Band Gun with working slide.
This is a long project and I was asked to put together a HowTo blog. I will do my best and have taken lots of pictures. My project is located HERE Three Guns For Christmas
A few words and warnings. First if you use this blog to build rubber band guns for children you must paint the tips bright orange. These are very realistic and could get a kid shot or killed. DO NOT MAKE THESE FOR CHILDREN unless you make sure they are easily identified as Toys. Please please please
This is not an easy project you will use all your woodworking skills.
The owner of the plans and the project is on You Tube HERE
He asks you do not use these plans to make money or resell the guns. I have to honor his wishes and hope you do as well. Also.. Watch his video I am sure it will fill in the blanks that I miss.
I have also converted the metric over to inches.
As always… It is required you wear all safety gear, practice safe woodworking, no shortcuts and this is all your responsibility. By taking this project on you agree to abide by the rules.
Step 1:
Download the PDF from HERE
This will give you the diagram and part cutouts you need.
Step 2:
Gather and sharpen all your tools. You will need at a minimum:
Wood Chisels
Scroll Saw or Band Saw or Coping Saw
Wood Files
Strips of good sandpaper 150 grit
Belt Sander
Hammer
Hack Saw
Carpenters Vice with very flat jaws
Back saw or Japanese flex saw
Drill or drill press
Screwdriver
Planer
Wood Glue
Step 3:
Choose 3 boards ( I like to mix the wood for contrast).
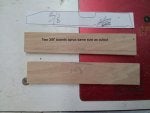
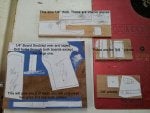
Board 1 - will be for the body, grips and some interior pieces. It should be 12"x 6" x 1/4" thick
Board 2 - Is for the slides and trigger. I should be 12" x 4" x 3/8" thick
Board 3 - Is for the trigger locks and slide locks as well as the rubber band "wheel". 6" x 3" x 1/8" thick
NOTE:::: PAY ATTENTION TO THE THICKNESS. THEY ARE EXTREMELY IMPORTANT.
Step 4:
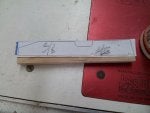
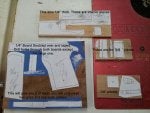
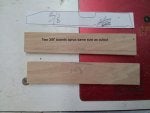
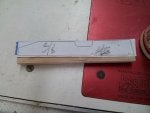
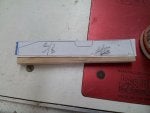
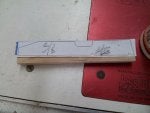
Print out the PDF and cut out the images and pieces pasting them to the correct board.
NOTE::: ON THE PICTURES YOU WILL SEE MEASUREMENTS IN PENCIL. IGNORE THEM PLEASE
![Image]()
![Image]()
![Image]()
The slides, trigger and hammer should be a hard wood.
The holes should be drilled before you cut. I used a drill press because the holes have to be perfectly straight.
I also did not drill out the large hole for the safety switch. I just didn't like it.
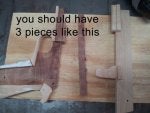
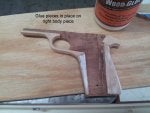
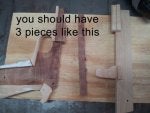
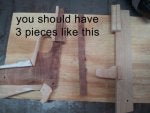
The doubled up piece is so your body and grips match. One slide is different since it has notches and the ejection port. So once you cut it out separate them before you proceed.
Step 5:
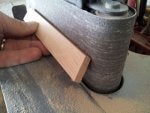
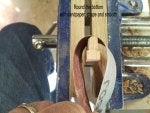
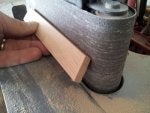
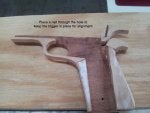
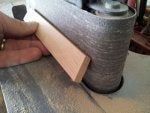
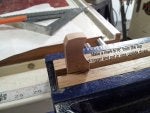
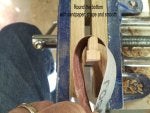
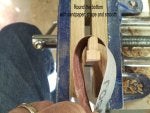
Cut out your pieces and keep things STRAIGHT and FLAT. I cannot emphasize this enough. Sand edges and round the edges on the top of the slides.
![Image]()
![Image]()
Sand and smooth each piece. Be careful not to remove to much material. When you are satisfied… Move on to next step.
Step 6:
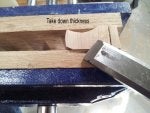
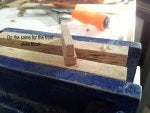
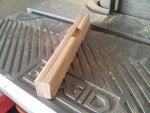
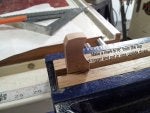
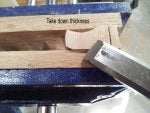
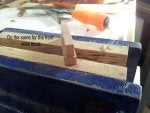
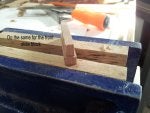
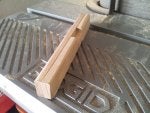
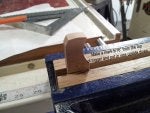
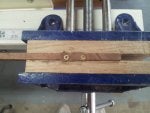
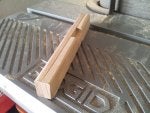
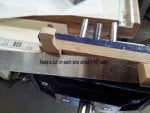
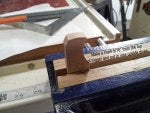
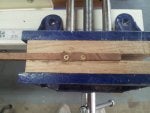
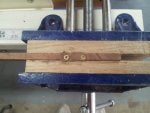
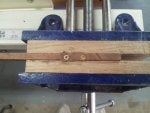
The trigger and the front slide block will take some patience and a sharp chisel. These pieces actually attach to the slide. The top of each piece is full thickness 3/8" and the bottom is trimmed down to 1/4". I used a chisel to thin them down. I also used some bad words.
![Image]()
![Image]()
![Image]()
![Image]()
![Image]()
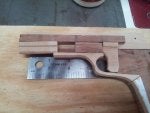
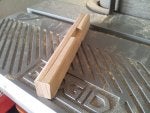
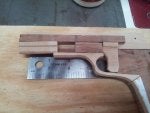
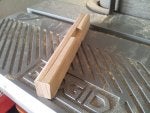
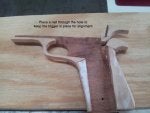
These pieces slide on the body parts. They need to be shorter than the barrel block when assembling, so more trimming might be needed.
DO NOT GLUE THE BARREL TO THE BLOCK
![Image]()
![Image]()
![Image]()
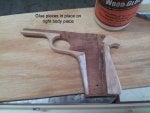
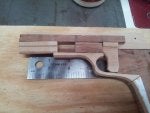
The rest of the pieces can be placed as shown.
![Image]()
![Image]()
![Image]()
Once the glue sets…. Its time to work on the slide…
Step 7:
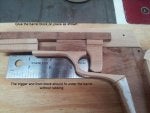
IMPORTANT NOT TO GET GLUE WHERE THE SLIDE WILL SLIDE.
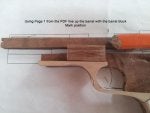
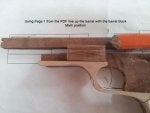
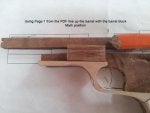
Place the right side slide in the forward position. Line up the parts using the page one from the PDF.
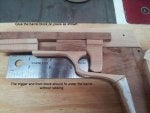
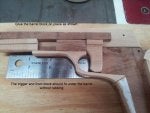
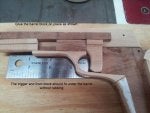
Glue the trigger and the front barrel block to the slide as shown. YES I USE A PIN NAILER TOO
![Image]()
![Image]()
MORE TOMORROW….
This is a long project and I was asked to put together a HowTo blog. I will do my best and have taken lots of pictures. My project is located HERE Three Guns For Christmas
A few words and warnings. First if you use this blog to build rubber band guns for children you must paint the tips bright orange. These are very realistic and could get a kid shot or killed. DO NOT MAKE THESE FOR CHILDREN unless you make sure they are easily identified as Toys. Please please please
This is not an easy project you will use all your woodworking skills.
The owner of the plans and the project is on You Tube HERE
He asks you do not use these plans to make money or resell the guns. I have to honor his wishes and hope you do as well. Also.. Watch his video I am sure it will fill in the blanks that I miss.
I have also converted the metric over to inches.
As always… It is required you wear all safety gear, practice safe woodworking, no shortcuts and this is all your responsibility. By taking this project on you agree to abide by the rules.
Step 1:
Download the PDF from HERE
This will give you the diagram and part cutouts you need.
Step 2:
Gather and sharpen all your tools. You will need at a minimum:
Wood Chisels
Scroll Saw or Band Saw or Coping Saw
Wood Files
Strips of good sandpaper 150 grit
Belt Sander
Hammer
Hack Saw
Carpenters Vice with very flat jaws
Back saw or Japanese flex saw
Drill or drill press
Screwdriver
Planer
Wood Glue
Step 3:
Choose 3 boards ( I like to mix the wood for contrast).
Board 1 - will be for the body, grips and some interior pieces. It should be 12"x 6" x 1/4" thick
Board 2 - Is for the slides and trigger. I should be 12" x 4" x 3/8" thick
Board 3 - Is for the trigger locks and slide locks as well as the rubber band "wheel". 6" x 3" x 1/8" thick
NOTE:::: PAY ATTENTION TO THE THICKNESS. THEY ARE EXTREMELY IMPORTANT.
Step 4:
Print out the PDF and cut out the images and pieces pasting them to the correct board.
NOTE::: ON THE PICTURES YOU WILL SEE MEASUREMENTS IN PENCIL. IGNORE THEM PLEASE
The slides, trigger and hammer should be a hard wood.
The holes should be drilled before you cut. I used a drill press because the holes have to be perfectly straight.
I also did not drill out the large hole for the safety switch. I just didn't like it.
The doubled up piece is so your body and grips match. One slide is different since it has notches and the ejection port. So once you cut it out separate them before you proceed.
Step 5:
Cut out your pieces and keep things STRAIGHT and FLAT. I cannot emphasize this enough. Sand edges and round the edges on the top of the slides.
Sand and smooth each piece. Be careful not to remove to much material. When you are satisfied… Move on to next step.
Step 6:
The trigger and the front slide block will take some patience and a sharp chisel. These pieces actually attach to the slide. The top of each piece is full thickness 3/8" and the bottom is trimmed down to 1/4". I used a chisel to thin them down. I also used some bad words.
These pieces slide on the body parts. They need to be shorter than the barrel block when assembling, so more trimming might be needed.
DO NOT GLUE THE BARREL TO THE BLOCK
The rest of the pieces can be placed as shown.
Once the glue sets…. Its time to work on the slide…
Step 7:
IMPORTANT NOT TO GET GLUE WHERE THE SLIDE WILL SLIDE.
Place the right side slide in the forward position. Line up the parts using the page one from the PDF.
Glue the trigger and the front barrel block to the slide as shown. YES I USE A PIN NAILER TOO
MORE TOMORROW….


