One year on LJ, what a difference a year makes
With my one year anniversary on Lumberjocks coming up in a few days, I thought I'd start my first ever blog. I can't even believe it's only been a year. When I joined a year ago I had quite a bit of experience with carpentry work and home improvement. I had no idea how little I actually knew about working with wood. One year later, I realize I have only scratched the surface of this hobby (my wife calls it an obsession) and I have a lot to learn.
My shop, like my skills, has a long way to go. A year ago, it was a place to park some tools and some cars. It has slowly evolved into a place to create. Though I still share the space with kids toys and garden equipment, I no longer park my car in the garage and I pull my wife's car out when I'm in there working. The set up, though, has really been a hodgepodge. When I've added a new tool or created a new jig I just stuck it where I had space. Like most everyone, my shop time is limited and I need to have it more organized and create better flow when I'm working on a project. I've got a total renovation/change I'm planning on starting in the next few weeks. Here are the before pictures:
Main bench area
![Image]()
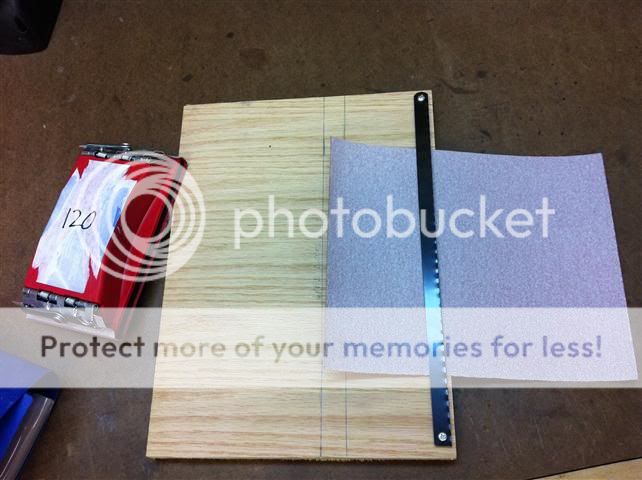
Clamps, jigs, rollers
![Image]()
Lumber storage, bench top router table, planer, workmates, misc storage
![Image]()
Drill press, miter saw, more lumber, misc stuff for table saw
![Image]()
The project that kicked off my addiction: a rolling work table w/storage:
![Image]()
![Image]()
![Image]()
I'm finishing up a project right now for a local church. When that wraps up, I'll get going on the renovation of the shop.
Thanks for looking. And thanks for all the help, support, and ideas from all of the incredibly talented people on this forum.
Cory
With my one year anniversary on Lumberjocks coming up in a few days, I thought I'd start my first ever blog. I can't even believe it's only been a year. When I joined a year ago I had quite a bit of experience with carpentry work and home improvement. I had no idea how little I actually knew about working with wood. One year later, I realize I have only scratched the surface of this hobby (my wife calls it an obsession) and I have a lot to learn.
My shop, like my skills, has a long way to go. A year ago, it was a place to park some tools and some cars. It has slowly evolved into a place to create. Though I still share the space with kids toys and garden equipment, I no longer park my car in the garage and I pull my wife's car out when I'm in there working. The set up, though, has really been a hodgepodge. When I've added a new tool or created a new jig I just stuck it where I had space. Like most everyone, my shop time is limited and I need to have it more organized and create better flow when I'm working on a project. I've got a total renovation/change I'm planning on starting in the next few weeks. Here are the before pictures:
Main bench area

Clamps, jigs, rollers

Lumber storage, bench top router table, planer, workmates, misc storage

Drill press, miter saw, more lumber, misc stuff for table saw

The project that kicked off my addiction: a rolling work table w/storage:


I'm finishing up a project right now for a local church. When that wraps up, I'll get going on the renovation of the shop.
Thanks for looking. And thanks for all the help, support, and ideas from all of the incredibly talented people on this forum.
Cory


") ). Me too, but noone would ever let me play…...
). Me too, but noone would ever let me play…...